You can turn a messy border into a crisp, garden‑ready line with just a few smart timber tricks. Pick cedar for sweet scent and rot‑resistance, pine for budget‑friendly ease, or reclaimed pallets for eco‑chic flair. Lay straight‑line edges with pressure‑treated boards, bend bamboo into graceful curves, or build raised‑bed frames from salvaged planks.
Add smooth‑sanded lumber for kid‑safe borders, seal everything with UV‑proof urethane, and slip in planter pockets or LED strips for extra wow. Keep the edges tight with hidden brackets, and blend them into gravel or mulch for a seamless look. Keep going and you’ll discover even more ideas to perfect your garden’s edge.
Pick 12 For, and the Ed Ed for a Clean and Defined Garden
Choosing the right edging for a clean, defined garden is like picking the perfect outfit for a big event—you want it to look sharp, feel comfortable, and match the vibe of your space.
You’ll love arranging twelve sturdy timber pieces, each cut to a uniform length, then laying them in a gentle, zig‑zag pattern. This creates neat borders that guide foot traffic, hide weeds, and add a playful, polished charm to every walk. Incorporating natural elements like lush greenery can enhance the overall atmosphere and design of your outdoor space.
Choose the Right Wood Species for Your Climate and Budget
If you live where winters bite or summers scorch, the wood you pick for your garden edging can make or break its look and longevity.
Choose cedar for natural rot resistance and a sweet scent, but it costs more.
Pine is cheap and easy to work with, yet it needs pressure‑treating in wet zones.
Redwood offers beauty and durability, but budget limits may steer you toward treated pine or cedar alternatives. Additionally, consider using banana peel fertilizer to enrich the soil around your plantings, promoting healthier growth and longevity for your garden.
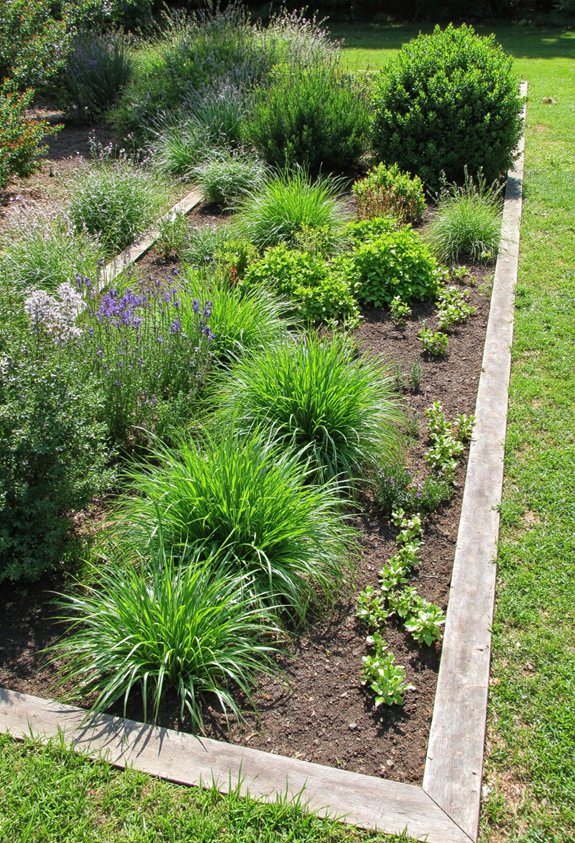
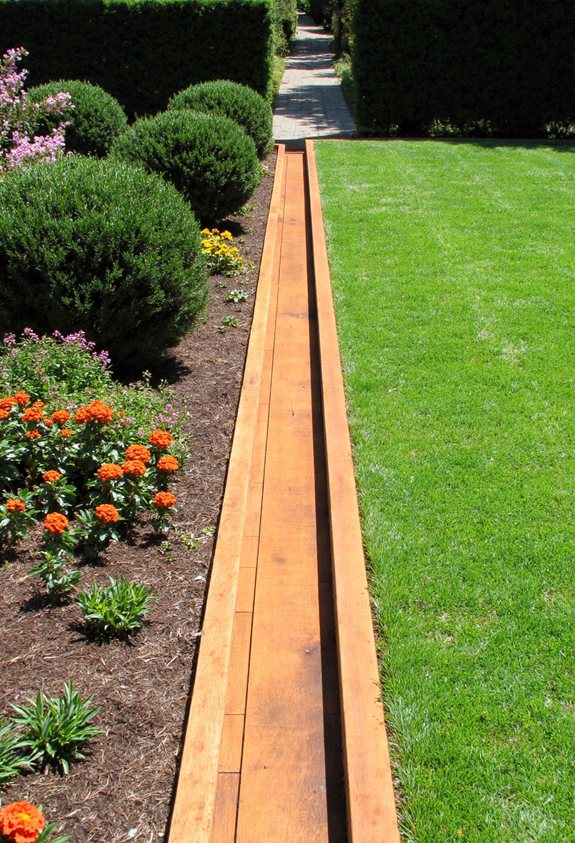
Lay a Simple Straight‑Line Edge With Pressure‑Treated Boards
Even if you’ve never tackled garden edging before, laying a straight line with pressure‑treated boards is surprisingly easy.
First, mark your line with a garden hose or string. Dig a shallow trench about two inches deep, then set the boards side‑by‑side, tapping them with a rubber mallet until they sit level. Fill gaps with soil, water, and step back—your garden now has a crisp, sturdy border. Also, consider using durable materials that can withstand the wear and tear of family activities to ensure your garden lasts for years to come.
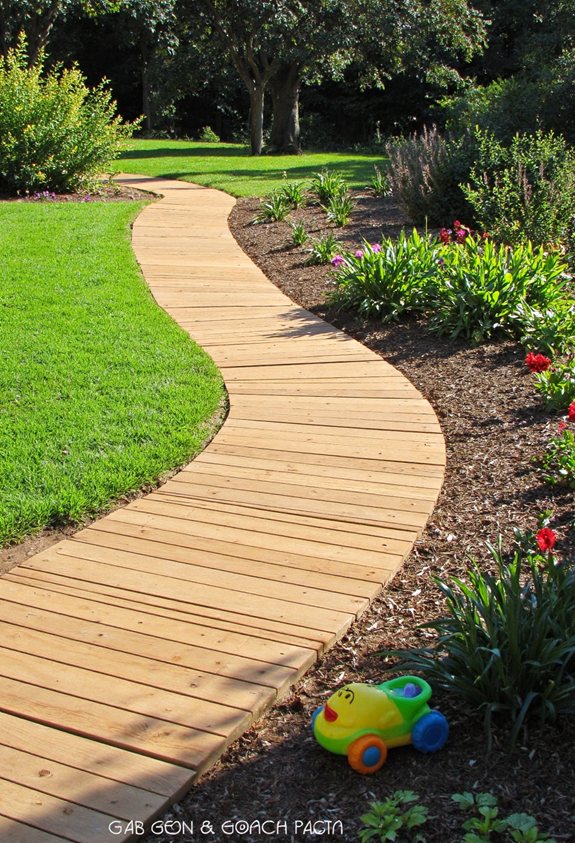
Create Curved Borders Using Flexible Bamboo Timber
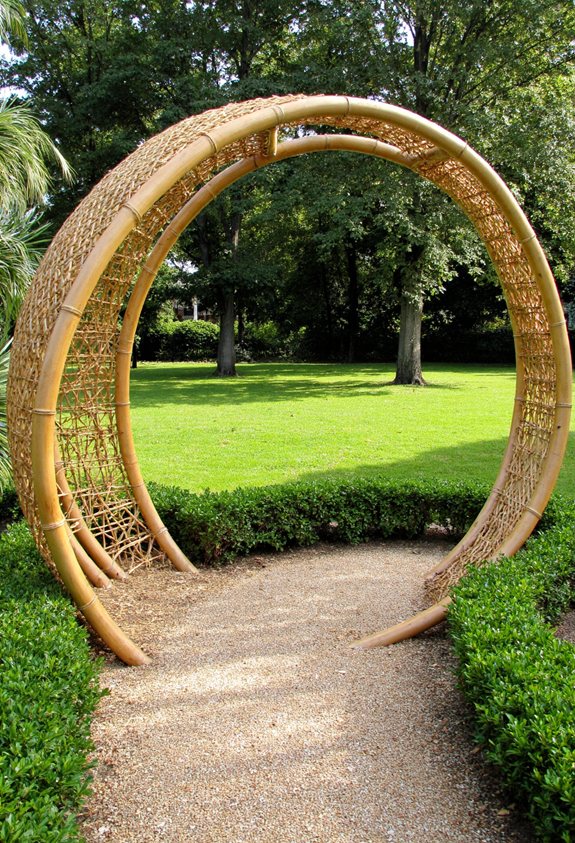
One quick way to add a whimsical touch to your garden is by bending flexible bamboo timber into graceful curves.
You’ll soak the stalks, then gently shape them around a garden hose or a rope to set the arc.
Secure the bamboo with garden stakes or zip ties, and watch the curvy border hug your flower beds, turning ordinary paths into playful, natural sculptures. This idea mirrors the concept of clustered mirrors, where unique arrangements create dynamic and engaging focal points in outdoor spaces.
Build a Raised Bed Frame With Reclaimed Pallet Planks
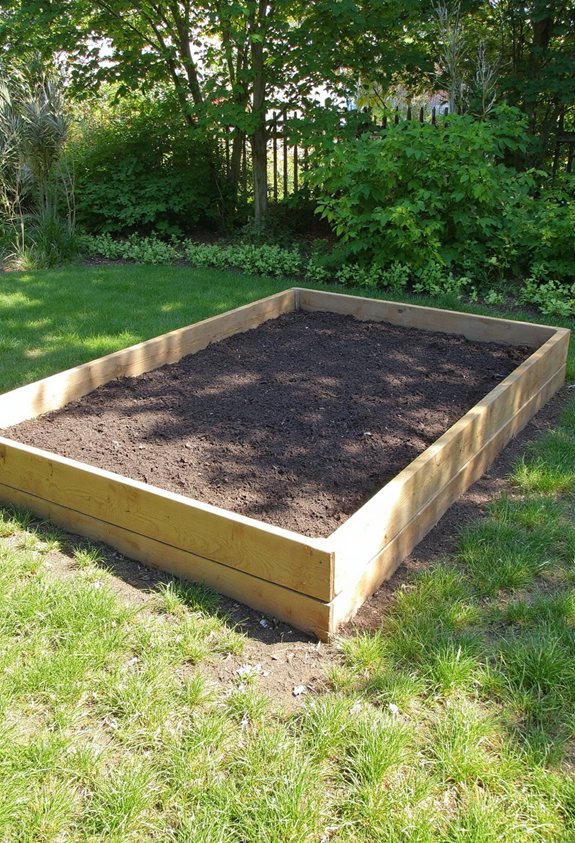
After bending bamboo into playful curves, you might notice the garden still needs a sturdy base for veggies and herbs.
Grab reclaimed pallet planks, sand any rough edges, then cut them to your desired length.
Lay them in a rectangle, secure corners with brackets, and fill the frame with soil.
You’ll love the eco‑friendly look and the easy access for planting, plus the brag‑worthy reuse story. Incorporating stackable storage bins can further enhance your garden organization by keeping tools and supplies neatly arranged nearby.
Install a Rustic Stone‑Inlaid Timber Edge for Visual Contrast
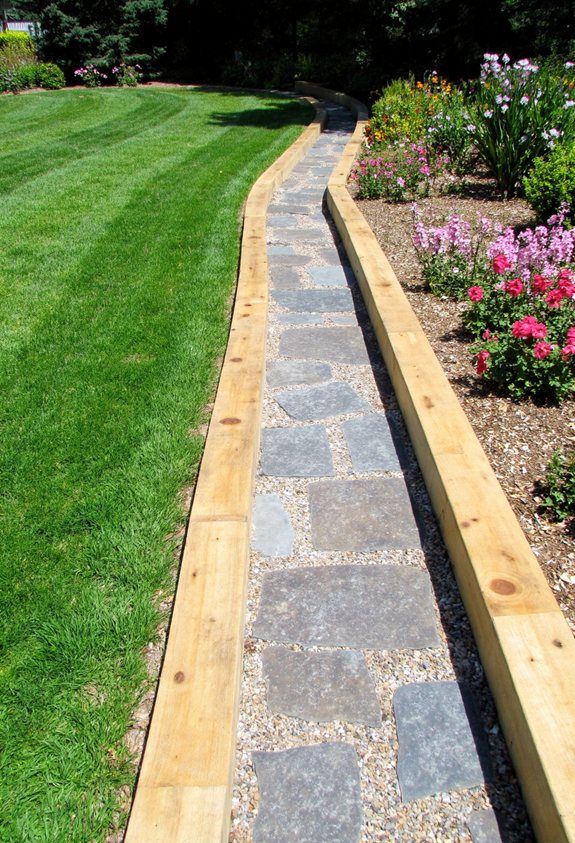
If you want your garden to feel like a cozy cabin clearing, try pairing a rustic timber edge with a stone inlay.
Lay a sturdy wooden border, then embed flat river rocks or slate pieces at intervals.
The stone’s speckled texture contrasts the warm wood, creating depth and visual interest.
You’ll love the tactile feel underfoot and the charming, rugged vibe it adds. This design approach mirrors the architectural harmony found in many sophisticated indoor pool settings.
Design a Floating Deck‑Style Edge for Modern Minimalism
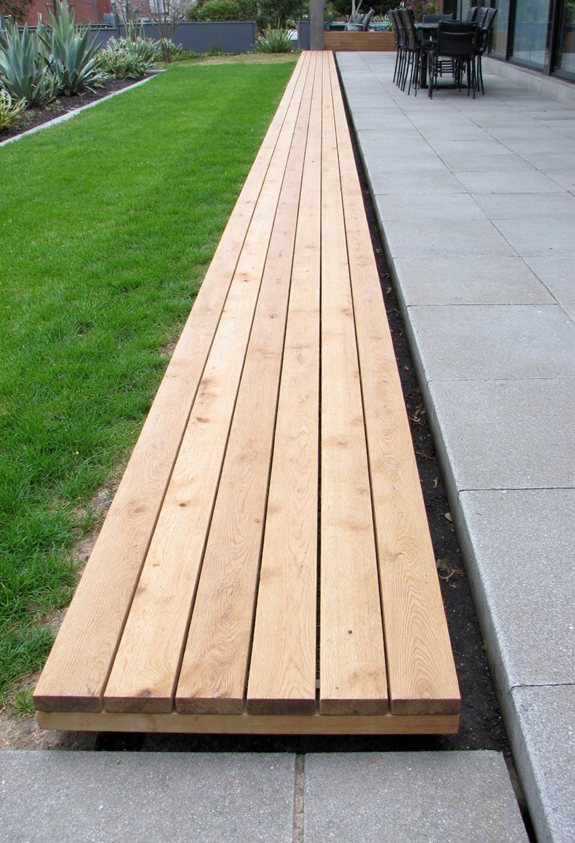
A floating deck‑style edge can instantly give your garden a sleek, modern vibe that feels both airy and grounded. You’ll love how the thin timber appears to hover over the soil, creating clean lines that whisper sophistication.
- Use thin, pressure‑treated planks spaced a few inches apart.
- Anchor with hidden brackets for a seamless look.
- Pair with low‑maintenance ground cover to emphasize the “floating” effect. Incorporating low-maintenance options will reduce upkeep and enhance the overall aesthetic of your outdoor space.
Add a Low‑Height Seating Nook Using Wide Timber Slats
Ever thought a simple row of wide timber slats could turn a dull corner into a cozy nook?
You can lay the slats low, around twelve inches, and space them a little apart for breathable comfort.
Add a couple of cushions, a small side table, and you’ve got an instant reading spot.
It feels like a secret garden bench, perfect for sipping lemonade and watching fireflies. Incorporating layering textures with different cushion materials can enhance the comfort of your nook even further.
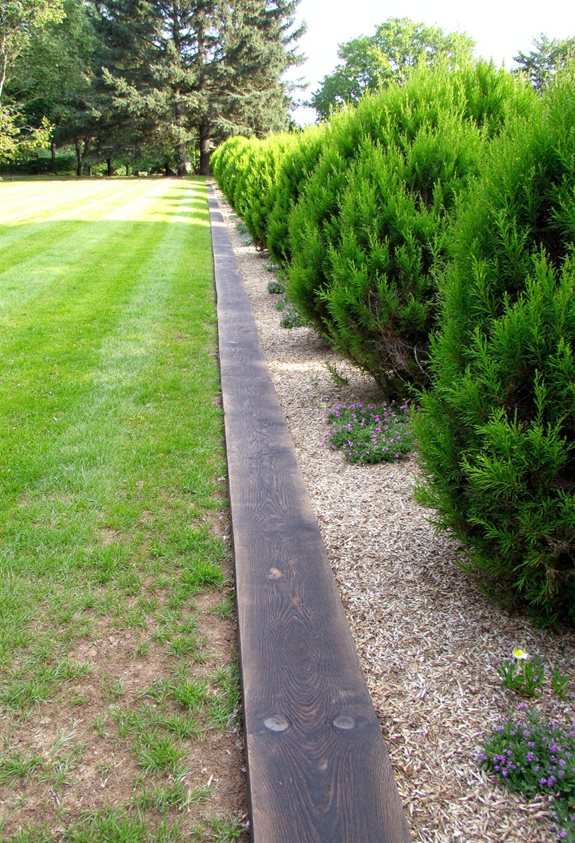
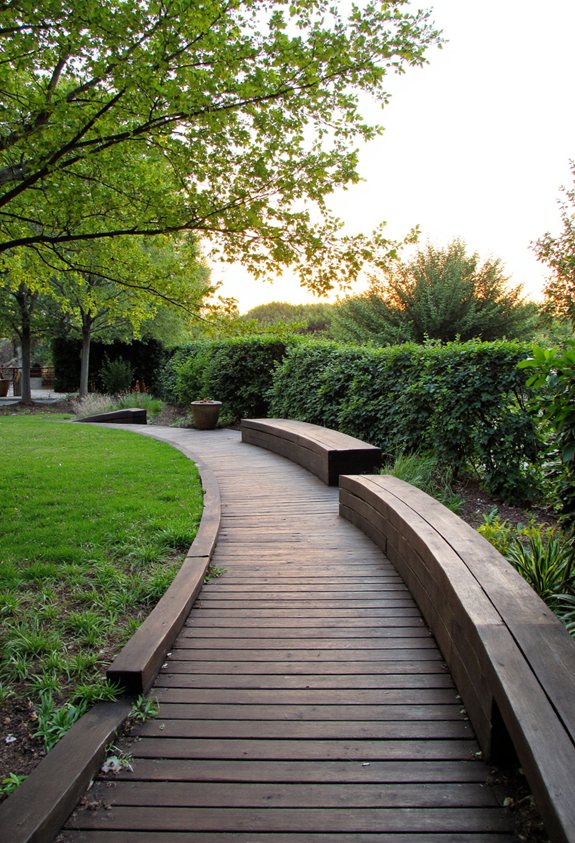
Craft a Multi‑Level Terrace Edge With Staggered Board Heights
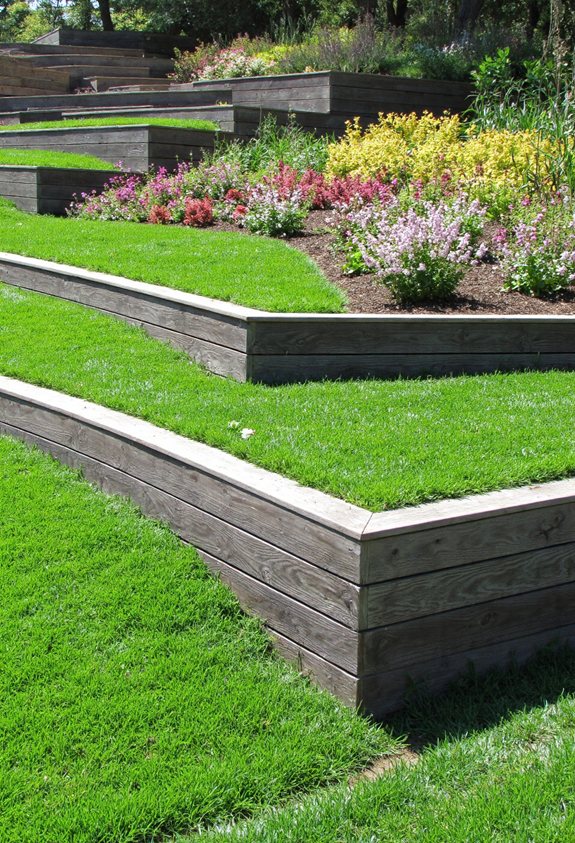
When you layer timber boards at different heights along your terrace edge, you instantly give the space a dynamic, stepped look that feels both modern and inviting. You’ll notice how light dances across each tier, creating playful shadows. Incorporating layered lighting solutions can further enhance the ambiance of your outdoor space in the evening.
- Choose three heights for visual interest.
- Secure each board with hidden brackets.
- Finish with a weather‑proof stain for lasting charm.
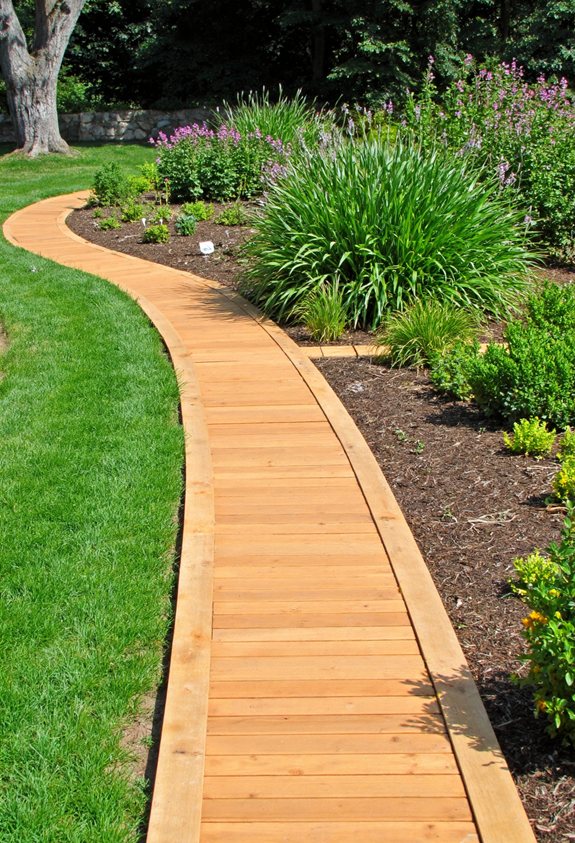
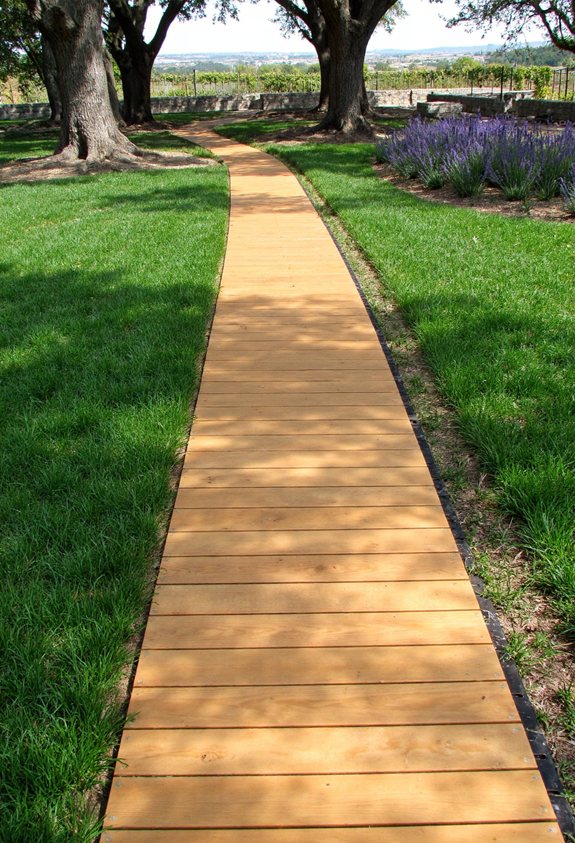
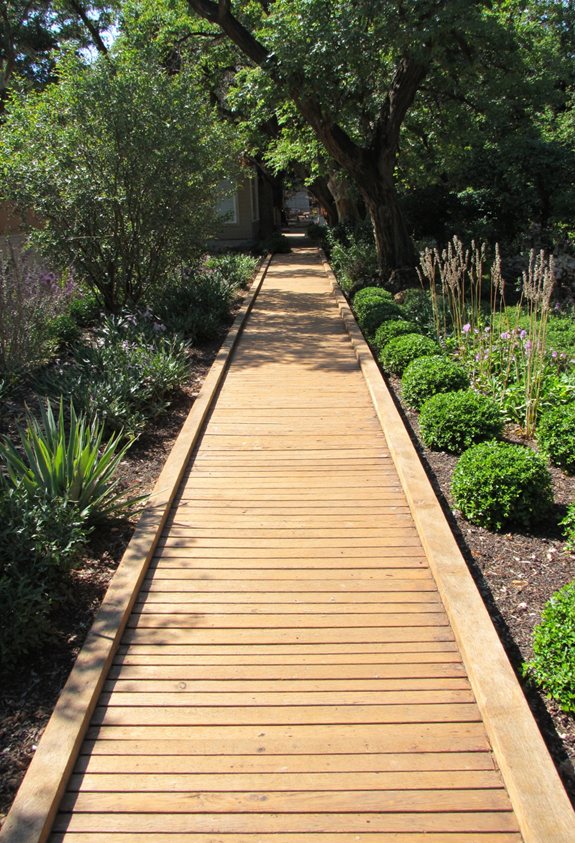
Use Horizontal Slats to Define Pathways While Allowing Light Flow
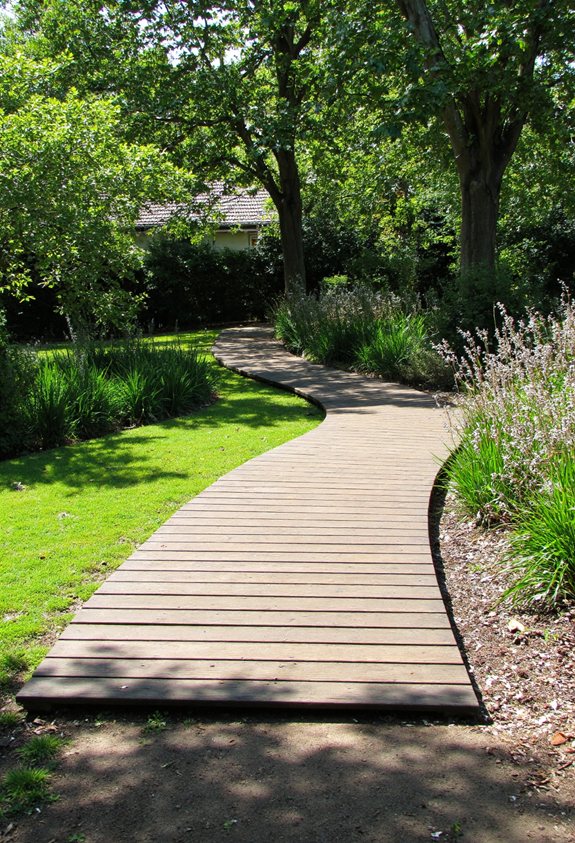
How could a simple row of timber slats turn a dull garden path into a bright, inviting corridor?
You line the slats horizontally, leaving gaps that let sunshine dance across the walkway.
The wood’s warm tone frames each step, while the spaces keep the path airy and safe from puddles.
It feels like walking through a natural, sun‑lit tunnel—easy, stylish, and instantly uplifting. Additionally, incorporating natural light into your garden design can enhance overall ambiance and create a welcoming atmosphere.
Incorporate LED Strip Lighting Behind Thin Timber for Nighttime Glow
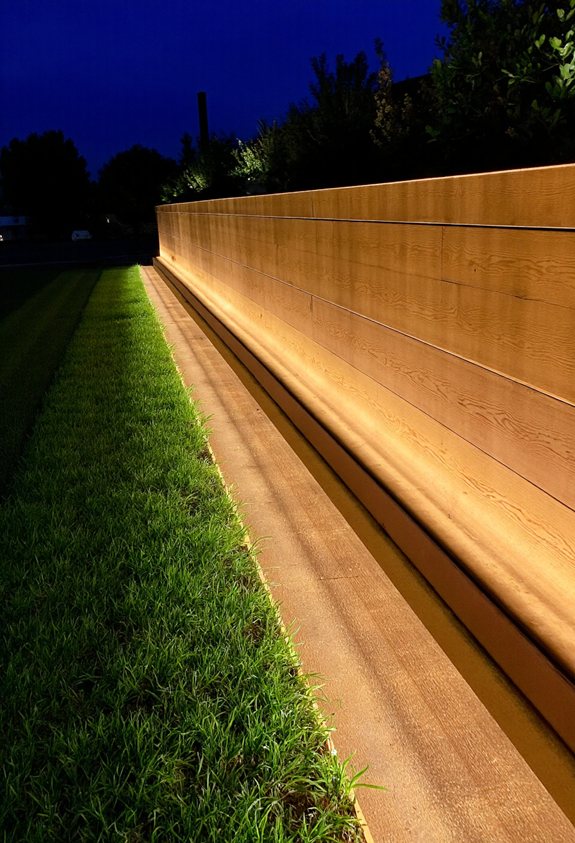
If you slip a thin strip of LED light behind a modest timber board, the garden path instantly transforms into a glowing runway after dark. You’ll love the soft, safe illumination that guides late‑night strolls and adds drama to simple edges.
- Choose waterproof LED strips for durability.
- Secure the strip with a narrow groove in the timber.
- Use a dimmer to set the perfect night‑time vibe.
Combine Timber With Metal Brackets for Ultra‑Durable Garden Borders
After lighting up your path with LED strips, you’ll notice that the timber edges still need some muscle to stay straight and strong, especially when weather throws its tantrums.
Snap sturdy metal brackets onto each post, then bolt the timber into the slots.
The metal holds the wood tight, preventing wobble during wind or rain.
You’ll love the sleek, rugged look and the peace of mind knowing your garden border won’t sag.
Install a Water‑Resistant Cedar Edge Around Water Features
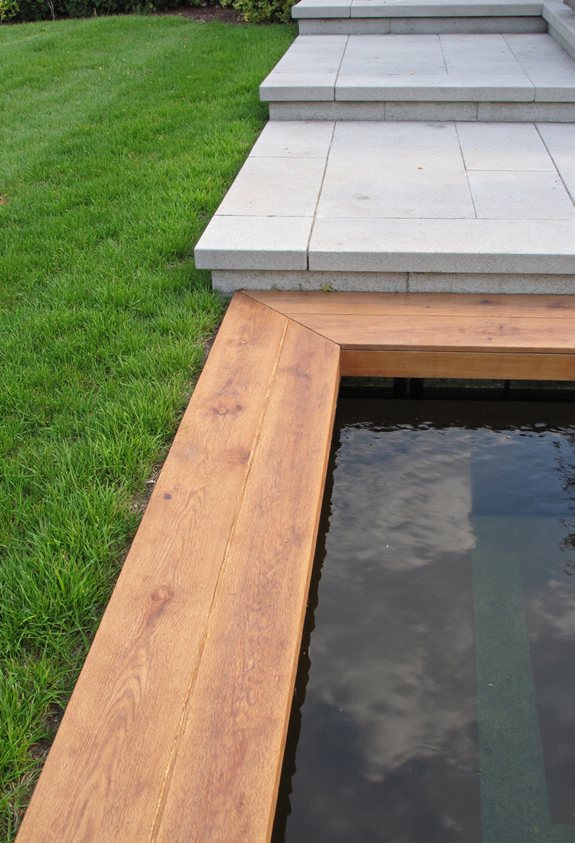
When you’re setting up a pond or a splash‑pad, a cedar edge does more than just look good—it protects the surrounding soil and keeps the water from eroding the garden’s borders.
- Pre‑treat the cedar with a water‑resistant sealant for extra durability.
- Use staggered boards to create a natural, wavy look that guides water flow.
- Secure each piece with stainless‑steel screws to prevent rust and wobble.
Build a Child‑Friendly Play Area Border With Smooth‑Sanded Lumber
A smooth‑sanded lumber border does more than just frame a kid’s play zone—it creates a safe, welcoming edge that feels like a gentle hug for little explorers.
You’ll cut the boards to fit, sand each side until it’s soft, and lay them flush with the grass.
Kids can run, tumble, and climb without splinters, and you’ll love the tidy, kid‑proof look.
Apply a Weather‑Proof Finish to Extend Edge Longevity
Because the garden’s edge will face sun, rain, and occasional foot traffic, giving it a weather‑proof finish is the smartest move you can make.
Choose a durable sealant, apply it evenly, and let it cure fully for lasting protection.
- Pick a UV‑resistant spar urethane
- Use a brush or roller for smooth coverage
- Reapply every 2–3 years for peak performance
Integrate Planters Directly Into Timber Edges for Space‑Saving Greenery
After sealing the timber edges, you can turn those sturdy strips into mini‑planters that save space and add instant greenery.
Cut shallow pockets, line them with landscape fabric, and fill with soil.
Plant low‑maintenance herbs or succulents, then water gently.
The edges become living borders, brightening pathways while keeping pots off the ground—practical, pretty, and perfect for tiny yards.
Blend Timber Edge With Gravel or Mulch for a Seamless Landscape Transition

Mixing timber edges with gravel or mulch creates a smooth, natural bridge between hardscape and softscape, making your garden feel like a single, flowing scene. You’ll notice how the textures blend, softening edges and guiding foot traffic.
- Lay a thin gravel layer right against the timber.
- Spread mulch to soften the shift and retain moisture.
- Choose colors that echo your plants for visual harmony.