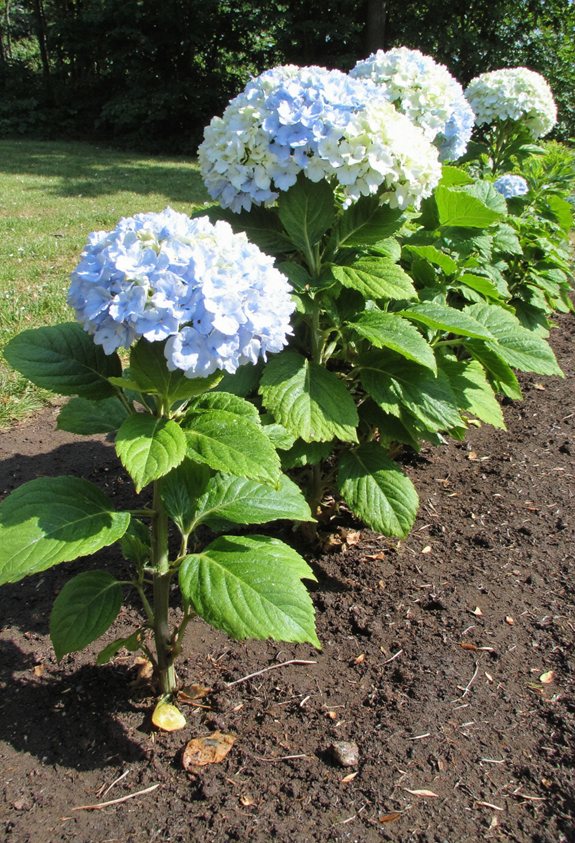
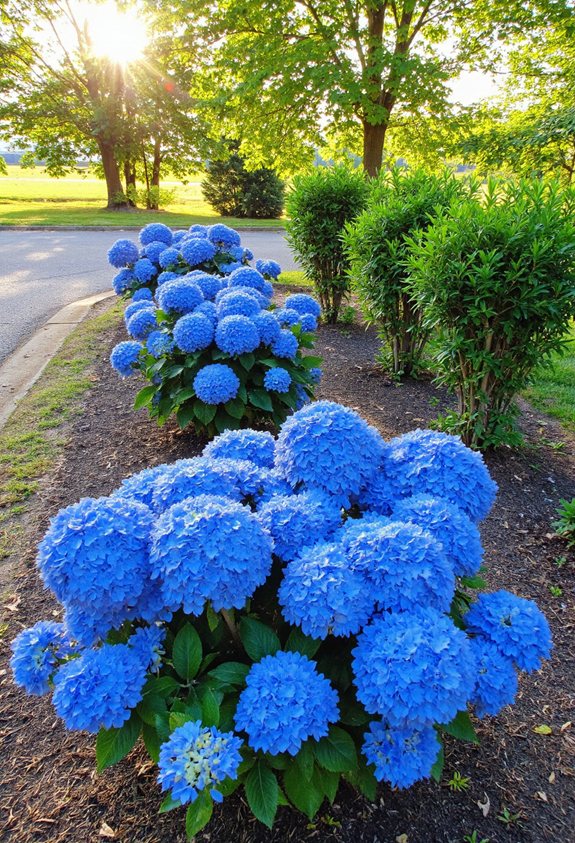
Pick a heat‑tolerant Endless Summer variety, plant it in a sunny spot with at least six hours of light, and make sure the soil drains well and is slightly acidic—add compost, sand, and a splash of lime or sulfur to adjust pH. Water deeply at planting, then keep the soil evenly moist with a drip system, mulching lightly to keep roots cool.
Prune before bud break, trimming one‑third of the stems, and thin crowded growth in spring for a tidy mop‑top shape. Pair it with hostas or lavender for texture, use decorative stakes for heavy blooms, and keep a simple calendar for watering, feeding, and pruning. Stick with these steps and you’ll see vibrant colors and healthy growth, plus a few extra tricks await if you keep going.
Choose the Right Endless Summer Hydrangea Variety
When you start hunting for the perfect Endless Summer hydrangea, think of it like picking a teammate for a school play—you want someone who fits the stage, shines in the spotlight, and doesn’t flop under pressure.
Choose a variety that tolerates heat, resists disease, and blooms all summer.
Look for compact forms for small gardens, or tall, arching types if you crave drama and drama. Additionally, consider how hydrangeas can thrive in an outdoor spa bathroom design to create a stunning retreat in your garden.
Understand the Climate Zones That Suit Endless Summer
After picking the perfect variety, the next step is figuring out if your backyard’s climate will treat it like a star or a wallflower. You’ll thrive in zones 5‑9, where winters are mild enough and summers aren’t scorching. Check hardiness maps, watch frost dates, and note humidity—these clues decide if your hydrangea will blossom or wilt.
- Zone 5 – 6: cold‑tolerant, occasional frost
- Zone 7 – 8: ideal, balanced temperature
- Zone 9: warm, minimal frost, watch for heat stress
- Microclimates: sunny spots vs. shaded corners matter too. Functional and design aesthetics can also play a role in the overall success of your garden layout.
Pick the Ideal Planting Location in Your Garden
If you spot a sunny spot that’s sheltered from the wind, you’ve found the sweet‑spot for your Endless Summer hydrangea.
Choose a location that gets at least six hours of light but isn’t scorched at noon. Plant near a fence or shrub that breaks gusts, and keep it a few feet away from concrete walls that trap heat.
This spot lets the plant thrive, showing vibrant blooms all season. Additionally, selecting kid-safe materials can enhance the overall appeal and safety of your garden space.
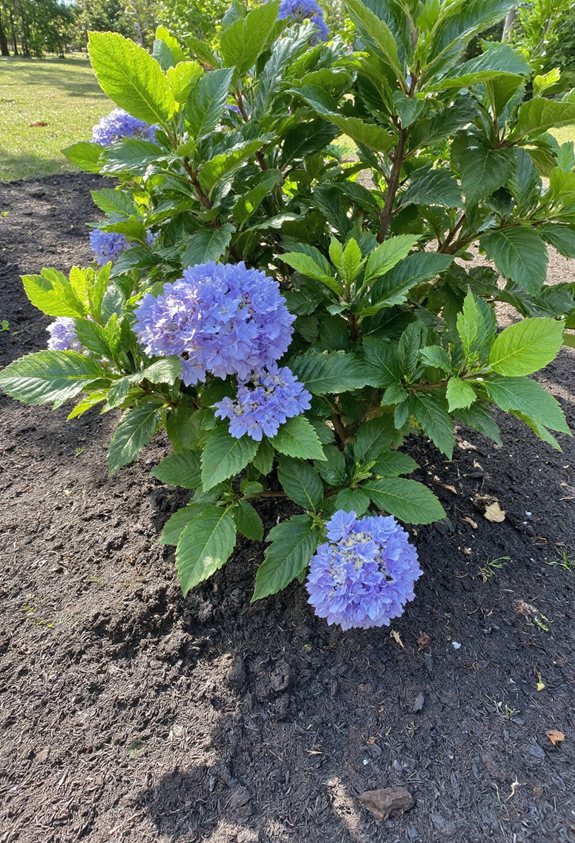
Test and Amend Soil pH for Optimal Bloom Color
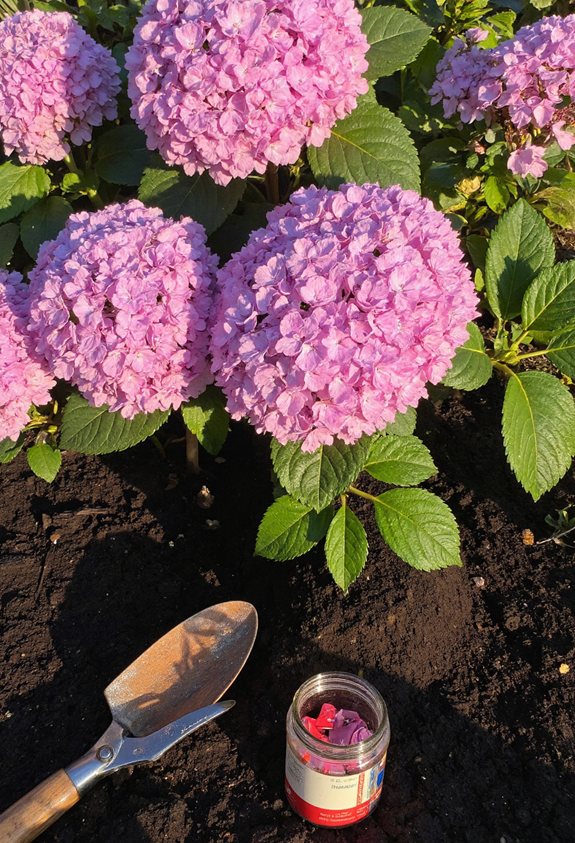
Even though the soil looks fine at first glance, its pH can secretly dictate whether your Endless Summer hydrangea shows off pink, blue, or purple blossoms. Test with a simple kit, then adjust: add sulfur for acidity, lime for alkalinity, compost for balance, and re‑test after a week.
- Use a garden‑store pH meter or kit
- Add elemental sulfur to lower pH
- Sprinkle garden lime to raise pH
- Mix compost to stabilize and improve texture
Additionally, incorporating banana peel fertilizer can help enhance potassium levels, which further supports vibrant blooms.
Prepare a Well‑Draining Planting Bed in One Step
When you dig a hole for your Endless Summer hydrangea, think of it as creating a comfy, well‑draining mattress for the roots.
Mix coarse sand, perlite, and a bit of compost into the native soil, then spread the blend evenly. This single step builds a fluffy, airy base that lets excess water slip away, keeping roots happy and preventing soggy surprises. Additionally, you might consider adopting Marie Kondo’s organizing principles to ensure your planting area remains clutter-free and conducive to healthy growth.
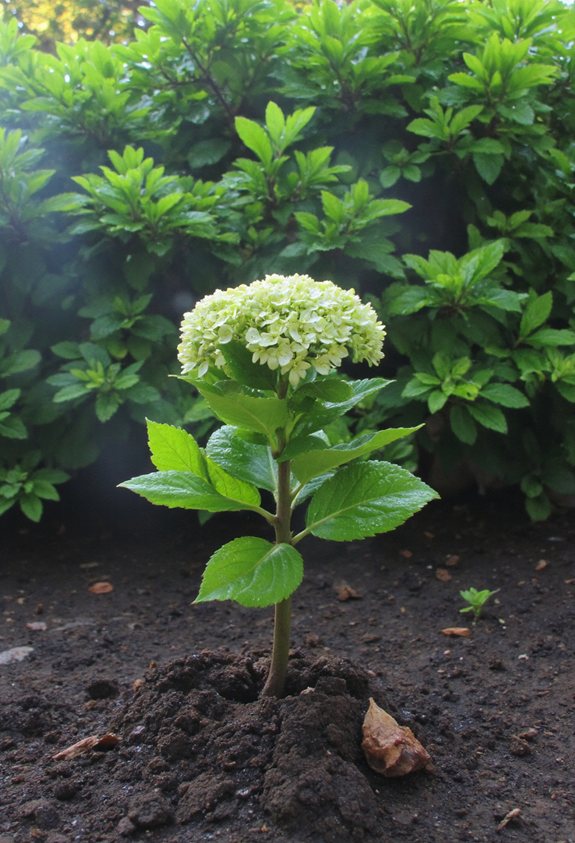
Plant Your Hydrangea at the Correct Depth and Spacing
Because a hydrangea’s roots love a cozy, stable spot, you’ll want to plant it at the same depth it had in its pot and give each shrub enough room to grow—usually about 3 to 4 feet apart.
Dig a hole wide enough for the root ball, backfill gently, and pat the soil.
- Keep the crown level with the soil surface.
- Space plants 3‑4 feet apart for airflow.
- Mulch lightly to retain moisture.
- Avoid burying stems deeper than they were in the pot. Adding dedicated spaces for different plant types can further enhance your garden’s organization.
Water Newly Planted Shrubs for Strong Root Development
After you’ve settled the hydrangea into its new home, give it a good drink to kick‑start those roots.
Water deeply once, then let the soil soak for 15‑20 minutes, ensuring moisture reaches the entire root zone.
Keep the soil evenly damp for the first two weeks, but avoid soggy patches.
A steady, gentle watering routine encourages strong, healthy roots without drowning the plant. Additionally, consider using ceiling-mounted racks for storing gardening tools to keep your workspace organized and efficient.
Set Up a Mulch Layer to Conserve Moisture
You’ve already given your hydrangea a solid drink, now it’s time to lock that moisture in with mulch.
Spread a 2‑3‑inch blanket of organic material around the base, keeping it a few inches from the stem. This barrier cuts evaporation, moderates temperature, and feeds the soil as it breaks down.
- Use shredded bark or pine needles.
- Avoid piling mulch against the trunk.
- Refresh the layer annually.
- Choose light‑colored mulch to reflect heat.
Additionally, consider adding decorative elements to your garden space, such as unique coffee table designs, to create a beautiful outdoor atmosphere.
Establish a Balanced Fertilizer Schedule for Continuous Growth
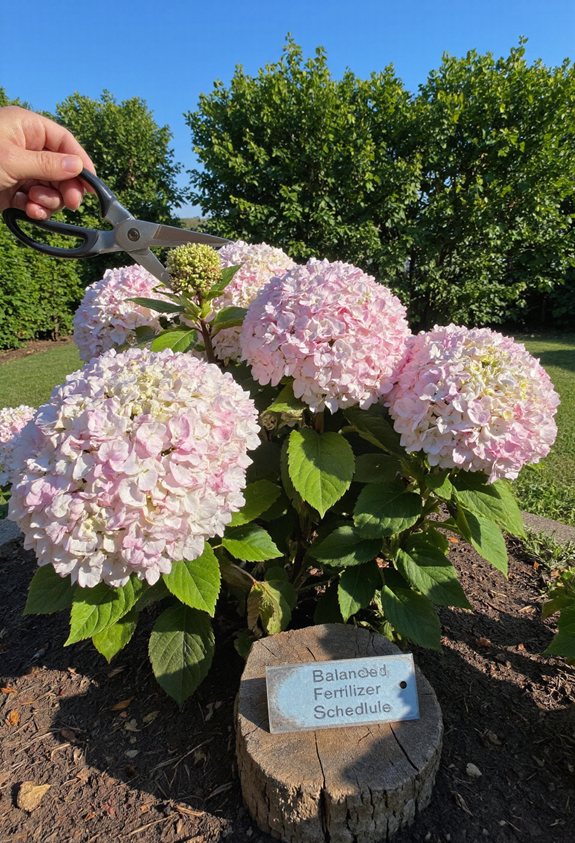
A steady feeding plan is the secret sauce that keeps your hydrangeas thriving from spring bloom to autumn fade.
Feed them with a balanced N‑P‑K mix every six weeks, adjusting for rain.
Early spring, boost growth; mid‑summer, support blooms; late fall, prep roots.
Watch leaves turn richer, and enjoy the steady, vibrant show—no guesswork needed. Established, timeless pieces contribute to an everlasting garden aesthetic.
Choose a Slow‑Release Fertilizer for Seasonal Feeding
When the weather starts to warm, picking a slow‑release fertilizer is like setting a timer for your hydrangeas’ snack breaks. It feeds them steadily, so you’ll see vibrant blooms without constant fuss. Choose a formula with balanced N‑P‑K, apply in early spring, and let the granules dissolve gradually.
- Granular pellets that last 8‑10 weeks
- 10‑10‑10 or 14‑14‑14 ratio for all‑round health
- Easy to spread with a hand‑trowel
- Safe for pets and kids when used as directed
- Consider adding seasonal fertilizer options to provide tailored nutrients throughout the year.
Monitor and Adjust Watering During Hot Summer Months
Even when the sun blazes, your hydrangeas still need a steady sip, not a desert‑like drought.
Check the soil daily; if the top inch feels dry, water deeply until it seeps to the roots.
In heat spikes, water twice a day, early morning and late evening, to prevent scorching.
Mulch helps retain moisture, so add a thin layer of organic mulch around each plant.
Adjust timing based on cloud cover and wind.
Identify Early Signs of Over‑ or Under‑watering
If you ever notice your hydrangea’s leaves turning limp and yellow while the soil feels soggy, you’re probably over‑watering; conversely, crisp, brown leaf tips and a dry, crumbly pot signal under‑watering.
- Wilting leaves during rain‑free days
- Yellow patches spreading from leaf edges
- Soil that stays wet for days
- Brown tips that curl and dry out
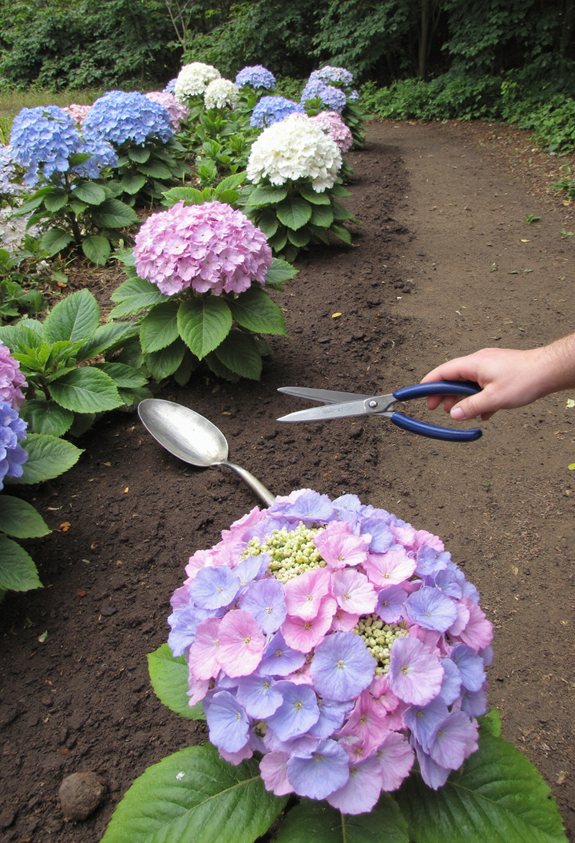
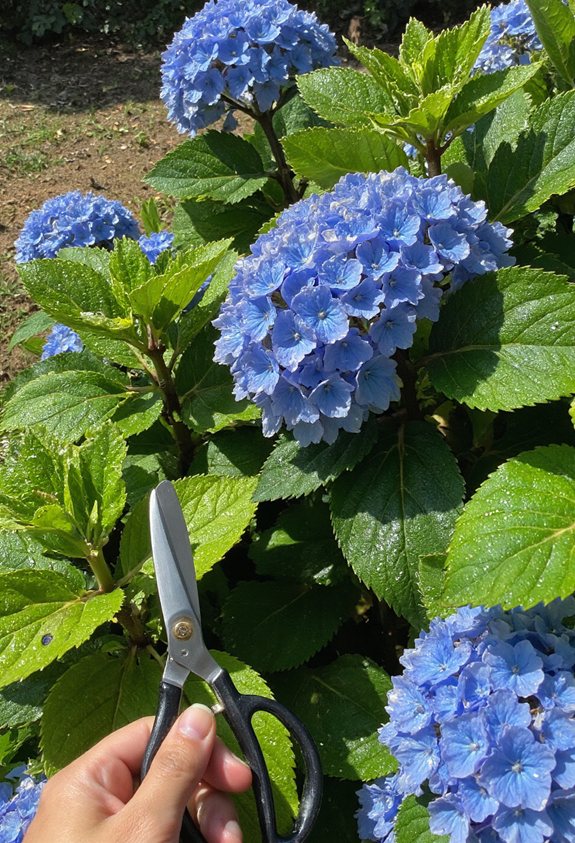
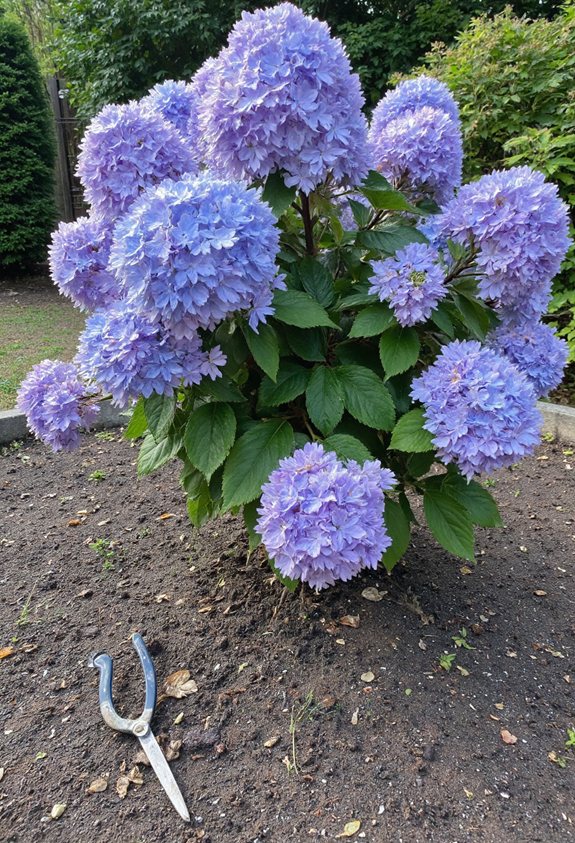
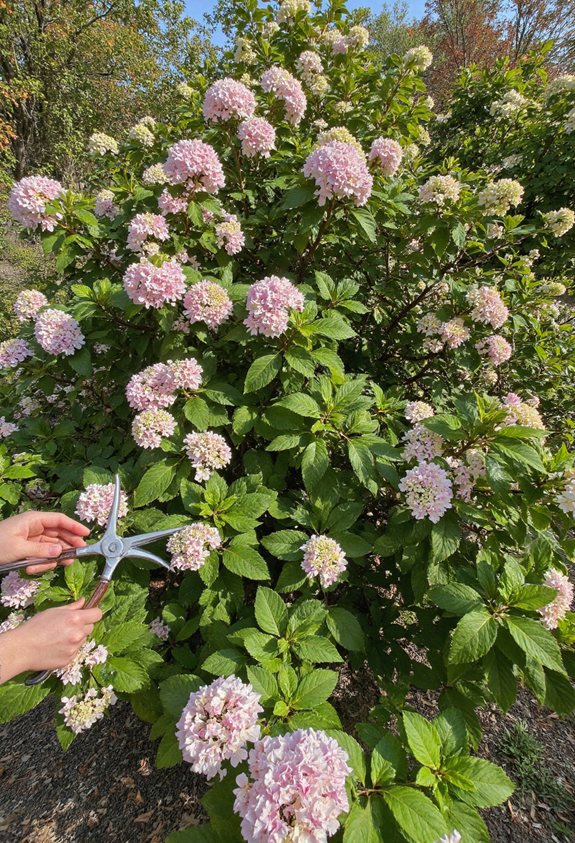
Prune in Late Winter to Shape the Plant Before Bud Break
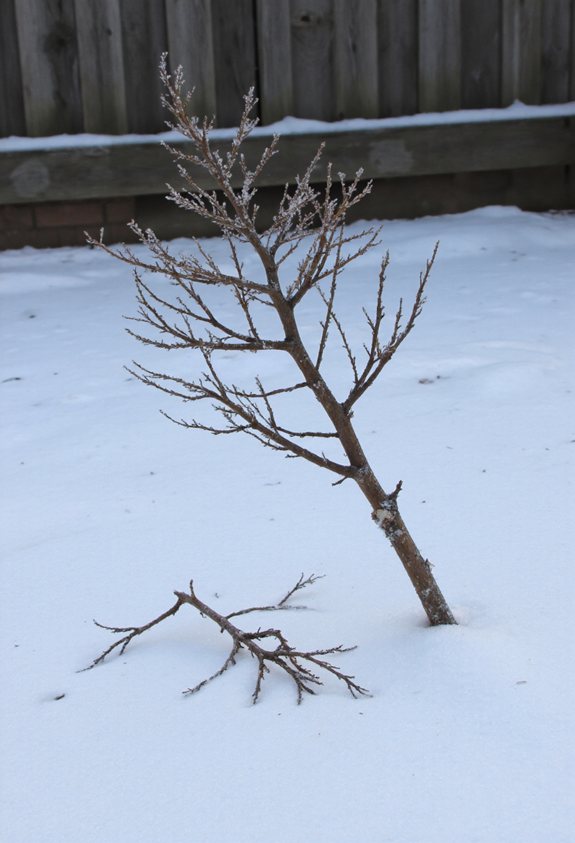
Because the buds haven’t broken yet, late winter is the perfect window to shape your hydrangea without shocking it.
Grab sharp pruning shears, step back, and imagine the plant’s silhouette.
Snip back any overly long stems to about a third of their length, keeping the base sturdy.
Aim for a balanced, airy shape that lets light flood in, and enjoy the crisp, satisfying snap of each cut.
Remove Dead or Damaged Branches for Healthier Growth
When you spot a twig that’s brown, brittle, or missing leaves, it’s a clear sign that the branch is dead or damaged, and removing it will give your hydrangea a chance to thrive. Clip it back to clean wood, sanitize tools, and step back to admire the fresh look.
- Use sharp pruning shears
- Cut just above a healthy bud
- Dispose of debris to prevent disease
- Check for hidden damage before finishing
Thin Out Crowded Stems to Improve Air Circulation
Even though your hydrangea looks dense, those crowded stems are actually stealing air and sunlight from each other, which can invite mildew and slow growth.
Gently pull apart weak or crossing shoots, leaving about 4–6 inches between the strongest can.
Trim the extras at the base, and watch new buds breathe easier, blooming brighter and healthier.
Trim for a Compact Mop‑Top Shape Without Sacrificing Blooms
After you’ve cleared out the tangled stems, the next step is shaping the plant into a tidy, mop‑top silhouette while still letting those big blooms shine.
Trim just above the first set of healthy buds, keep cuts clean, and step back often to gauge the roundness. This method preserves flower clusters and gives a plush, compact look.
- Cut just above new buds
- Use sharp, clean shears
- Remove any crossing or dead wood
- Step back frequently to check symmetry
Pinch Back New Growth to Encourage Bushier Foliage
Ever wondered why your hydrangea looks a bit lanky after a burst of new shoots?
Pinch the tips of those fresh stems with your thumb and forefinger.
This tiny nudge tells the plant to stop growing tall and start branching out, filling gaps with lush foliage.
You’ll see denser leaves, a fuller shape, and fewer sad, spindly stems—plus a little garden bragging rights.
Schedule Summer Light Pruning to Maintain Size and Form
When midsummer heat hits your garden, a quick, light pruning session can keep your hydrangea looking tidy without shocking it. Trim just a few inches of new shoots, shape the plant, and remove any wilted leaves. This gentle touch encourages healthy growth and keeps the bloom display compact.
- Cut back 1‑2 inches of soft new growth
- Remove dead or yellowing foliage
- Shape the outer branches for a balanced silhouette
- Do it in the early morning when the plant is rested
Avoid Heavy Cutting in Late Summer to Preserve Flower Buds
If you let your hydrangea go wild in late summer, you’ll end up snipping off the buds that are just about to burst into those gorgeous, fluffy flowers.
Instead, trim lightly, keeping cuts above the newest growth.
Heavy pruning at this stage removes the future blooms you’ve been waiting for.
Think of it as a gentle haircut, not a full shave—your plant will thank you with vibrant, lasting color.
Apply a Protective Winter Cover for Cold‑Sensitive Zones
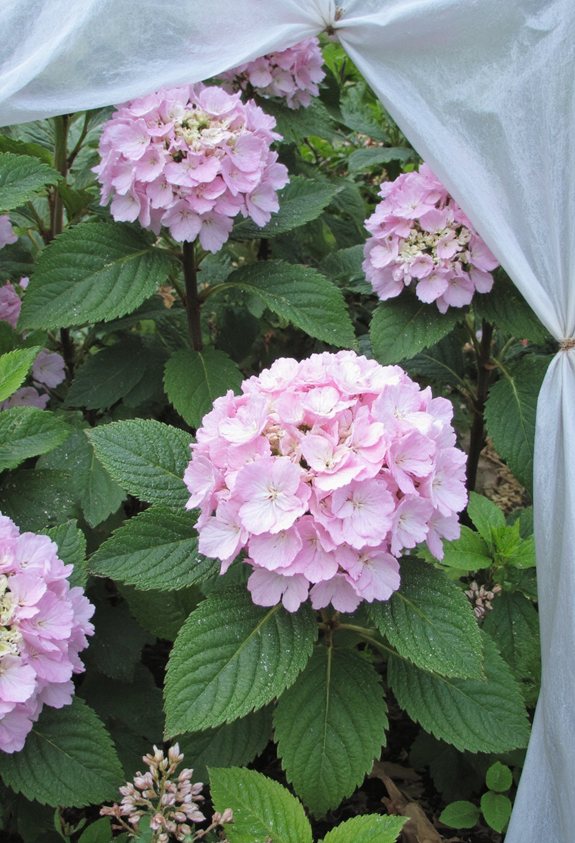
Because frost can sneak up on your hydrangeas, you’ll want to wrap them up before the first hard freeze hits.
Choose breathable fabric, secure it loosely, and add stakes for wind protection.
Check daily for moisture and adjust as snow melts. Your plants will thank you when spring arrives.
- Use burlap or frost cloth
- Tie with twine, not rope
- Stack straw or pine needles underneath
- Remove cover once temperatures stay above 40 °F
Use a Balanced Soil Amendment to Boost Winter Hardiness
After you’ve wrapped your hydrangeas for winter, the next step is to give the soil a boost so the roots stay cozy when the temperature drops.
Mix compost, aged bark, and a pinch of lime into the planting hole; this balanced amendment improves drainage and adds nutrients.
The result? Healthier roots that can brave frost, and you’ll notice greener shoots when spring arrives.
Detect and Treat Common Pests Like Aphids and Spider Mites
When a tiny army of aphids or spider mites shows up on your hydrangeas, you’ll notice the leaves turning yellow, curling, or speckled with tiny holes, and you might even feel a slight tickle on your fingertips as you brush them off. Act fast: spray neem oil, spray strong water, introduce ladybugs, or wipe leaves with a cotton swab dipped in soapy water.
- Spray neem oil early morning
- Use a strong water jet to dislodge pests
- Release ladybugs or predatory mites
- Wipe leaves with a soap‑water cotton swab
Manage Powdery Mildew With Organic Fungicide Options
One of the most common signs of powdery mildew on hydrangeas is that dusty, white coating that looks like a frosting on a cupcake.
Spray a homemade mix of baking soda, water, and a few drops of liquid soap every week.
Or try neem oil, which suffocates spores while feeding beneficial insects.
Both are safe, cheap, and keep your blooms looking fresh.
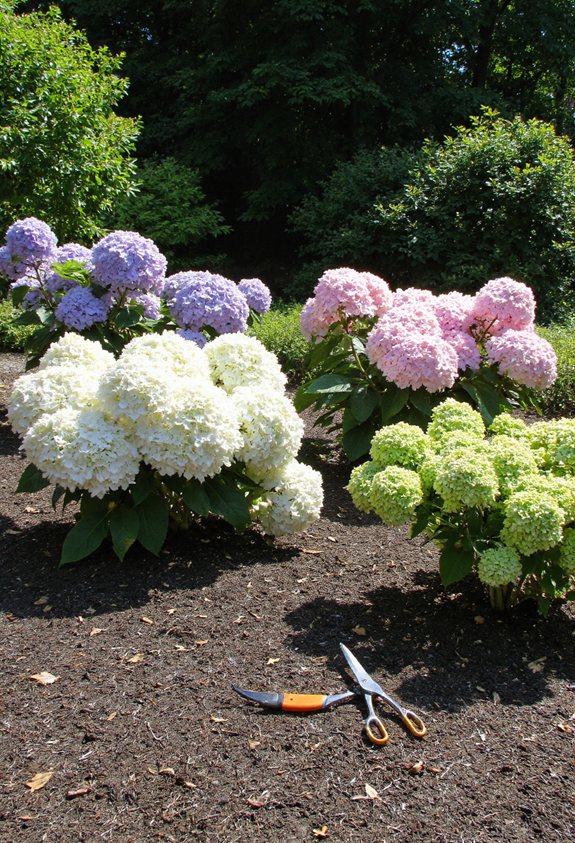
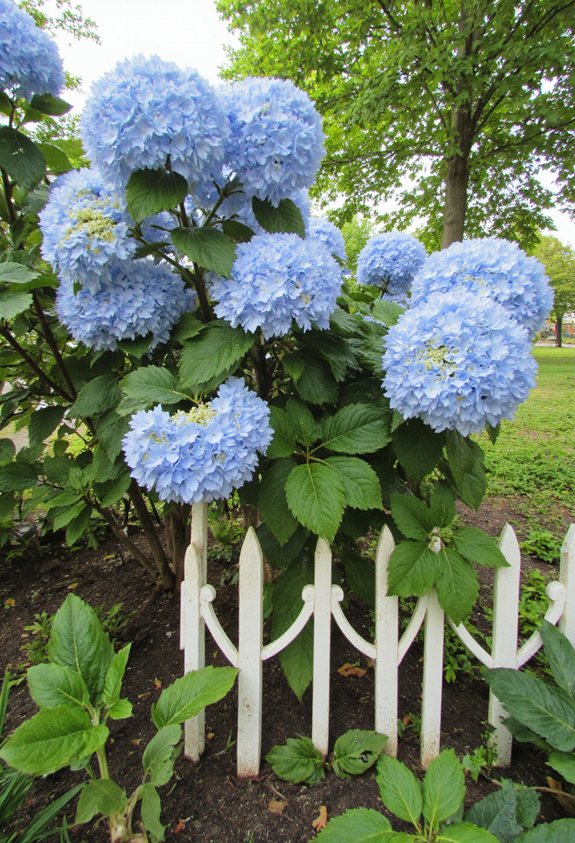
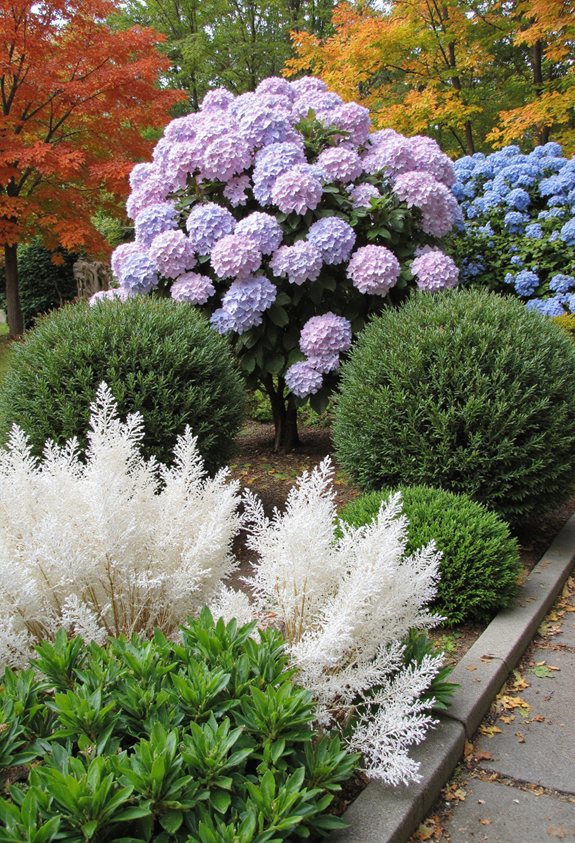
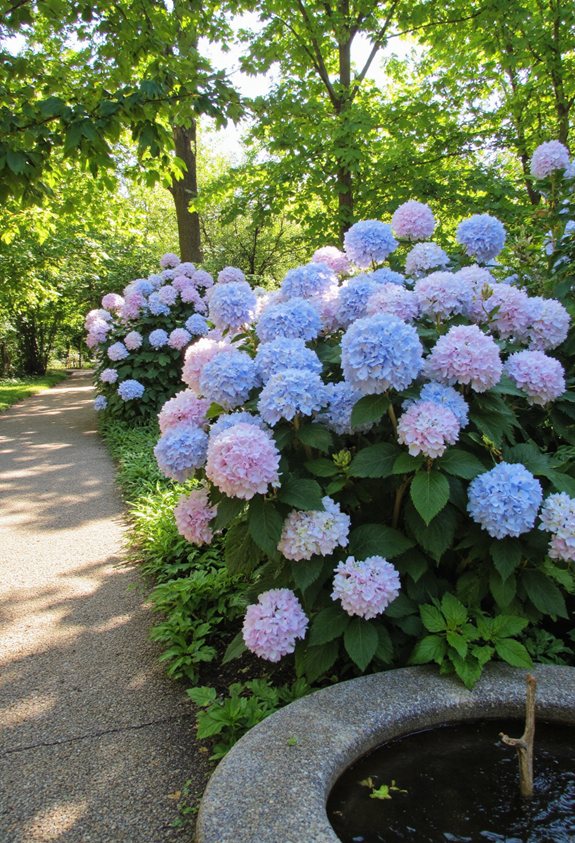
Choose Companion Plants That Enhance Hydrangea Display
Mixing in the right companions can turn a lone hydrangea into a show‑stopping garden star. You’ll notice brighter colors, fuller textures, and a lively backdrop that makes every bloom pop.
Choose plants that share similar sunlight and moisture needs, and watch the garden vibe lift instantly.
- Hostas for lush foliage contrast
- Lavender for fragrant, purple accents
- Ferns for soft, feathery edges
- Daylilies for seasonal color bursts
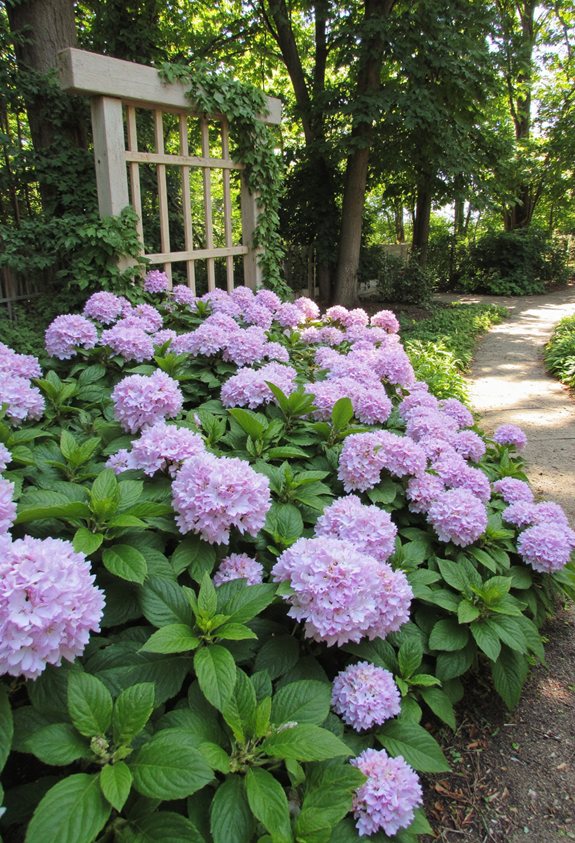
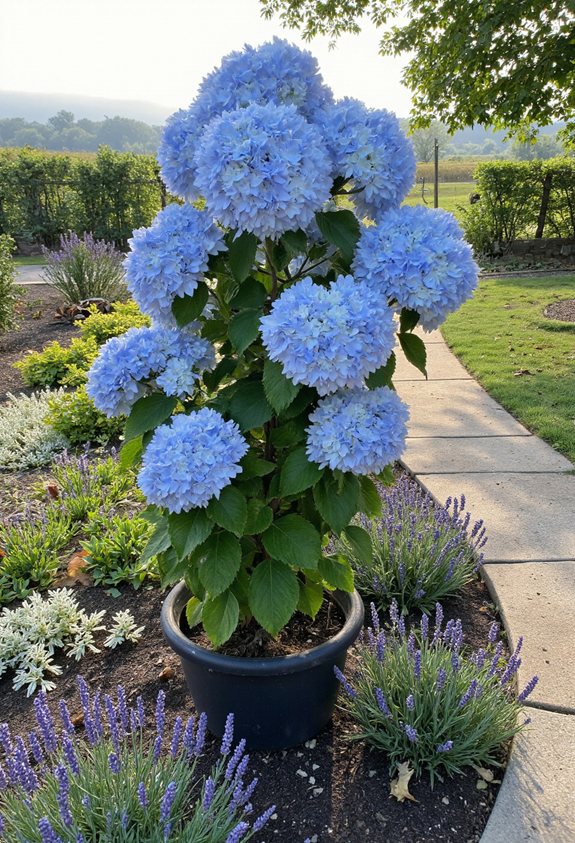
Design a Patio Container Arrangement With Endless Summer
Three large pots lined up on your patio can become a mini‑showcase for Endless Summer hydrangeas, and you’ll love how easy it’s to make them pop.
Pair a tall pot with a cascading variety, a medium one with a compact pink bloom, and a short pot with a dwarf white form.
Add a few lavender sprigs for contrast, and enjoy a colorful, low‑maintenance focal point.
Create a Raised Bed Garden Bed for Better Soil Control

After admiring those eye‑catching patio pots, you’ll notice how much easier it’s to keep the soil just right when you raise the garden bed.
You’ll control drainage, add compost, and keep roots cool, which all help your hydrangeas bloom all summer.
- Build a frame with untreated wood or stone.
- Fill with a mix of garden soil, peat, and sand.
- Add a layer of mulch on top.
- Install a simple irrigation drip line.
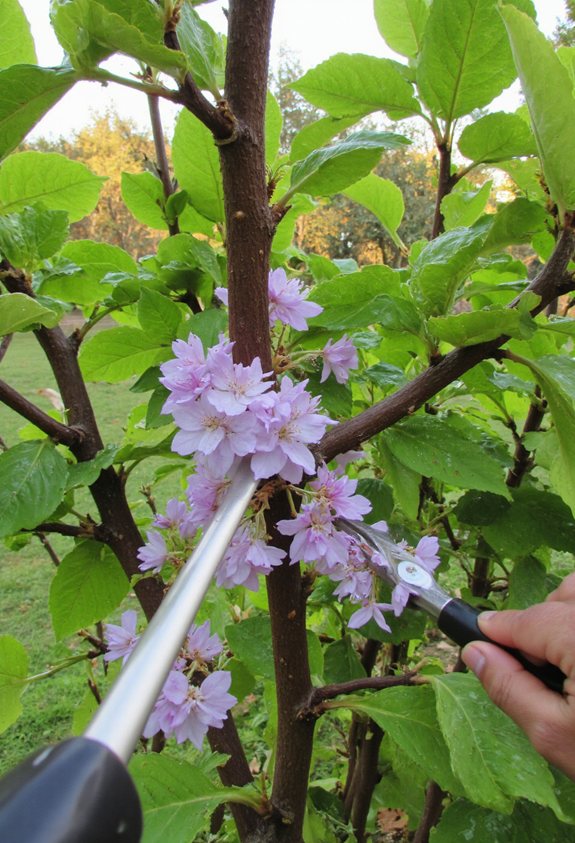
Incorporate Decorative Stakes to Support Heavy Blooms
Ever wondered how to keep those massive hydrangea heads from toppling over on a windy day?
Grab a decorative stake—think bright metal or painted wood—and gently push it into the soil beside each plant.
Tie the stems to the stake with soft garden twine, keeping the knot loose so the bloom can breathe.
The stake not only steadies heavy clusters but adds a pop of color, turning a gusty nightmare into a garden runway.
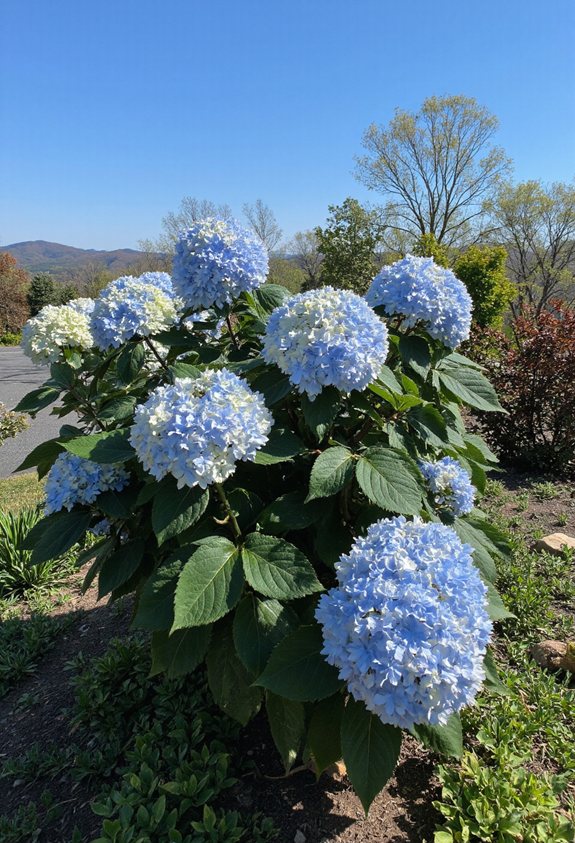
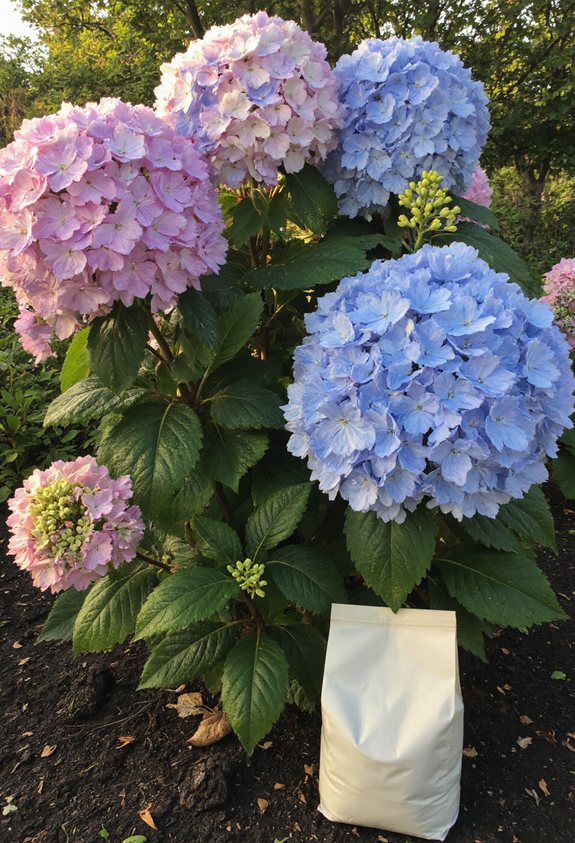
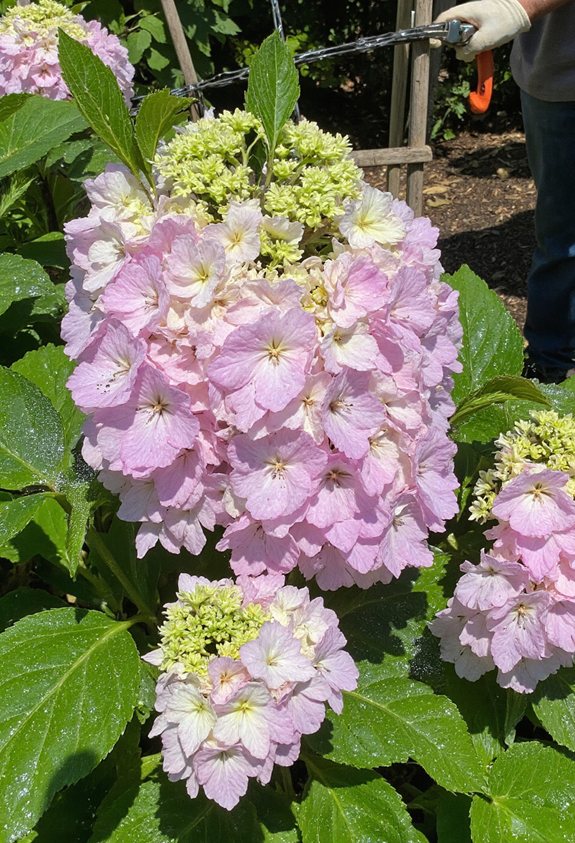
Use Color‑Enhancing Fertilizers to Deepen Blue or Pink Hues
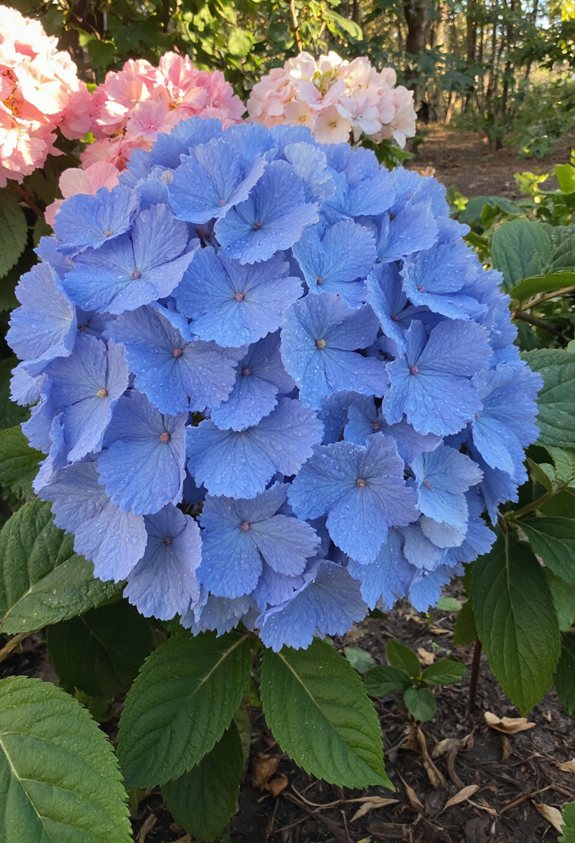
Ever wonder why some hydrangeas turn a sky‑blue while others blush pink?
You can coax richer hues by adjusting soil pH and feeding the right fertilizer.
Pick a product designed for color enhancement, follow the label, and watch the blossoms deepen dramatically.
- Test soil acidity first
- Choose aluminum‑rich fertilizer for blues
- Use phosphorus‑rich fertilizer for pinks
- Apply after watering, not during drought
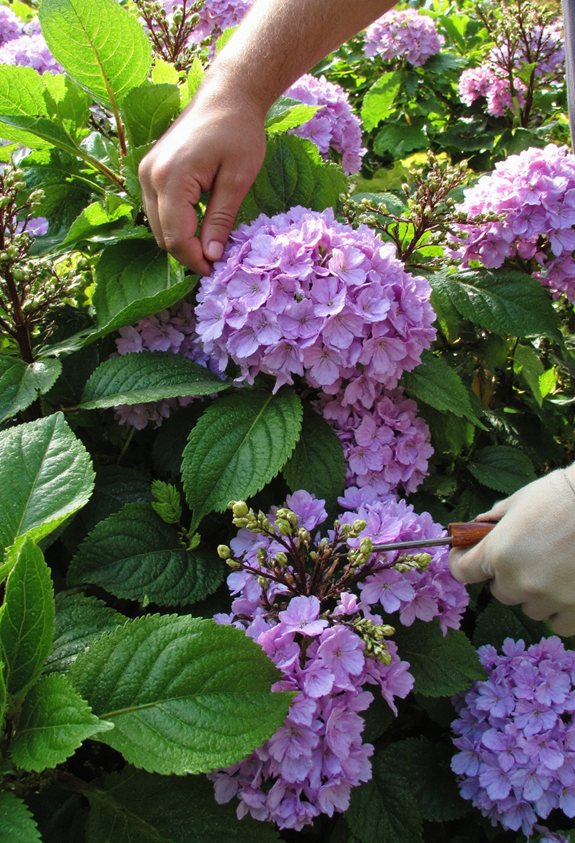
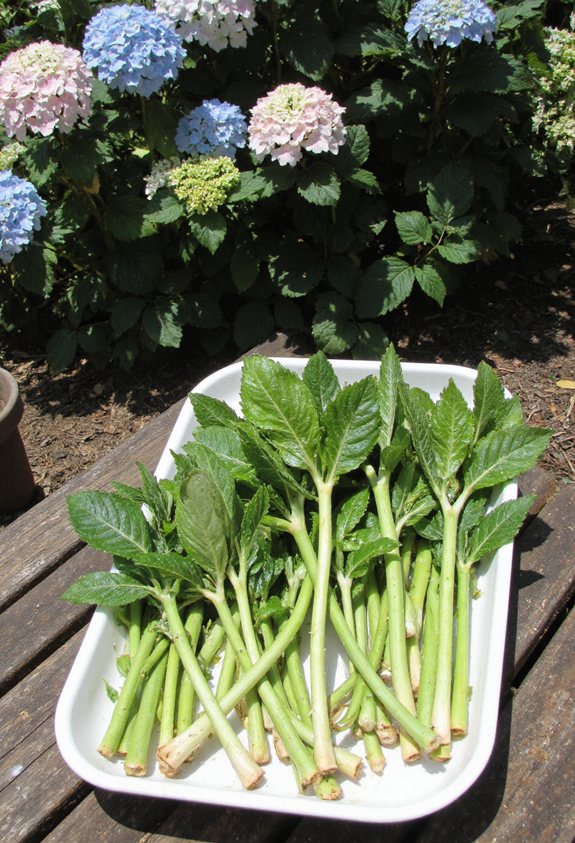
Harvest Cut Flowers for Long‑Lasting Vase Arrangements
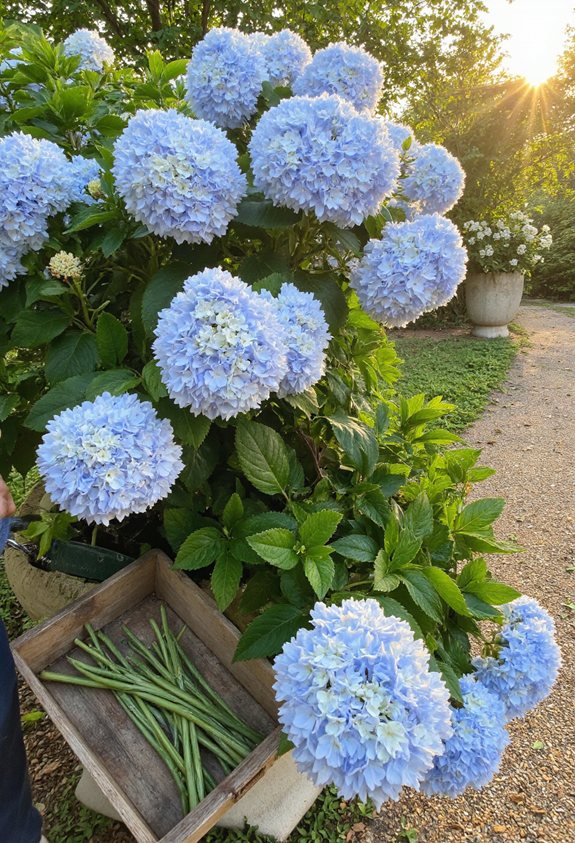
You’ve already got those gorgeous hydrangeas looking their best, so why not turn the fresh blooms into a vase that lasts for days?
Snip stems early morning, cut at a 45‑degree angle, and strip lower leaves.
Submerge them in lukewarm water with a dash of sugar.
Keep the vase cool, change water every two days, and enjoy vibrant, lingering arrangements.
Store Pruned Stems for Propagation and New Plantings
When you’ve just pruned those lush hydrangea stems, don’t toss them aside—store them right for future gardens. Wrap each cut in damp paper, place them in a zip‑lock bag, and keep the bag in the fridge. This cool, humid spot keeps the tissue alive until you’re ready to root them.
- Use a clean, sharp knife for cuts
- Trim leaves to prevent rot
- Label bags with date and variety
- Plant in moist potting mix within two weeks
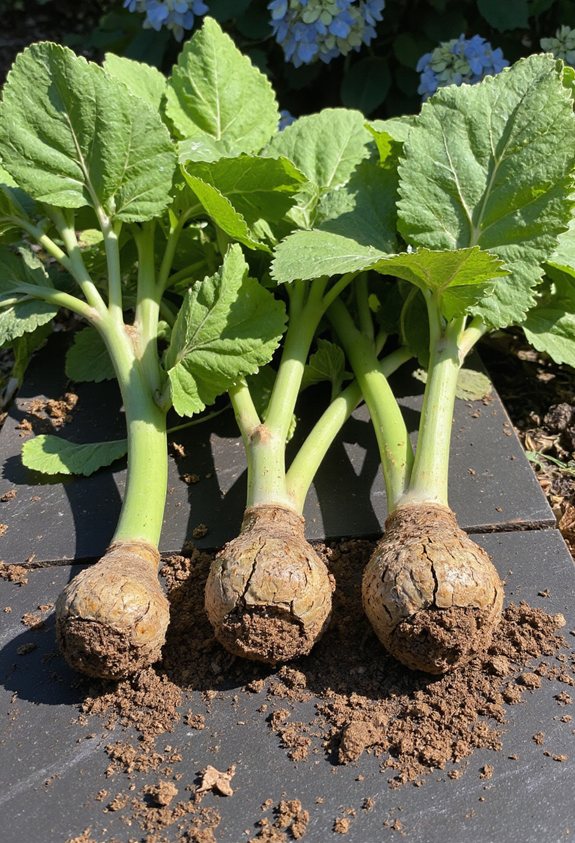
Divide Mature Plants Every 5‑7 Years for Vigorous Growth
If you wait until your hydrangeas look a bit crowded, you’ll notice the stems getting thin and the blooms losing their punch.
Every five to seven years, dig up the clump, shake off excess soil, and split the root ball with a sharp spade.
Aim for sections with healthy shoots and roots, then replant each piece in a spacious spot.
This refreshes growth, boosts flower size, and keeps your garden lively.
Replant Divided Sections With Proper Spacing and Soil Prep
Because the roots need room to breathe, you’ll want to give each split hydrangea at least three feet of space on all sides before you settle it into the garden. Loosen the soil, mix in compost, and water thoroughly after planting.
- Choose a sunny‑to‑partly‑shaded spot
- Dig a hole twice as wide as the root ball
- Add a layer of coarse sand for drainage
- Pat the soil down gently, then mulch.
Install Drip Irrigation for Consistent Moisture Delivery
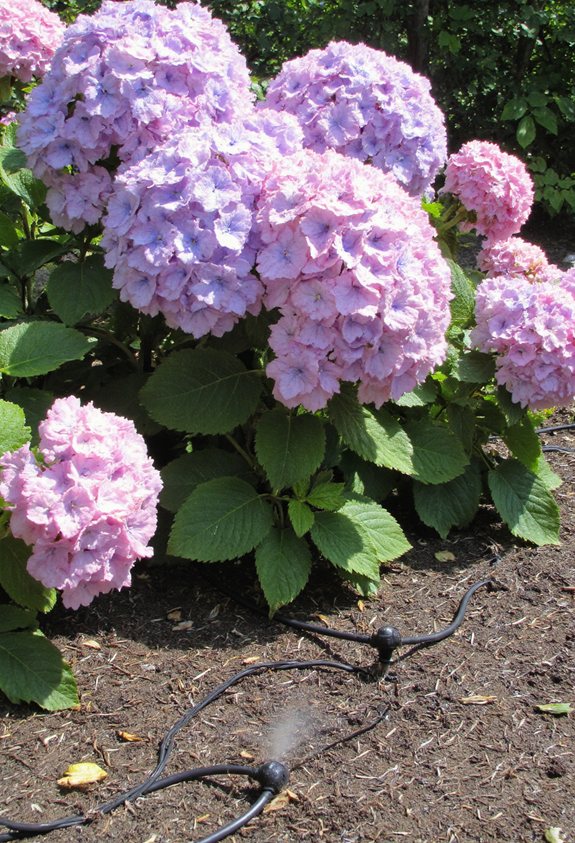
Even though your hydrangeas love a steady sip of water, a traditional hose can leave dry spots and waste time.
Lay drip tubing along each row, securing it with garden stakes.
Clip emitters near the base of every plant, then set a timer for early morning.
This delivers consistent moisture, reduces evaporation, and lets you relax while the roots stay happily hydrated.
Set Up a Rain‑Barrel System to Reduce Water Costs
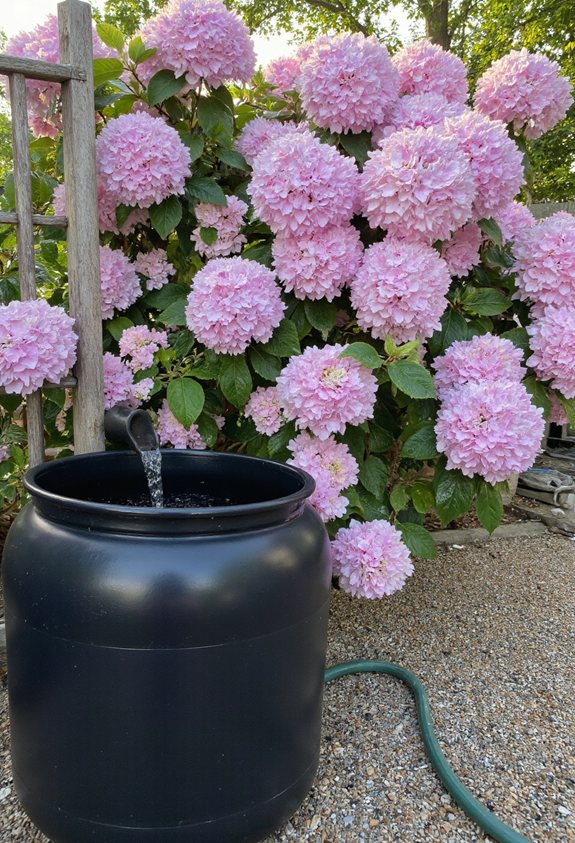
When a storm rolls in, you can turn that free water into a money‑saving super‑power for your hydrangeas. Hook up a rain‑barrel beneath a downspout, add a screen to keep leaves out, connect a hose with a simple valve, and place the barrel on a raised platform for gravity flow.
- Choose a sturdy barrel (≥200 L).
- Install a fine mesh filter.
- Use a quick‑connect hose.
- Elevate for better pressure.
Schedule Seasonal Soil Testing to Maintain Nutrient Balance

If you want your hydrangeas to stay vibrant all year, scheduling seasonal soil tests is a game‑changer.
Test in spring, summer, and fall; each gives a snapshot of pH and nutrients.
Use a kit or send a sample to a lab, then adjust fertilizer based on results.
Knowing exactly what the soil needs prevents guesswork and keeps blossoms thriving.
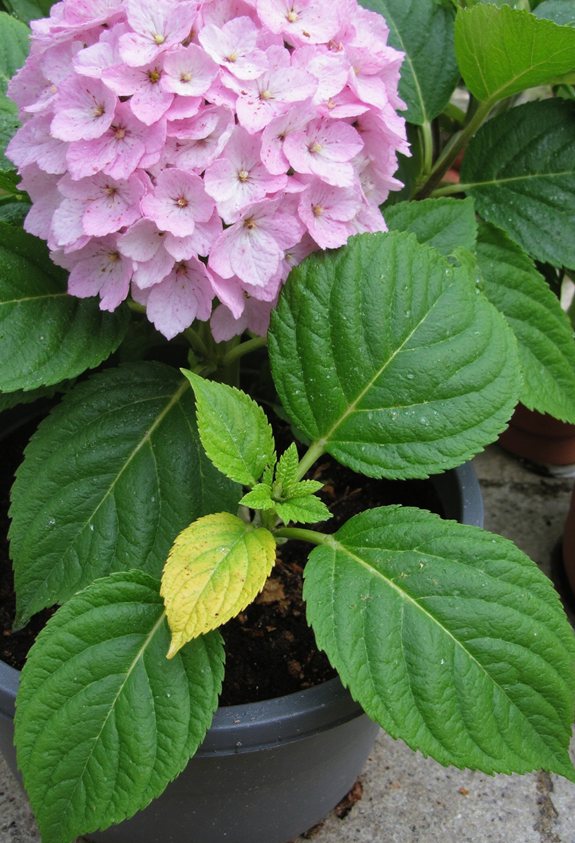
Troubleshoot Yellow Leaves – Nutrient Deficiencies Explained
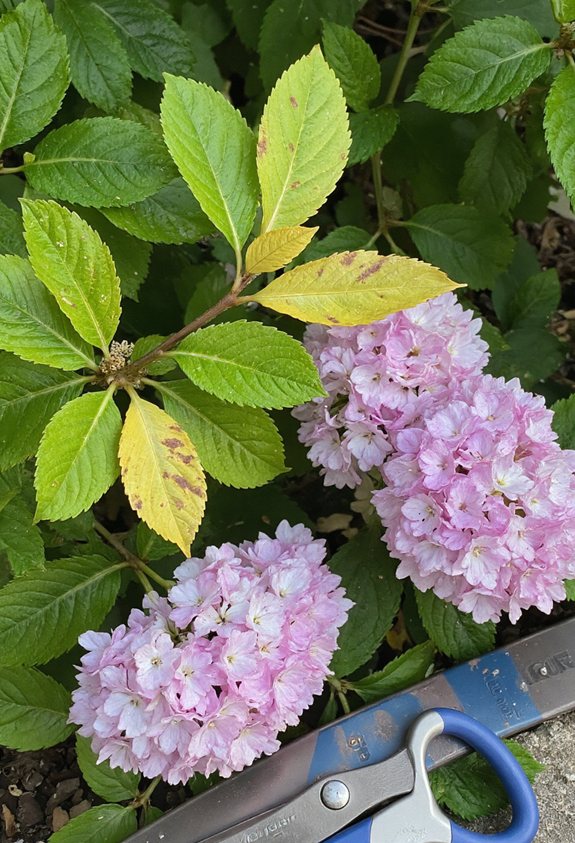
Why are your hydrangea leaves turning yellow? You might be missing key nutrients, and the plant’s health shows it. Spotting the cause helps you fix it quickly, keeping blooms bright and vigorous.
- Nitrogen deficiency: pale, limp leaves
- Iron deficiency: interveinal yellowing
- Magnesium shortage: yellow tips, green veins
- Phosphorus gap: overall dull, yellow foliage
Check soil, amend, and watch recovery.
Prevent Stem Rot by Ensuring Adequate Airflow Around the Plant
Even a tiny breeze can make a huge difference for your hydrangeas, because good airflow stops the damp spots where stem rot loves to lurk.
Space plants a few inches apart, trim crowded branches, and keep foliage from touching the ground.
Use stakes or a simple trellis to lift stems, and prune any dead wood promptly.
A well‑ventilated garden feels fresher, and your hydrangeas stay healthier.
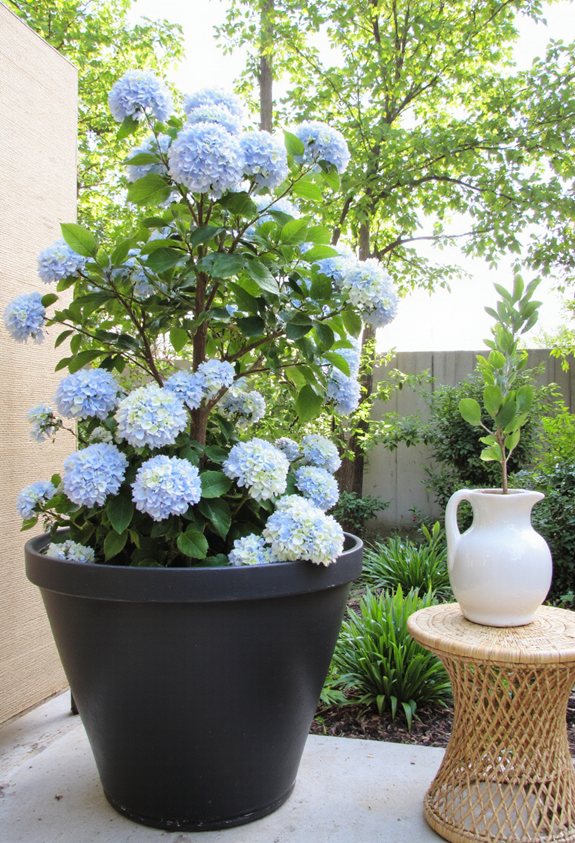
Choose Decorative Pots That Complement Hydrangea Aesthetic
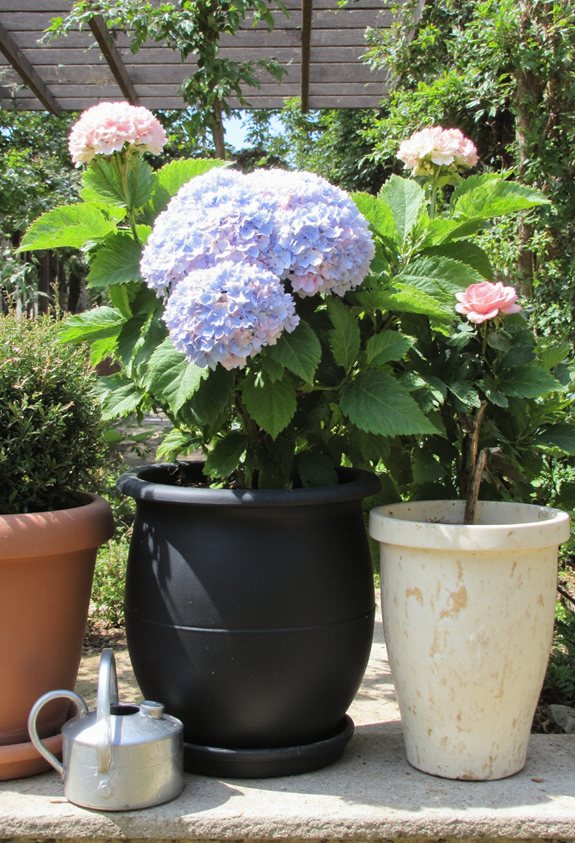
When you pick a pot for your hydrangea, think of it as a stylish outfit that lets the flowers shine.
Choose colors that echo the bloom hues, and textures that add visual interest without overwhelming the plant.
A well‑matched pot boosts curb appeal and protects roots.
- Earthy terracotta for warm tones
- Crisp white ceramic for a modern look
- Dark slate for dramatic contrast
- Light pastel glaze to soften bright flowers
Rotate Plant Position Annually for Even Sun Exposure
If you turn your hydrangea’s pot a quarter turn every spring, the plant gets a fresh dose of sunlight on all sides, which keeps it happy and balanced.
By rotating it 90 degrees each year, you prevent one side from getting scorched while the other stays shady.
This simple habit encourages even growth, richer blooms, and fewer limp leaves—plus it’s a fun excuse to admire your garden from a new angle.
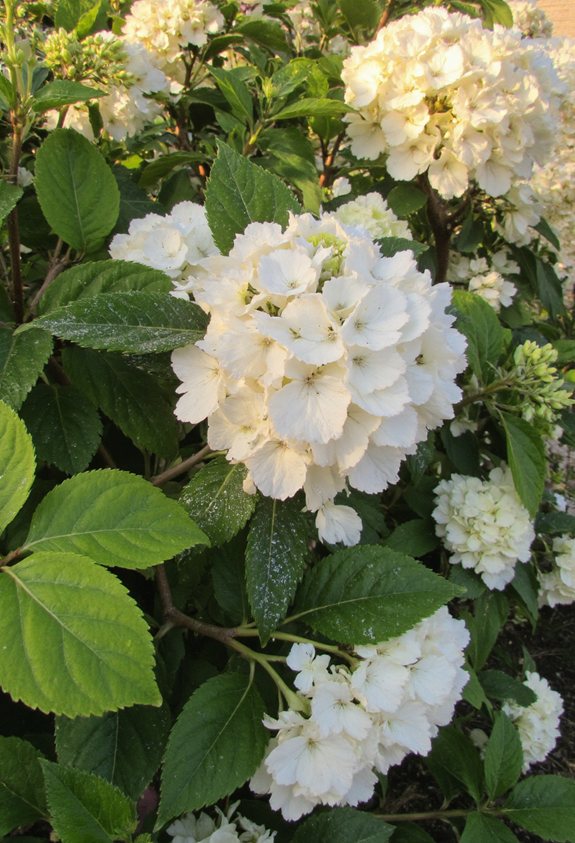
Plan a Year‑Round Color Scheme Using Different Hydrangea Varieties
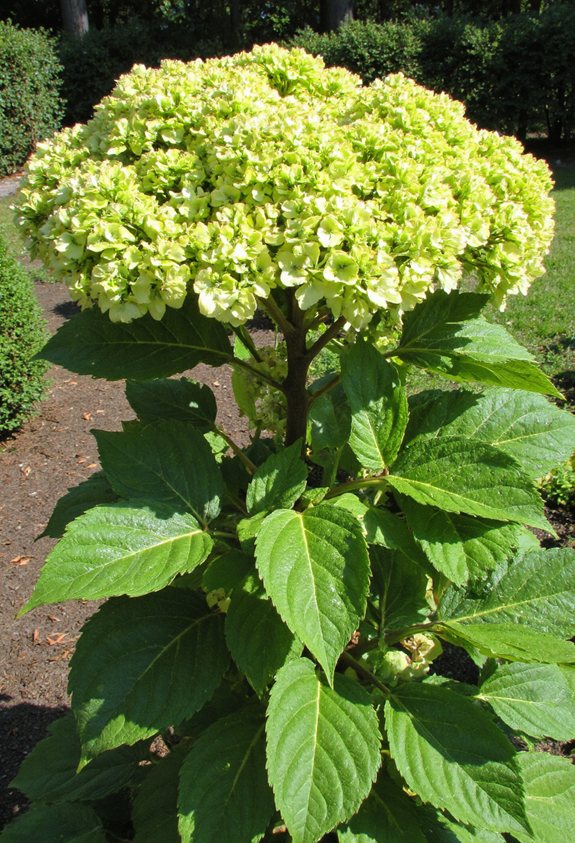
By mixing hydrangea varieties that bloom at different times, you can keep your garden bursting with color all year long. Choose early‑spring white blooms, mid‑summer pinks, fall‑season blues, and winter‑hardy reds to create a seamless rainbow. Pair them with complementary foliage for extra drama.
- Plant early‑season Hydrangea macrophylla‘Annabelle’
- Add mid‑season Hydrangea paniculata‘Limelight’
- Sprinkle fall Hydrangea quercifolia‘Snowflake’
- Finish with winter Hydrangea arborescens‘Invincibility’
Capture Stunning Garden Photos With Proper Lighting Techniques
Your garden’s rainbow of hydrangeas looks amazing, but without good lighting the photos won’t do it justice.
Shoot early morning or late afternoon for soft, golden light that makes petals pop.
Avoid harsh midday sun that flattens colors.
Use a reflector or white sheet to bounce light into shadows.
Experiment with a tripod for steady shots, and have fun capturing nature’s sparkle.
Keep a Simple Care Calendar to Track Watering, Pruning, and Feeding Tasks

Ever wondered how a simple calendar can keep your hydrangeas thriving? You’ll notice healthier blooms when you log watering dates, pruning weeks, and feeding cycles.
A quick glance tells you what needs attention, so you never miss a step and your garden stays gorgeous.
- Mark weekly watering reminders
- Schedule pruning after each bloom
- Note fertilizer application dates
- Review soil moisture before each task