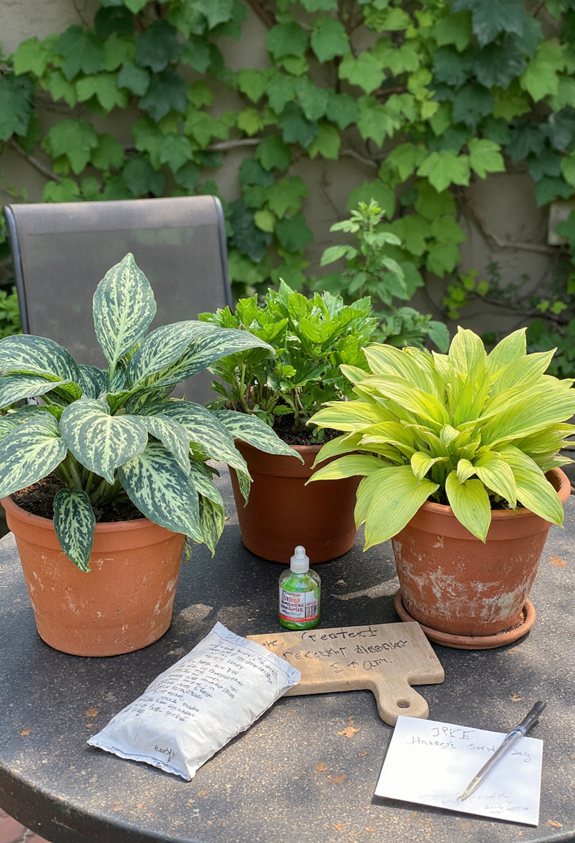
Pick a 12‑inch‑wide pot with drainage holes and a layer of pebbles, then fill it with a mix of peat (or coco coir), perlite, and fine pine bark plus a splash of compost.
Choose compact, shade‑loving varieties like ‘Patriot’, ‘Blue Mouse’, or ‘Gold Thread’ that stay tidy on balconies or windowsills. Water until it drains, let the top inch dry, and mulch lightly to keep roots cool. Trim dead leaves in spring and watch for yellowing or wilting—adjust water and shade. Want more tricks and photo ideas? Keep going.
Choose the Right Container Size for Hostas
Ever wondered how big a pot needs to be for a happy hosta?
You’ll want at least a 12‑inch diameter container, giving roots room to spread.
A soil feels loose, and the plant can breathe.
A deeper pot—about 12‑14 inches—prevents waterlogging and lets the roots stay cool.
Think of it as a cozy house for a leafy friend. Additionally, consider incorporating natural design elements to enhance the overall aesthetic of your outdoor space, just like in elegant outdoor bathroom settings.
Pick a Pot Material That Keeps Roots Cool
When you pick a pot, think of it like choosing a cool summer hat for your hosta—materials that let heat escape keep the roots from turning into a sauna.
Ceramic, terracotta, and glazed stoneware all stay cool, while plastic can trap warmth.
Here’s a quick guide:
- Terracotta – porous, breathes.
- Un‑glazed stoneware – sturdy, cool.
- Ceramic with light glaze – moderate.
- Fiberglass – lightweight, neutral.
Additionally, selecting pots made from natural materials can also enhance the overall health of your hostas.
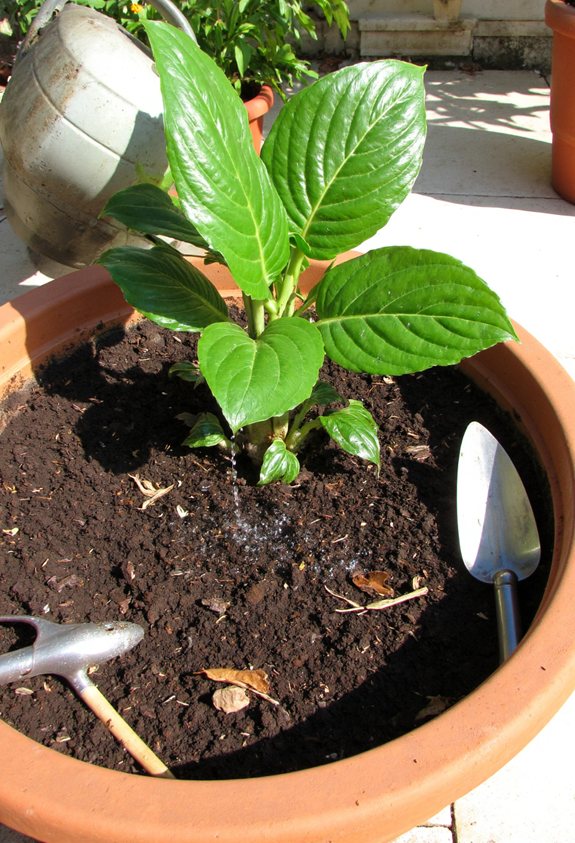
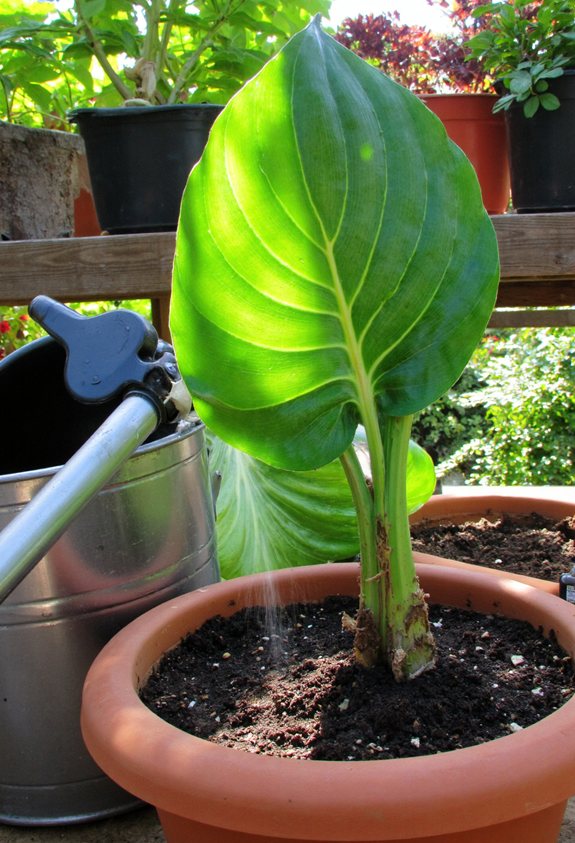
Ensure Proper Drainage With Holes and Pebbles
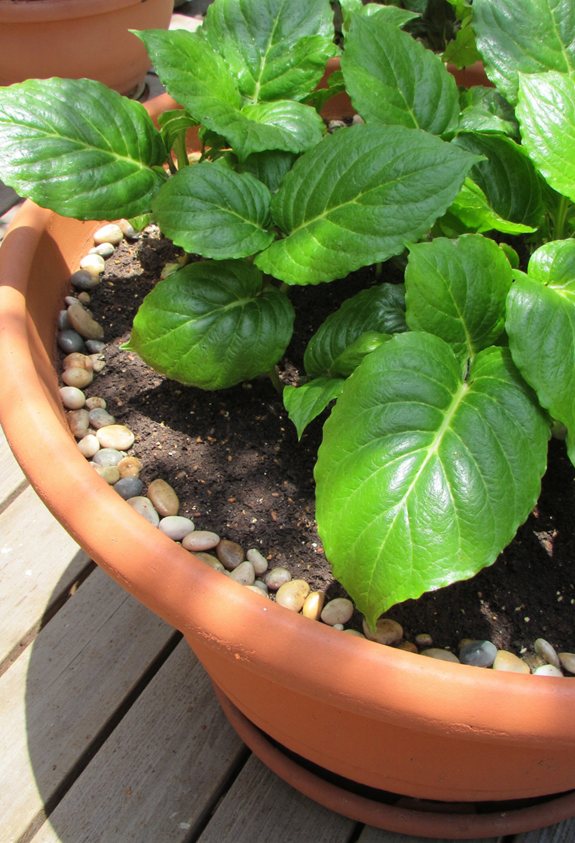
If you forget to give your hosta a way out, the soil will turn into a soggy mess that roots hate.
Drill two or three holes at the bottom of your pot, then add a layer of pebbles or broken pottery.
The stones create a drainage pocket, preventing water from pooling.
This simple trick keeps roots happy, reduces rot, and lets your hosta thrive. Additionally, using drainage solutions like pebbles helps ensure a healthy root environment.
Select a Soil Mix That Balances Moisture and Aeration
So, what makes a perfect potting mix for hostas? You need moisture, air, and a little weight to keep roots happy.
- Use 50 % peat or coco coir for water retention.
- Add 30 % perlite or vermiculite for aeration.
- Mix in 20 % fine pine bark for structure.
- Sprinkle a dash of sand for drainage balance.
Creating a balanced mix is crucial for promoting rustic charm and a thriving environment for hostas in your outdoor space.
Add Organic Matter for Long‑Term Nutrient Supply
A well‑balanced potting mix keeps your hosta roots happy, but it’s the organic matter that fuels their growth season after season.
Add compost, leaf mold, or aged manure to your soil; they slowly release nutrients, improve moisture retention, and keep the mix airy. Incorporating companion planting strategies can further enhance soil health and promote a thriving garden environment.
You’ll notice greener leaves and stronger shoots, and the plants will thank you with lush, thriving growth.
Position Your Hostas for Optimal Light Exposure
Under the shade of a patio awning or a tall tree, your hostas will thrive when they get the right amount of light—neither full sun that scorches their leaves nor deep darkness that stalls growth.
Place them where morning sun kisses the leaves, then shade them by noon.
- East‑facing balcony
- North‑side patio
- Partial‑shade wall
- Tree‑filtered corner
Adding ornamental grasses can enhance the visual appeal of your hosta display while providing additional softening textures in the surrounding area.
Water Hostas Correctly in a Potting Environment
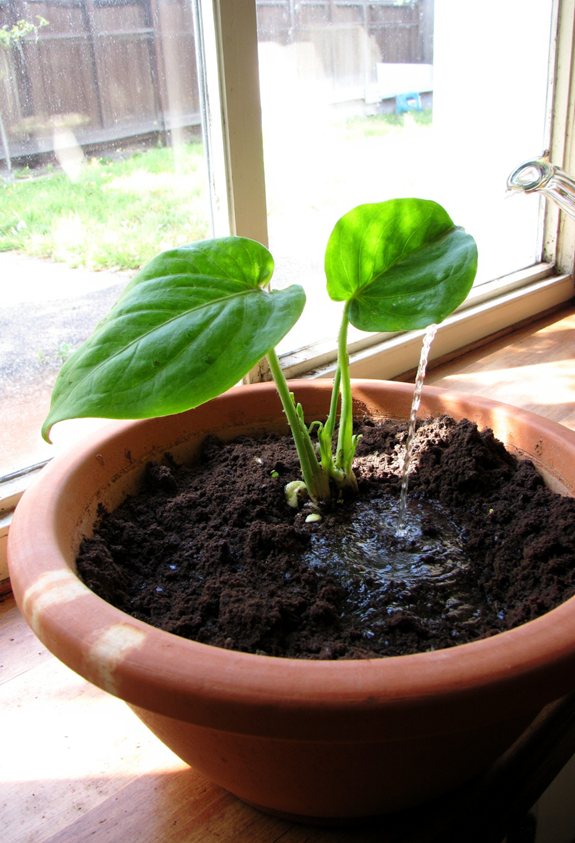
When you water your potted hostas, think of it like giving a thirsty friend a glass of lemonade on a hot day—steady, not a flood.
Pour until water drips out of the drainage holes, then let the soil dry a touch before the next soak.
Avoid soggy roots; a light, consistent rhythm keeps leaves perky and prevents wilt‑inducing stress. Regularly incorporating banana peel fertilizer can also enhance hydration and nutrient availability for your hostas.
Mulch the Surface to Reduce Evaporation
If you spread a thin layer of mulch on top of your hosta’s potting mix, you’ll notice the soil staying cooler and wetter for longer—like putting a cozy blanket over a sleeping pet. Choose organic mulch for extra nutrients and avoid plastic.
- Straw or shredded bark
- Pine needles
- Cocoa bean husks
- Compost chips
In addition, using mulch can help reduce soil evaporation, making it even more beneficial for maintaining healthy plants.
Feed Hostas With a Balanced Fertilizer Schedule
Even though hostas love a steady diet, they don’t need a fancy five‑course meal; a simple, balanced fertilizer schedule will keep them thriving in your pots.
Feed them once early spring with a 10‑10‑10 granular mix, then a light liquid feed mid‑summer. A well-balanced fertilizer ensures healthy growth and vibrant foliage, similar to how garlic benefits from proper feeding.
Avoid over‑feeding; just enough nutrients will make leaves lush, and you’ll see happy, vibrant growth without fuss.
Trim and Divide Hostas to Prevent Overcrowding
Trim your hostas regularly to keep them from turning your pot into a tangled jungle, because a crowded plant can choke its own growth.
You’ll notice yellow leaves and stunted shoots when they’re packed too tight.
- Cut back dead foliage each spring.
- Separate clumps when roots fill the pot.
- Re‑plant divisions in fresh soil.
- Water lightly after trimming.
Additionally, incorporating textured white tiles in your garden area can enhance the aesthetic while allowing for adequate drainage and support for your hostas.
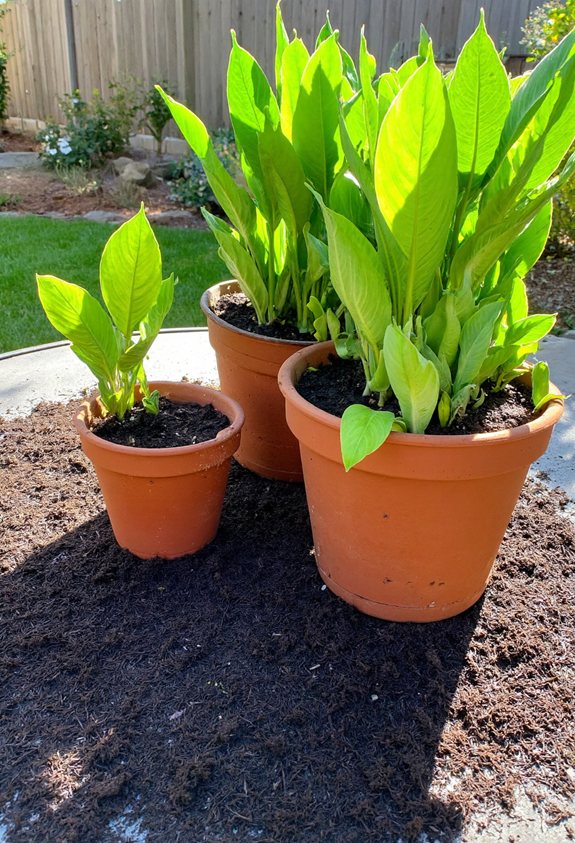
Choose Compact Varieties for Small Spaces
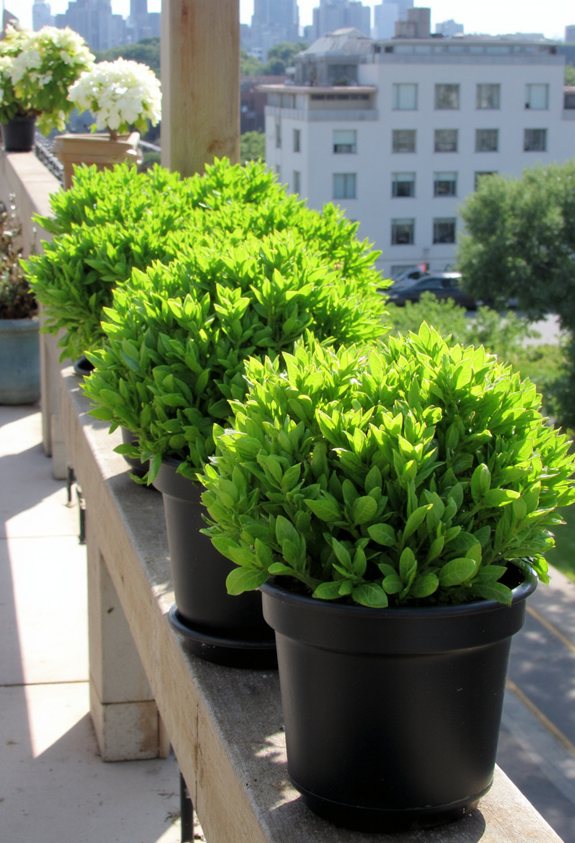
After you’ve trimmed and divided your hostas to keep the pot from turning into a jungle, the next step is picking the right varieties for a small space.
Choose compact cultivars like ‘Mini’ or ‘Petite’, which stay under a foot tall and spread just a few inches.
These bite‑size beauties fit cozy balconies, windowsills, or tiny patios without crowding neighbors, letting each leaf shine.
Meet the ‘Patriot’ Hostas – A Space‑Saving Classic
If you’re hunting for a hosta that won’t hog the whole balcony, the ‘Patriot’ is your go‑to hero. Its compact rosette and deep‑green foliage fit tight spaces while still making a bold statement.
You’ll love how easy it’s to care for and how it brightens any pot.
- Plant in well‑draining soil
- Water consistently, avoid soggy roots
- Provide partial shade, especially hot afternoons
- Trim dead leaves to keep it tidy.
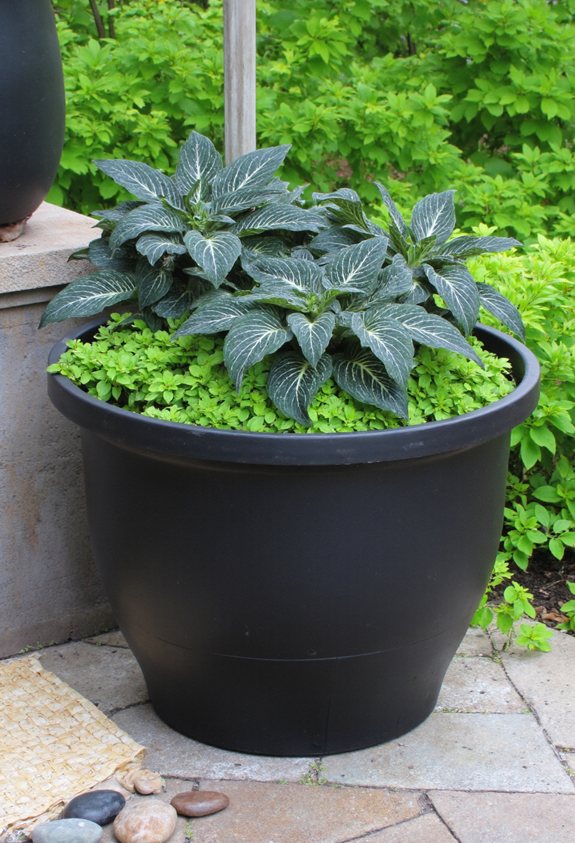
Meet the ‘Francesco’ Hostas – Bold Color in a Small Pot

A splash of daring orange‑red foliage can turn even the tiniest balcony into a mini‑gallery, and the ‘Francesco’ hosta delivers exactly that.
You’ll love its compact clump, perfect for 12‑inch pots, and the vivid hue that pops against gray concrete.
Plant it in well‑draining soil, keep it moist, and watch neighbors ask, “What’s that fiery leaf?”
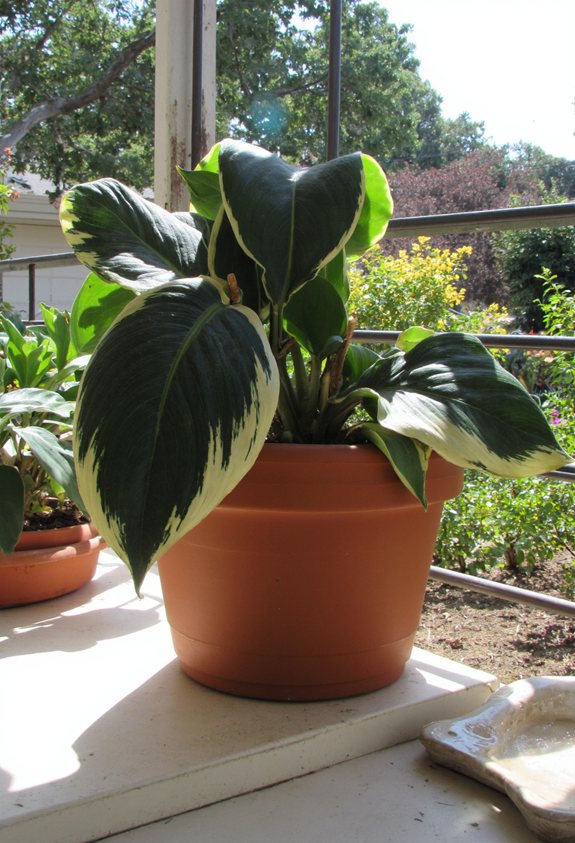
Meet the ‘Gold Thread’ Hostas – Variegated Beauty for Containers
One of the most eye‑catching hostas for containers is ‘Gold Thread’, and you’ll instantly notice its striking variegation—bright green leaves threaded with buttery gold veins that look like tiny lightning bolts.
It thrives in shade, needs well‑draining soil, and tolerates occasional drought.
- Plant in a 12‑inch pot
- Use a peat‑rich mix
- Water when top inch dries
- Fertilize monthly with balanced feed
Meet the ‘Blue Mouse’ Hostas – Tiny Foliage for Balconies
Ever wondered how a tiny plant can turn a cramped balcony into a lush retreat?
Meet the ‘Blue Mouse’ Hostas—compact, deep‑blue leaves that barely reach six inches.
They love bright, indirect light and need only a shallow pot with well‑draining soil.
Water when the top inch feels dry, and watch them spread like a soft, velvety carpet, perfect for cozy balcony corners.
Meet the ‘Little Jewel’ Hostas – Miniature Leaves for Shelves
Curious how a tiny hosta can turn a plain shelf into a green showcase? You’ll love the ‘Little Jewel’ for its miniature leaves that pop in tight spaces. Here’s how to make it shine:
- Choose a shallow pot with drainage.
- Use lightweight, well‑draining soil mix.
- Water sparingly, keeping soil moist but not soggy.
- Place on a bright, indirect‑light shelf.
Meet the ‘Haley’s’ Hostas – Shade‑Tolerant for Dark Corners
If you’ve got a dim corner that feels more like a dungeon than a garden, the ‘Haley’s’ hosta is your secret weapon.
Its broad, glossy leaves soak up the faintest light, thriving where other plants wilt.
Plant it in a roomy pot with well‑draining soil, water consistently, and watch the dark space transform into a lush, green oasis that even shy shadows envy.
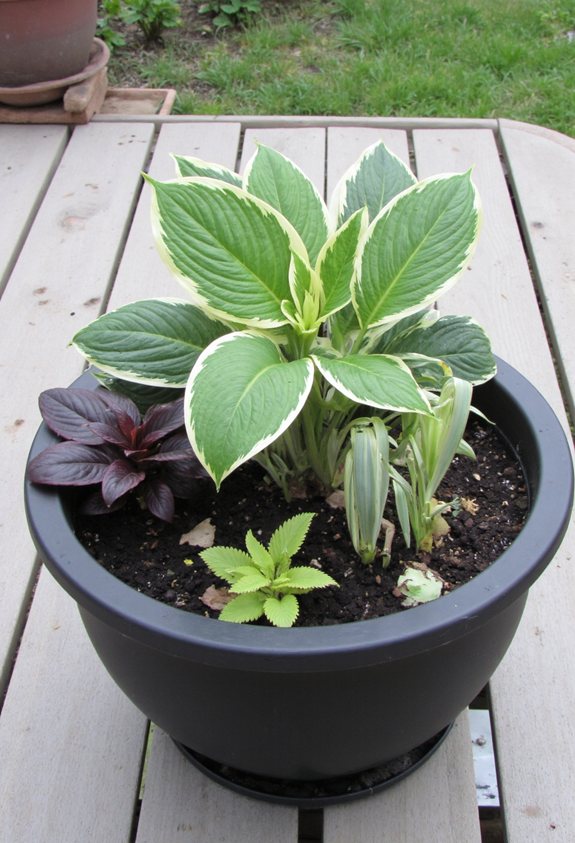
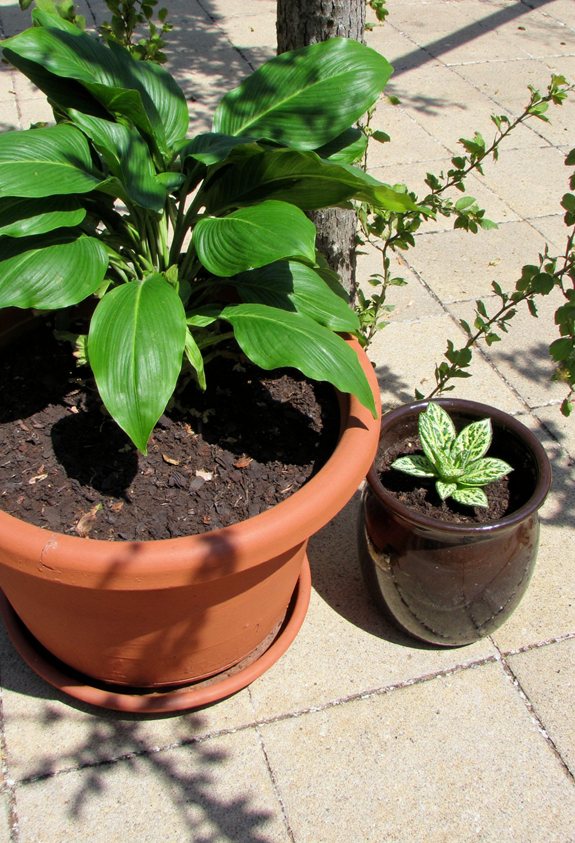
Pair Hostas With Companion Plants in a Shared Pot
The ‘Haley’s’ hosta thrives in dim corners, but it can also shine when you give it friends to share a pot with. Choose low‑light mates, keep soil moist, and enjoy texture contrast.
- Ferns – soft fronds
- Heuchera – colorful foliage
- Astilbe – airy plumes
- Hostas – varying leaf sizes
These combos boost visual interest and health.
Protect Hostas From Wind Damage on Balconies
Ever felt your balcony hostas shiver like a shy kitten when a gust blows through?
Anchor each pot with a sturdy bracket or tie it to a rail, then surround the plant with a wind‑break: bamboo screens, lattice, or even a tall trellis.
Lightly drape a breathable fabric over the foliage for extra shelter, and keep the soil moist so roots stay strong against the breeze.
Shield Hostas From Extreme Heat Using Shade Cloth
When the summer sun turns your balcony into a tiny oven, your hostas can start to wilt faster than a popsicle in a sauna. Use shade cloth to keep them cool and happy.
- Choose 40‑60% density fabric.
- Secure it 12‑18 inches above plants.
- Anchor edges with clips or ties.
- Adjust seasonally for peak light.
Manage Pests Like Slugs and Snails in Container Gardens
If you’ve ever watched a slug glide across your balcony garden like a tiny, gelatinous snowball, you know they can turn a proud hosta into a sad, chewed‑up mess in no time.
Hand‑pick them at night, set out copper tape, or sprinkle coffee grounds around pots.
Use iron phosphate bait, and keep mulch thin.
A quick, consistent routine keeps slugs and snails from feasting on your foliage.
Identify Common Diseases and How to Treat Them in Pots
Even a tiny spot on a hosta leaf can turn into a big headache if you’re growing in a pot, because limited soil means problems spread fast. Spot fungal patches early, prune infected shoots, and boost airflow.
- Powdery mildew – spray milk solution.
- Leaf spot – remove affected leaves, apply copper fungicide.
- Root rot – repot with fresh, well‑draining mix.
- Rust – wipe leaves, use sulfur spray.
Prune Dying Foliage to Keep Plants Healthy
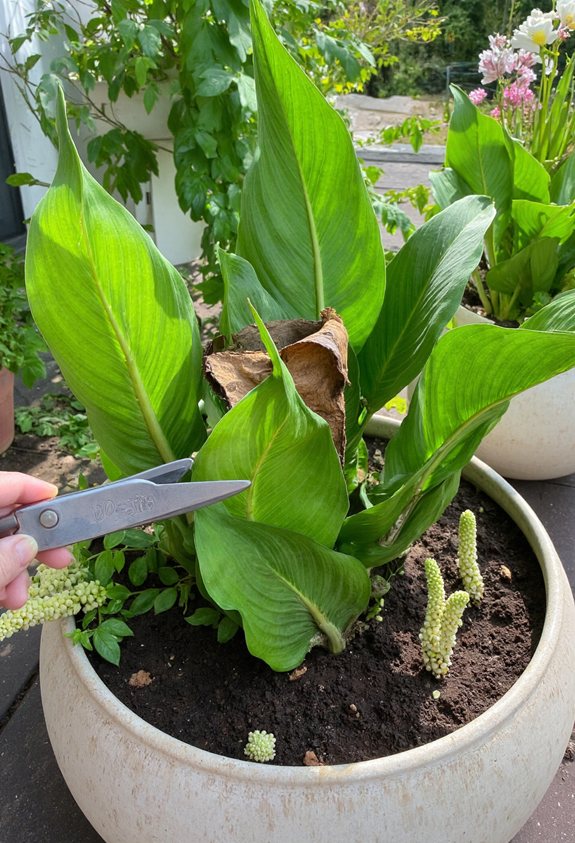
Spotting a sick leaf is the first sign that your hosta needs a little haircut, and trimming away dying foliage does more than just tidy the pot—it stops decay from spreading and lets the healthy leaves breathe.
Grab clean scissors, snip back to healthy tissue, and discard the cut pieces.
Do this weekly, and your hosta will look fresh, vibrant, and ready for summer show‑offs.
Repot Hostas Every 2‑3 Years for Fresh Soil
Because hostas love fresh, loose soil, you’ll want to repot them every two to three years to keep their roots happy and thriving.
Choose a pot a few inches larger, use a well‑draining mix, and gently loosen old roots.
- Pick a pot with drainage holes
- Add a layer of gravel
- Fill with potting soil
- Water thoroughly after repotting
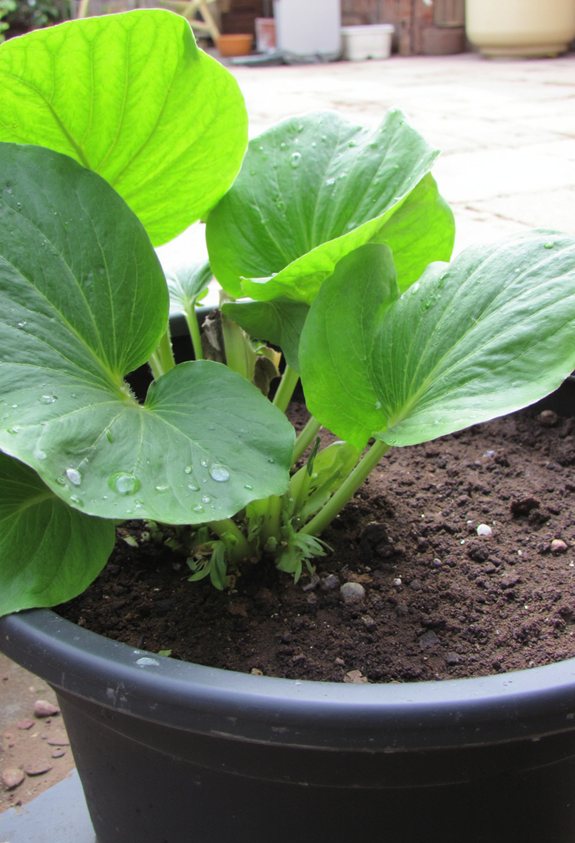
Use Self‑Watering Pots for Busy Gardeners
When you’re juggling school, sports, and a part‑time job, remembering to water your hostas can feel like a mission impossible—so a self‑watering pot is a game‑changer.
The built‑in reservoir releases moisture slowly, keeping roots happy while you focus on homework.
You’ll notice greener leaves, fewer wilted moments, and more free time for video games or soccer practice.
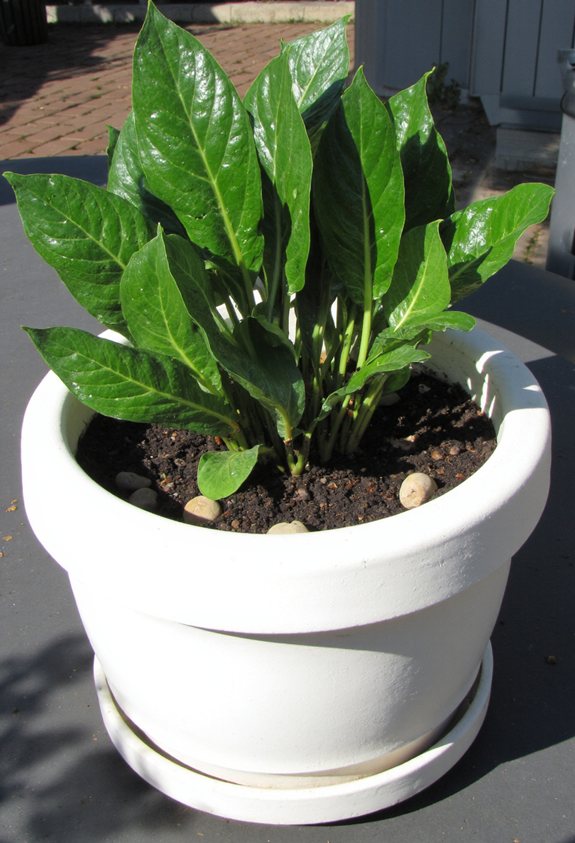
Choose Decorative Containers That Complement Your Décor
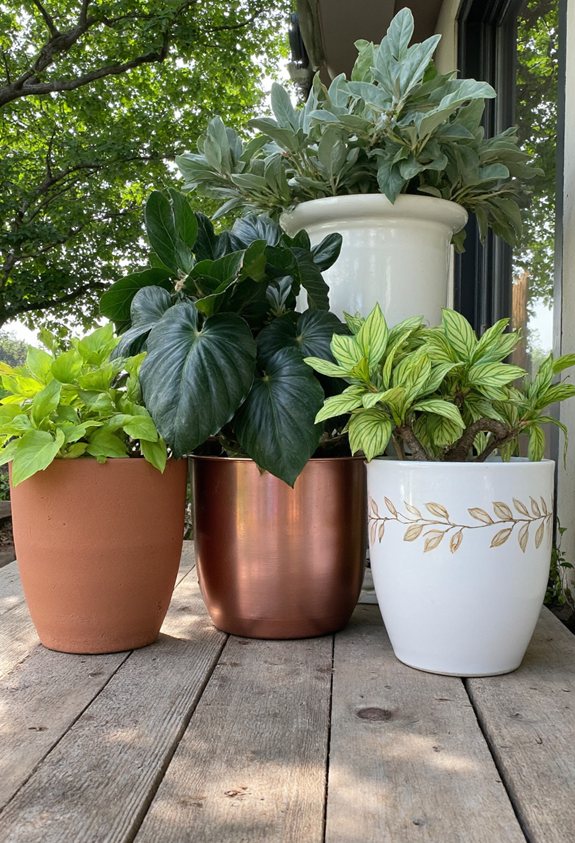
Pick a pot that makes your hostas look as good as they feel, and you’ll instantly boost the vibe of any room or patio.
Choose containers that echo your style, color palette, and the space’s mood.
Here are four ideas to match your décor:
- Rustic terracotta for a warm, earthy feel
- Sleek metal for modern chic
- Hand‑painted ceramic for artistic flair
- Woven wicker for casual, breezy charm
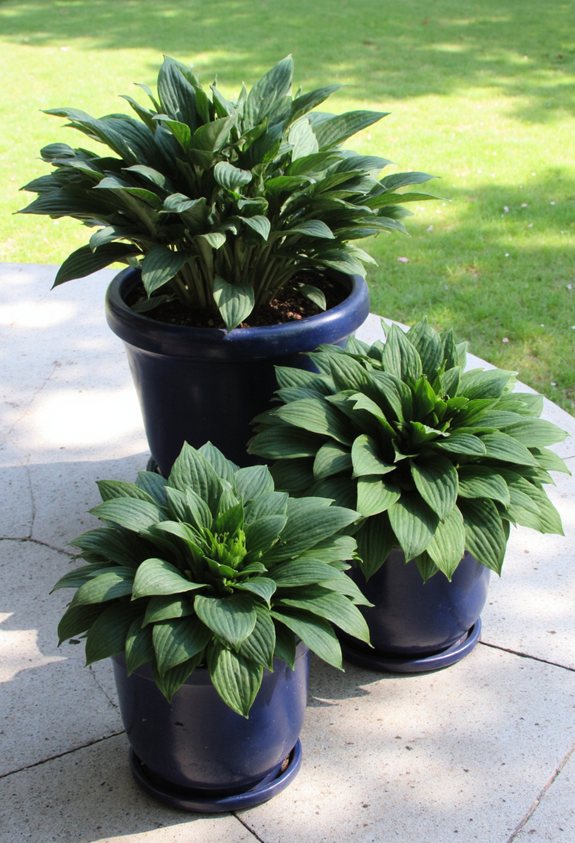
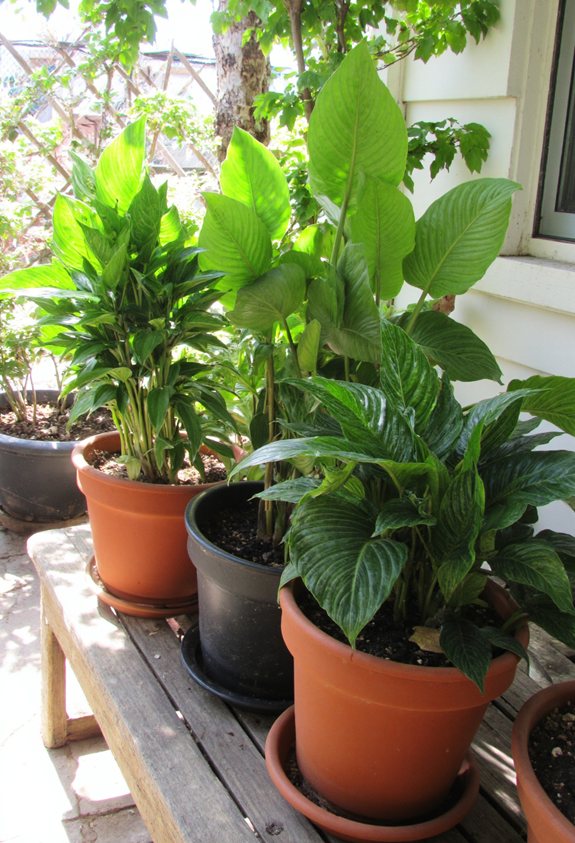
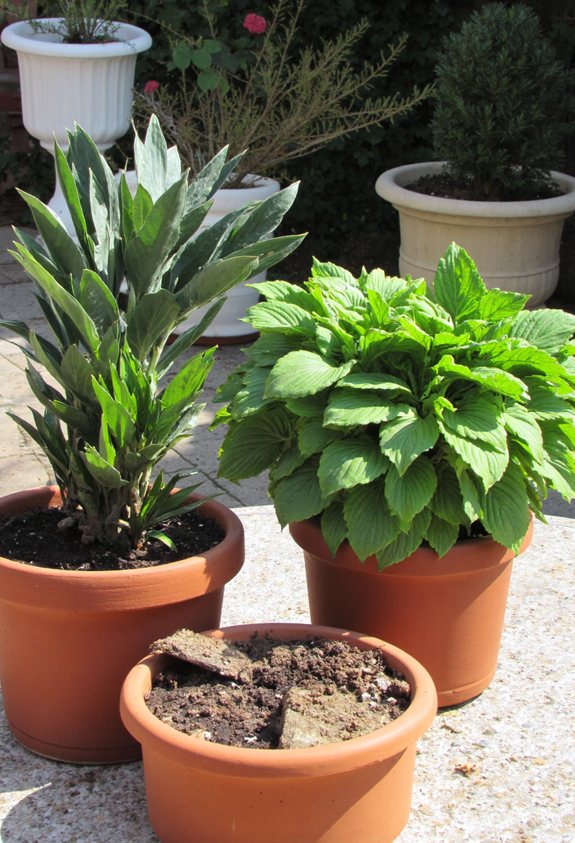
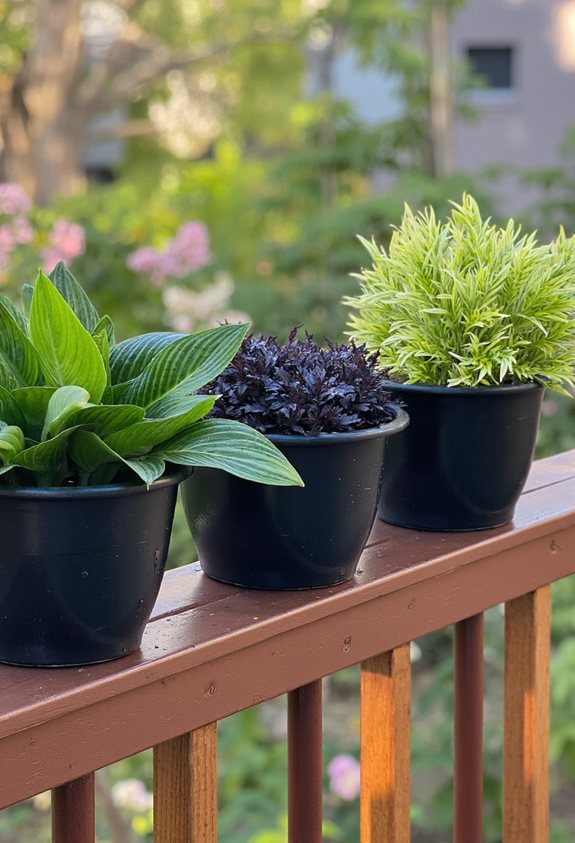
Create a Tiered Display for Multiple Hostas on a Patio
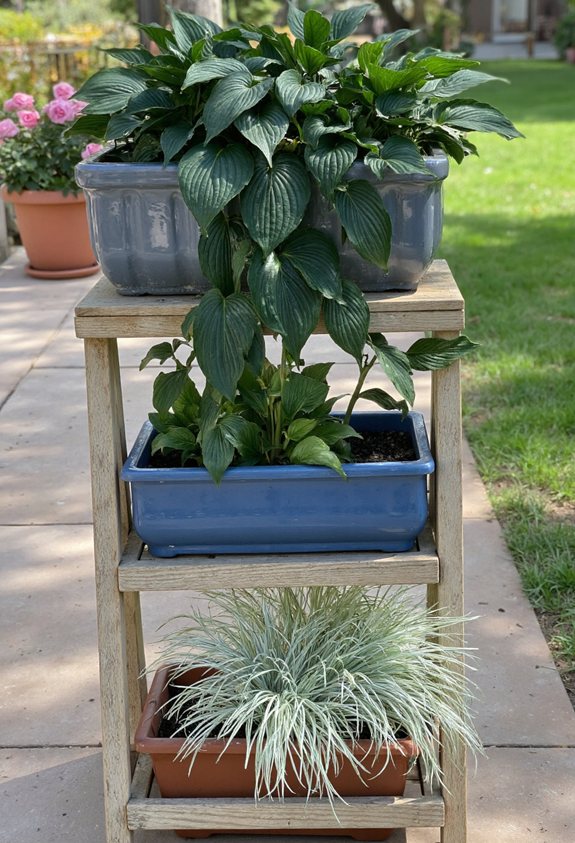
Three or four tiered planters can turn a plain patio into a hosta showcase that feels like a mini garden gallery.
Stack sturdy trays, add a layer of gravel for drainage, then plant your favorite varieties, mixing leaf colors and textures.
Position the tallest hostas on the bottom tier for drama, and let the shorter ones crown the top.
Water evenly, watch them thrive, and enjoy the layered, living artwork you’ve created.
Hang Hostas in Wall‑Mounted Planters for Vertical Gardens
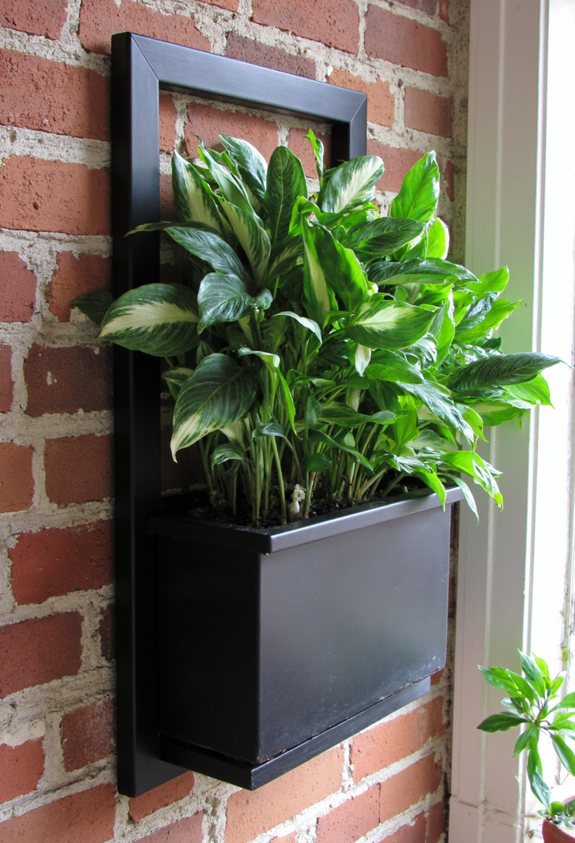
If you’ve got a blank wall and a love for those lush, shade‑loving hostas, turning the space into a vertical garden is easier than you think.
Choose sturdy wall‑mounted planters, add a lightweight potting mix, and water regularly.
- Pick a sunny‑shade spot
- Secure brackets tightly
- Use shallow trays for roots
- Rotate plants for even growth
Combine Hostas With Seasonal Annuals for Color Contrast
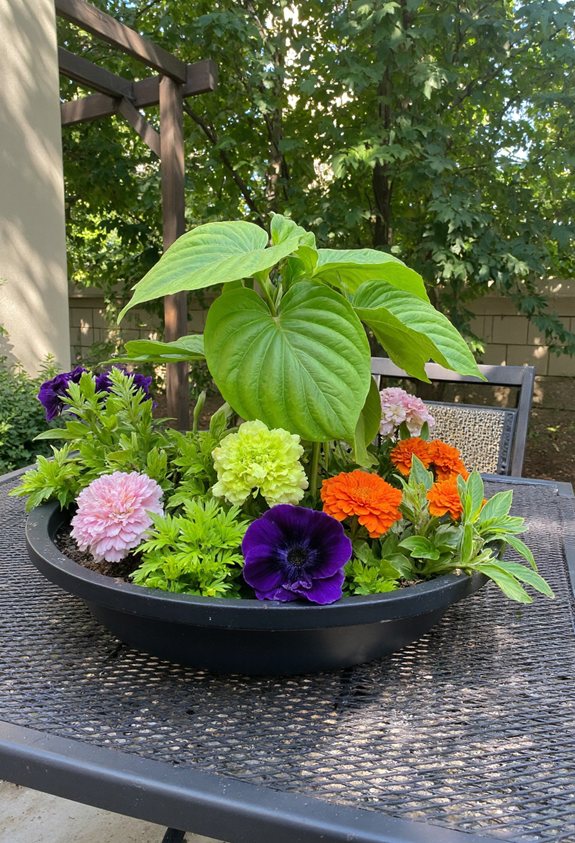
Ever wondered how to make a shady corner pop with color?
Pair your hostas with bright annuals like petunias, marigolds, or impatiens.
The hostas keep cool, while the annuals splash vivid reds, oranges, and yellows.
Choose plants that love similar soil moisture, and arrange taller hostas behind shorter, cheery blooms.
This contrast makes any pot feel lively and fresh.
Adjust Watering Frequency in Winter When Growth Slows
When winter settles in and your hostas start to look a little sleepy, you’ll notice they don’t need as much water as they did in the warm months. Check soil moisture and trim watering to once every 10‑14 days. Use a saucer to catch excess, and avoid soggy roots.
- Feel soil before watering
- Water early morning
- Use lukewarm water
- Reduce frequency as frost deepens
Bring Hostas Indoors During Frosty Nights
Your hostas have been sipping less water all winter, and now the temperature’s dropping below freezing. Bring them indoors before frost bites; choose a bright windowsill or a sunny room.
Gently lift each pot, shake off excess soil, and place them in a spot where they’ll stay warm but not scorching. Keep watering light, and enjoy the cozy indoor garden vibe.
Transition Hostas Back Outdoors After Cold Snaps
If the frost finally eases, you can start moving your hostas back outside, but do it gradually so they don’t get shocked by the sudden chill.
Start with a sheltered spot, then increase exposure daily.
Keep watering light and watch for leaf color.
- Place in shade
- Add morning sun
- Reduce watering
- Monitor for stress
Track Growth With a Simple Hostas Journal
After the frost finally eases and you’ve started letting your hostas taste the outdoors again, it’s a great moment to begin noting how they’re doing.
Grab a small notebook, write the date, and sketch each pot’s size, leaf color, and any new shoots.
Jot down watering amounts, sunlight hours, and funny observations—like a leaf that looks like a tiny dinosaur.
Review weekly to spot trends, celebrate progress, and catch early signs of stress.
Troubleshoot Yellow Leaves in Potted Hostas
When the first yellow patches appear on your potted hostas, it’s a clear sign something’s off, and you’ll want to act fast before the whole plant looks like a banana peel.
Check these causes:
- Over‑watering – soggy soil rots roots.
- Under‑watering – dry soil stresses leaves.
- Sunburn – too much direct light.
- Nutrient deficiency – missing iron or nitrogen.
Adjust watering, move to shade, and feed with balanced fertilizer.
Troubleshoot Wilting in Hot Weather
Yellow patches might’ve warned you about water or nutrients, but the next big red flag is wilting when the sun turns up the heat.
Move your potted hostas to a cooler spot or shade during midday, water early morning and late evening, and add mulch to keep soil moist.
Check drainage, avoid over‑watering, and give the plant a gentle mist for instant relief.
Harvest and Store Hostas for Culinary Use
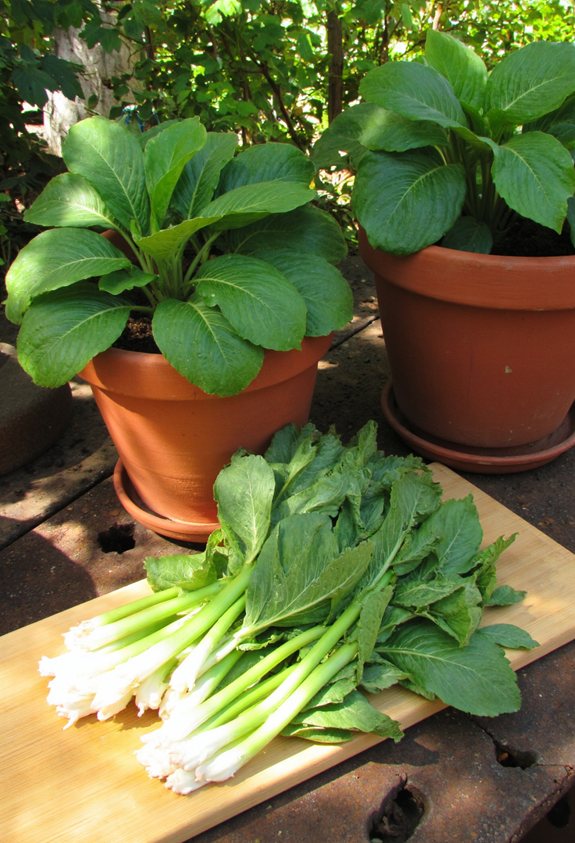
Ever wondered how to turn those tasty hosta leaves into a kitchen star? You can harvest them early morning, rinse gently, and keep them crisp.
Follow these steps to store them safely:
- Trim healthy leaves
- Pat dry with a towel
- Wrap in damp paper
- Refrigerate in a sealed bag
Enjoy fresh hosta salads anytime!
Celebrate Your Mini‑Garden: Photo Tips for Instagram‑Ready Hostas
Snap a quick photo of your mini‑garden and watch your hostas become Instagram stars.
Choose golden hour light, tilt the camera low, and frame the leaves against a simple background.
Use a phone’s macro mode to capture texture, then add a playful caption about “leafy hair.”
Keep the shot steady, edit lightly, and share the vibrant green vibes with friends.