
Pick a sunny, wind‑protected spot with at least six hours of bright light, test the soil to a 6.0‑6.5 pH, and mix in sand, compost, and perlite for drainage. Plant seedlings the same depth as in their pot, spacing them 2–3 ft apart, then water deeply early morning and switch to drip irrigation to keep leaves dry. Feed with a balanced fertilizer every four weeks, boost phosphorus in summer, and prune after blooms to shape a tidy dome. Watch for aphids, spider mites, and powdery mildew, treating them with insecticidal soap or neem oil. Harvest flowers early for tea or bouquets, and keep a weekly care calendar for thriving growth—more tips await if you keep going.
Choose the Right Hibiscus Variety for Your Climate
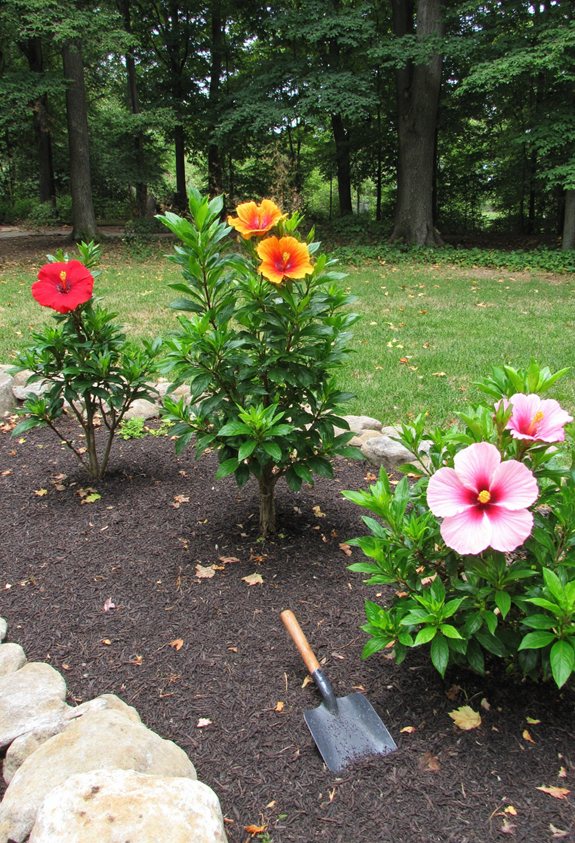
When you’re picking a hibiscus, think of it like choosing a winter coat—if it doesn’t match your climate, it won’t keep the plant happy.
Look for tropical varieties if you have hot, humid summers; they love the heat.
In cooler zones, choose hardy, cold‑tolerant types that can survive mild frosts.
Check label tags for USDA zones, and match the plant’s needs to your local weather.
This way, your hibiscus will thrive, not shiver. Additionally, understanding zone planning can help you effectively position your hibiscus in your garden for optimal sunlight and moisture.
Pick the Ideal Garden Location With Sun and Wind Protection
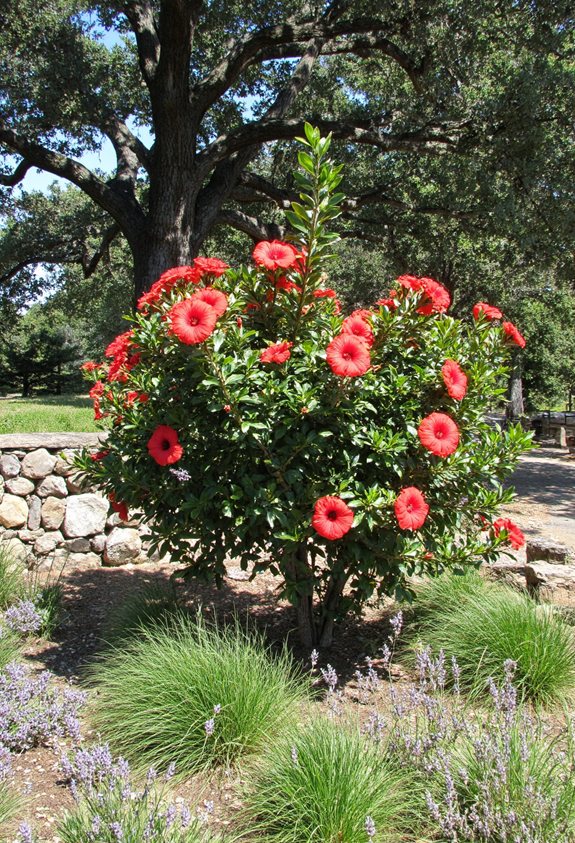
You’ve got the right hibiscus variety, now it’s time to find the perfect spot in your yard. Look for a place that basks in at least six hours of bright sun each day, yet stays shielded from harsh, gusty winds that could bruise delicate buds. A sunny, breezy‑protected nook will keep your plant thriving and happy.
- Sun‑lit corner near a fence, feeling warm and inviting
- Spot behind a tall shrub that blocks wind, like a cozy blanket
- Area with morning light and afternoon shade, perfect for relaxed growth, as microgreens and hibiscus both appreciate bright conditions.
Test and Amend Soil pH for Optimal Hibiscus Growth
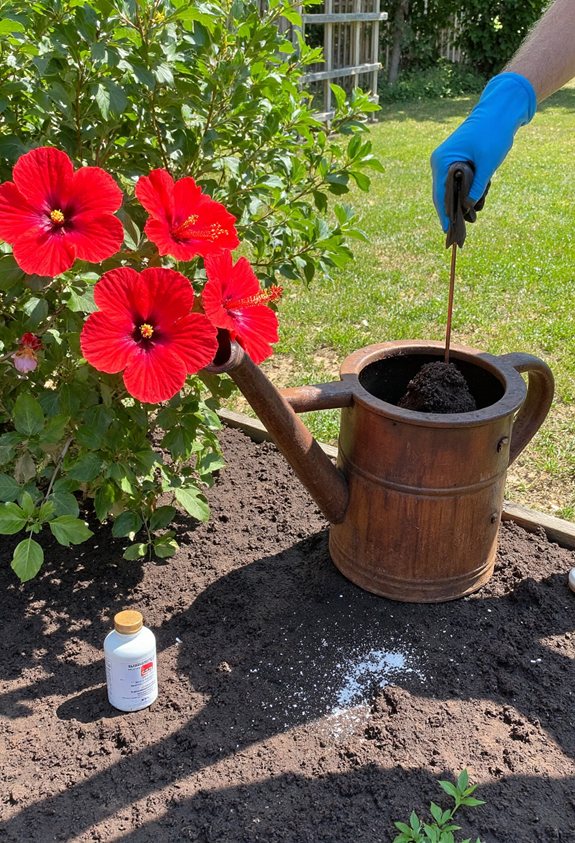
If the soil’s pH isn’t right, even the healthiest hibiscus will struggle, and figuring that out is easier than you think.
Grab a simple pH kit, test a few spots, and note the numbers.
Hibiscus thrives around 6.0‑6.5.
If it’s high, sprinkle elemental sulfur; if low, add lime.
Mix well, re‑test after a week, and watch your plants bloom confidently. Additionally, incorporating natural pest management techniques through companion planting can further support the health of your hibiscus and surrounding plants.
Prepare a Well‑Draining Planting Bed With Compost
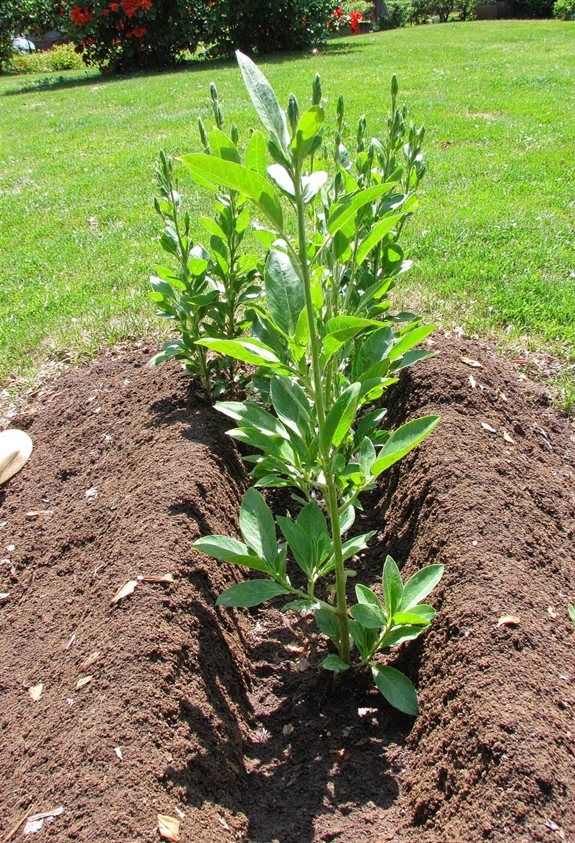
Even before you dig, picture a fluffy, airy bed that lets water slip through like a gentle rain on a sponge—because hibiscus hates soggy roots. Mix coarse sand, compost, and a dash of perlite to create a light, porous foundation that feels like a pillow for roots. You’ll notice healthier growth and fewer wilted leaves.
- Add 2‑inch compost layer for nutrients
- Blend in sand for drainage
- Sprinkle perlite for extra aeration
Additionally, creating a tropical garden can enhance the overall appeal of your outdoor space, perfectly complementing the vibrant blooms of hibiscus.
Plant Hibiscus Seedlings at the Correct Depth and Spacing
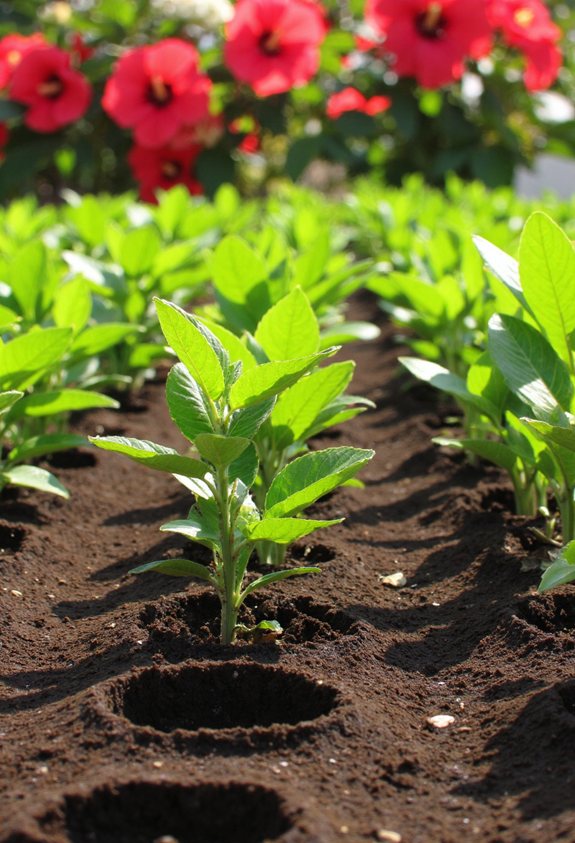
When you gently set a hibiscus seedling into the soil, picture it sinking just enough to feel snug but not buried like a buried treasure.
Press the earth around the stem until the soil level matches the seedling’s original pot depth.
Space each plant 2–3 feet apart, giving roots room to breathe and grow without crowding.
This spacing prevents competition, promotes healthy airflow, and lets every blossom shine. Additionally, regular checks for broken or unused toys can help keep your garden area tidy and efficient.
Water Newly Planted Hibiscus Without Over‑Watering
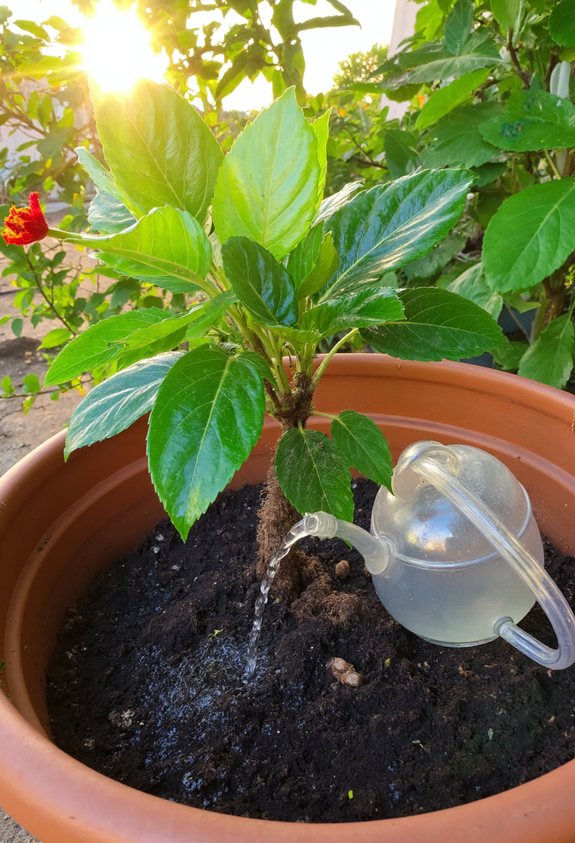
Because fresh soil can hold moisture like a sponge, you’ll want to give your newly planted hibiscus just enough water to settle the roots without drowning them. Water gently until the top inch feels damp, then pause. Check the soil with your finger—if it’s still soggy, wait.
- Feel the cool, moist earth under your boots.
- Hear the faint sigh of leaves as they drink.
- See the bright green sprouts pushing up, grateful for just the right sip.
Set Up a Consistent Watering Schedule for Mature Plants
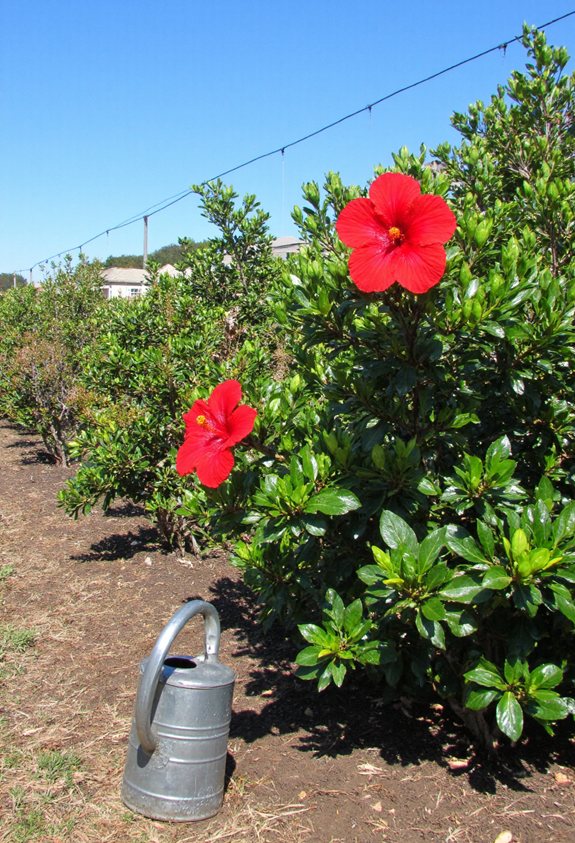
If you’ve got a mature hibiscus thriving in your garden, the secret to keeping it happy is a steady watering routine that matches its needs and the weather.
Check soil moisture weekly, water deeply early morning, and adjust for heat waves or rain.
Use a timer or calendar, note each session, and watch the plant’s glossy leaves thank you. Additionally, consider how consistent moisture is crucial for other plants, such as ferns, which thrive in similar conditions.
Mulch to Retain Moisture and Suppress Weeds Around Hibiscus
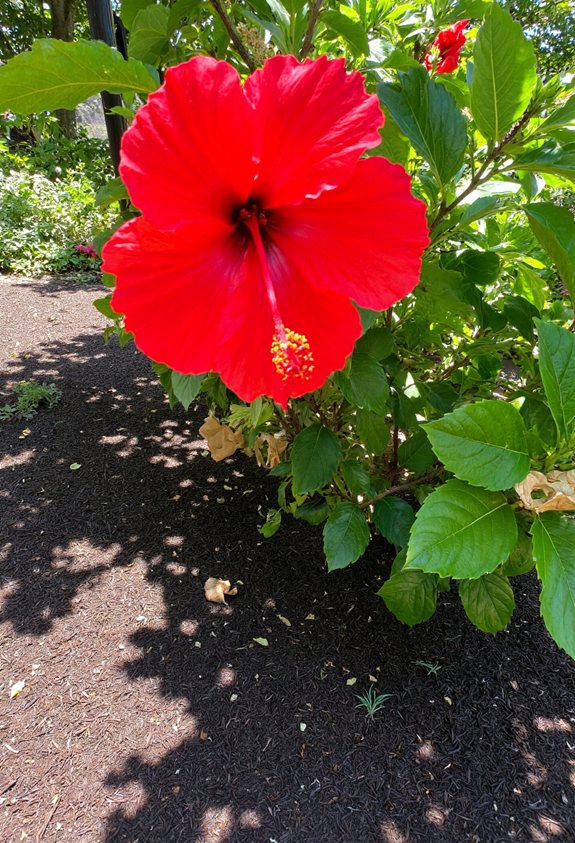
Even on the hottest summer days, a good layer of mulch can be a hibiscus’s best friend, keeping the soil moist and the weeds at bay.
You’ll love how the cool, dark blanket feels underfoot and how it protects roots from scorching heat.
Choose the right mulch, spread it evenly, and watch your plant thrive.
- Wood chips: natural, fragrant, and great at holding water.
- Pine bark: lightweight, breaks down slowly, and gives a rustic look.
- Straw: inexpensive, soft, and easy to apply after planting. Additionally, utilizing space-saving storage solutions can help you keep your gardening tools organized and accessible while maximizing your outdoor area.
Apply Balanced Fertilizer for Continuous Blooming
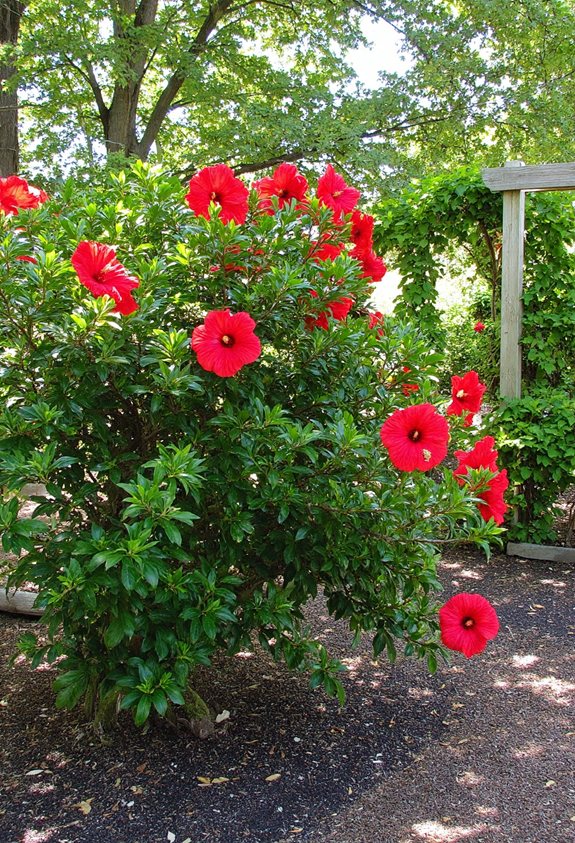
Ever wondered why some hibiscus keep blooming all season while others fade after a few weeks? You’ll keep them thriving by feeding them a balanced fertilizer—10‑10‑10 or 14‑14‑14—every four weeks. Mix it into the soil, water well, and watch fresh buds pop. Avoid over‑fertilizing; a little goes a long way, and your garden will thank you. Additionally, consider incorporating seasonal elements into your planting strategy to create a vibrant and harmonious garden display.
Switch to a Bloom‑Boosting Fertilizer in Summer Months
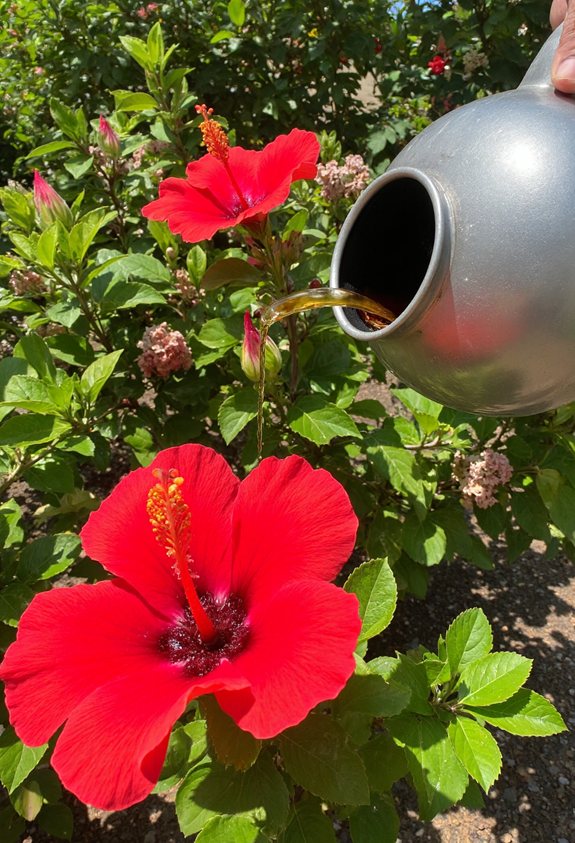
When summer heat rolls in, swapping your regular fertilizer for a bloom‑boosting mix can turn your hibiscus into a fireworks show of color.
You’ll notice richer petals, faster growth, and a garden that feels like a celebration.
- Choose a high‑phosphorus formula for vivid blooms.
- Apply every 4‑6 weeks, watering well afterward.
- Watch the garden’s confidence surge as colors explode. Additionally, ensuring flower selection aligns with seasonal blooms can greatly enhance the overall vibrancy of your hibiscus display.
Prune Hibiscus to Shape the Plant and Promote New Growth
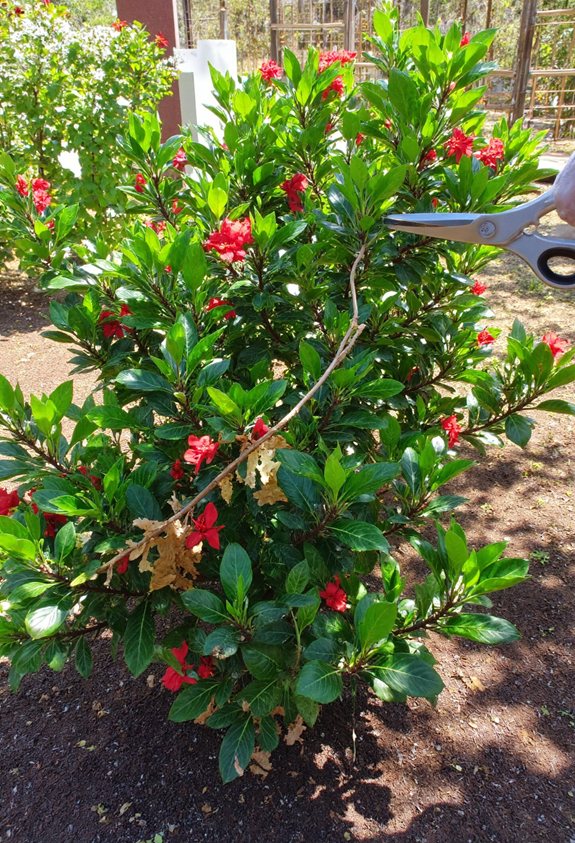
After the summer boost from bloom‑boosting fertilizer, it’s time to give your hibiscus a fresh haircut.
Grab clean shears, trim back any long, leggy stems to about a foot, and shape the top into a neat dome.
Cut just above a leaf node to spark fresh shoots.
This pruning not only tidies the plant but also encourages vibrant new growth for next season’s bloom. Additionally, incorporating eco-friendly practices such as organic fertilizers can further enhance your plant’s health and flowering potential.
Remove Dead or Diseased Branches Safely
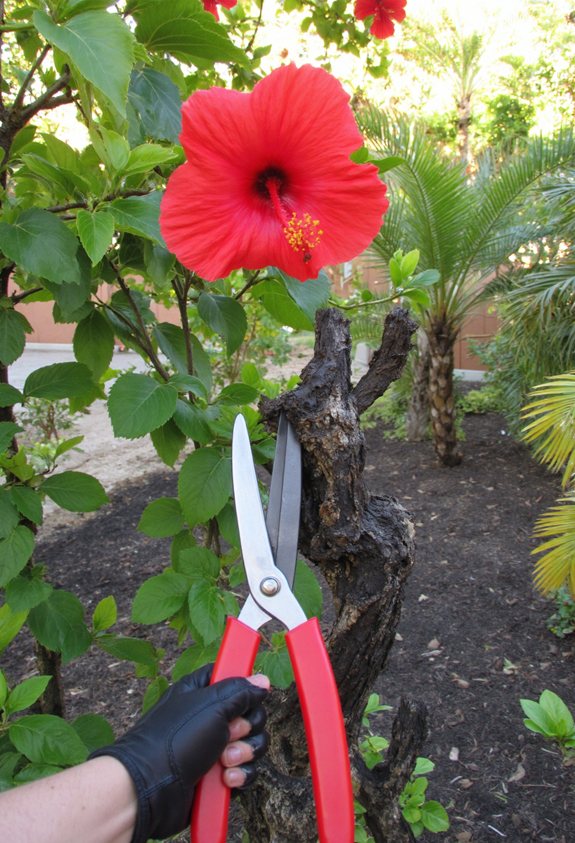
If you spot a wilted, brown branch on your hibiscus, don’t wait—snip it off right away.
Use clean, sharp pruning shears, cut at a 45‑degree angle just above a healthy leaf node, and disinfect the blades afterward to stop spreading disease.
This quick care keeps your plant vigorous and looks tidy.
- Feel the satisfaction of a healthier garden.
- See new shoots burst forth, brightening the space.
- Avoid wilt‑induced sadness by acting fast.
Pinch Back New Shoots to Encourage Bushier Habit
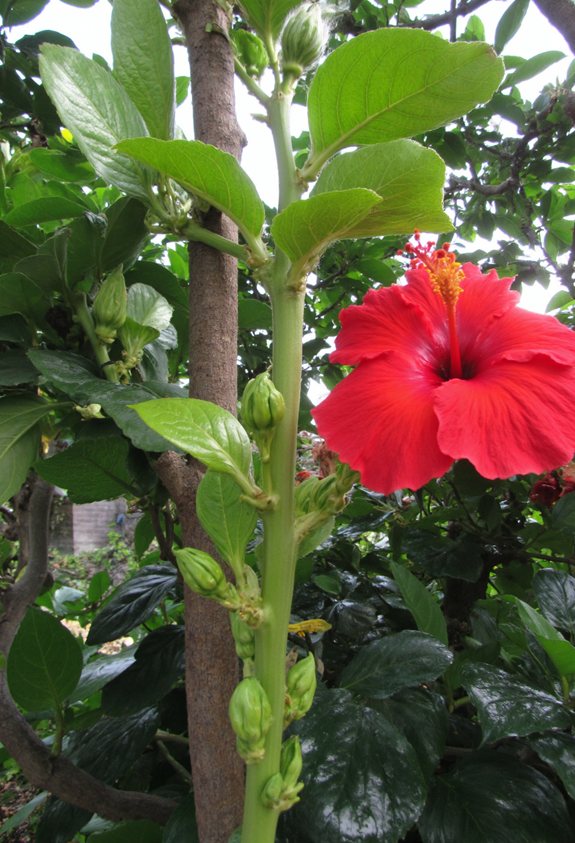
Ever wondered why your hibiscus looks a bit lanky?
Pinch back fresh shoots when they’re a few inches tall—grab the tip with your thumb and forefinger, then give a quick, gentle squeeze. The plant reacts by sending out side buds, filling out the canopy.
Do this every few weeks, and you’ll see a fuller, bushier hibiscus that looks like it’s been on a growth‑spurt vacation.
Protect Hibiscus From Frost With Covers or Containers
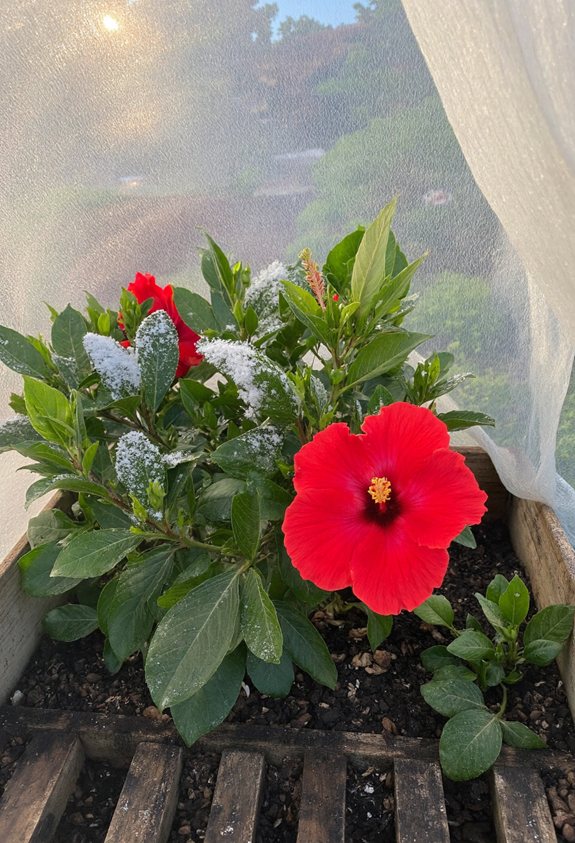
Your hibiscus may be thriving now that you’ve encouraged a bushier habit, but a sudden cold snap can still set it back.
Wrap it in a breathable frost cloth, pile mulch around the base, or move the pot into a sheltered nook.
These quick fixes keep roots warm and stems safe.
- Cozy blanket of burlap
- Thick layer of straw mulch
- Portable container under a sunny porch
Move Potted Hibiscus Indoors During Unexpected Cold Snaps
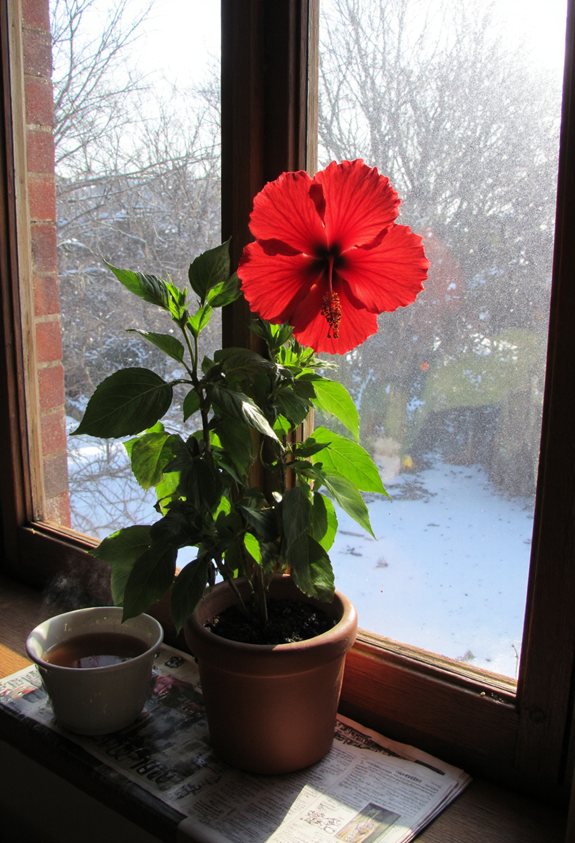
Ever felt that sudden chill that makes your potted hibiscus shiver?
When temperatures dip unexpectedly, grab the pot and bring it inside fast.
Choose a sunny windowsill or a bright room, and keep the soil slightly moist but not soggy.
Avoid drafts, and give the plant a gentle hug of warmth.
A quick move saves blooms and prevents frost‑damage.
Identify Common Pests That Target Outdoor Hibiscus?
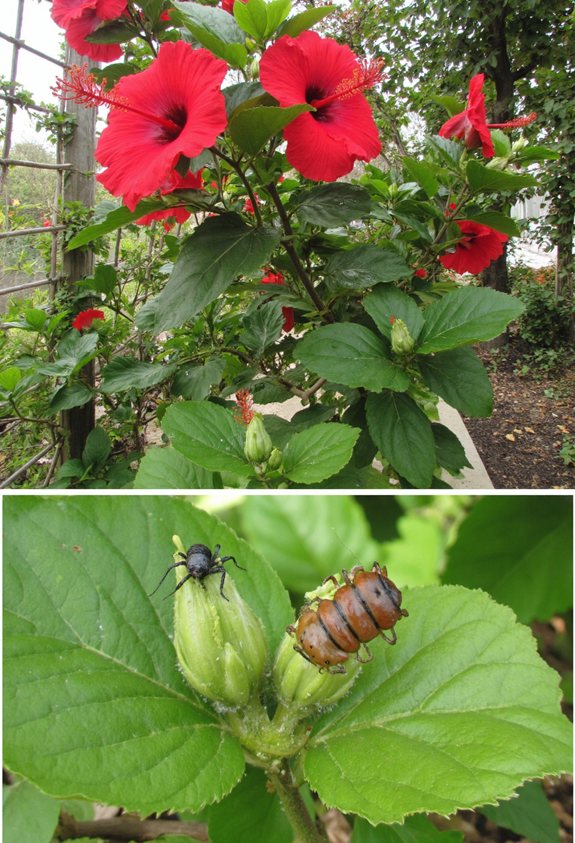
When a warm breeze turns into a sneaky, chilly wind, you might notice tiny invaders making a home on your hibiscus, and they’re not the kind you’d invite to a backyard barbecue.
These pests love the soft leaves and bright blooms, turning your garden into a miniature battlefield.
- Aphids: soft, green insects that cluster on new growth.
- Whiteflies: tiny white moth‑like bugs that flutter when disturbed.
- Spider mites: almost invisible specks that web the undersides of leaves.
Use Organic Insecticidal Soap to Control Aphids and Whiteflies
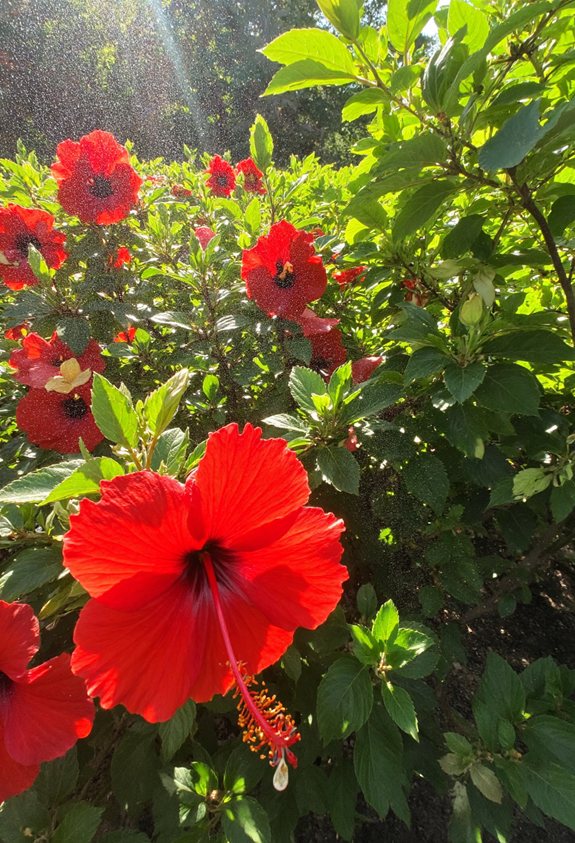
If you’ve ever watched aphids and whiteflies turn your hibiscus into a tiny pest party, you’ll be relieved to know a simple, organic insecticidal soap can kick them out fast.
Mix the soap with water, spray early morning, and cover every leaf and stem.
The soapy film suffocates the bugs, leaving your plant breathing easy again.
Reapply after rain or every week until the pests disappear.
Manage Spider Mites With Neem Oil Treatments
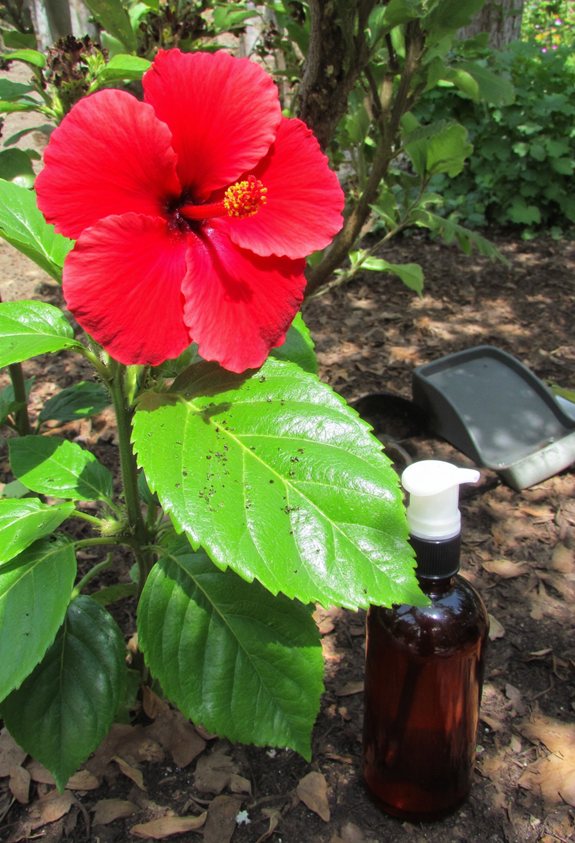
After clearing away aphids and whiteflies with soapy water, you might notice tiny, web‑covered specks on the leaves—those are spider mites, and they love the same humid conditions you just created.
Spray neem oil early morning, repeat weekly, and keep foliage misted to deter them.
- Feel the relief when leaves stay bright
- Watch the mites drown in the oily film
- Celebrate a healthier hibiscus with fewer pests
Spot and Treat Fungal Diseases Like Powdery Mildew
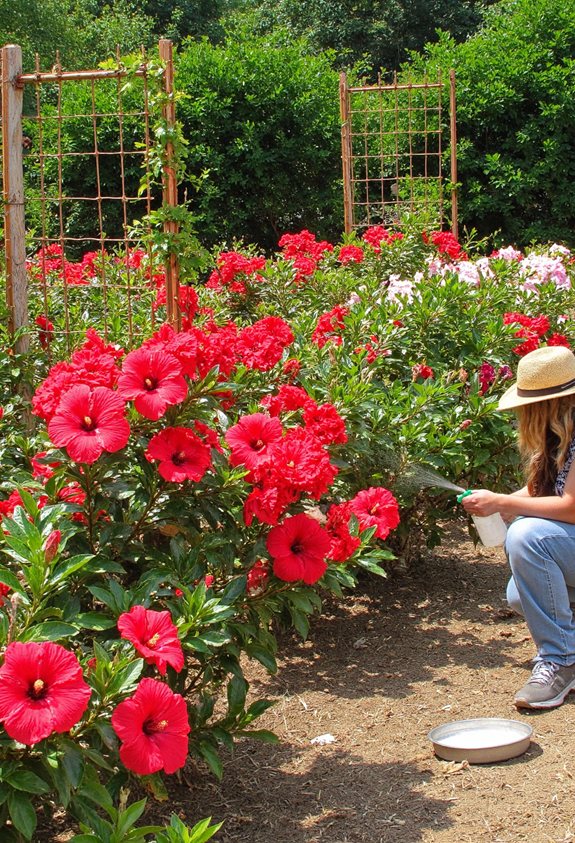
Even though your hibiscus looks perfect at first glance, a dusty white coating can suddenly appear on the leaves, and that’s usually powdery mildew.
Spot it early, then spray a mix of water and baking soda or use a fungicidal soap.
Remove heavily infected foliage, keep watering at the base, and repeat treatment every week until the white fades.
Practice Proper Air Circulation to Prevent Disease Buildup
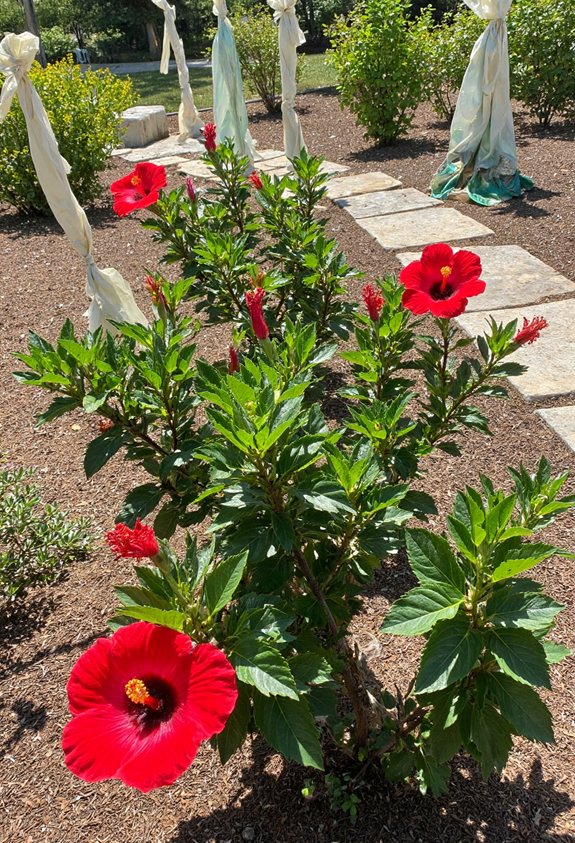
Ever wonder why some hibiscus plants look like they’re breathing easy while others turn into soggy, disease‑prone messes?
You can keep them happy by giving them space, pruning wisely, and checking wind flow.
Good airflow stops mold, dries leaves, and lets sunshine work its magic.
- Space plants 2‑3 ft apart
- Trim crowded branches regularly
- Position near a gentle breeze or fan
Choose Container Sizes for Portable Hibiscus Displays
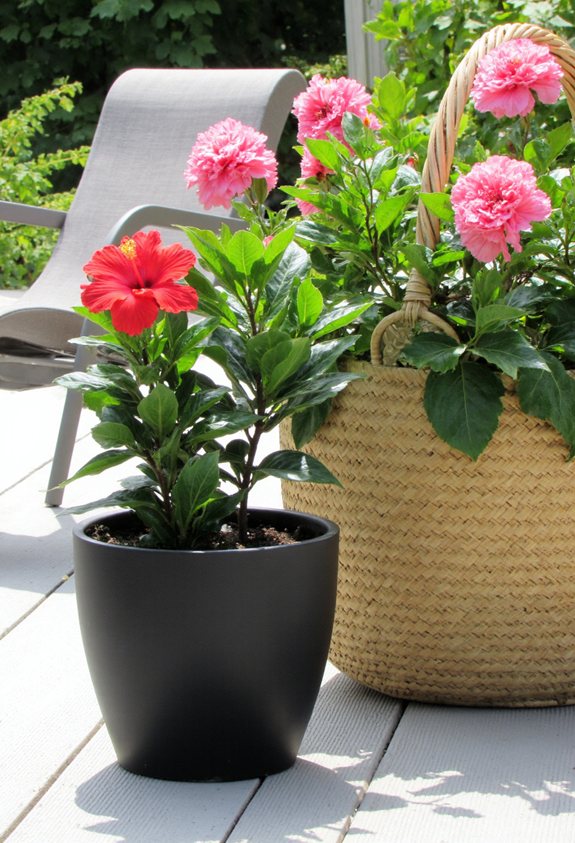
Choosing the right container for a portable hibiscus is like picking the perfect backpack for a road‑trip adventure—too small, and the plant feels cramped; too big, and you’re lugging extra weight for no reason.
Aim for a pot 12‑18 inches wide, holding at least 5 gallons. It gives roots room to spread, keeps soil moist, and stays light enough to move without a workout.
Select Decorative Pots That Complement Hibiscus Foliage
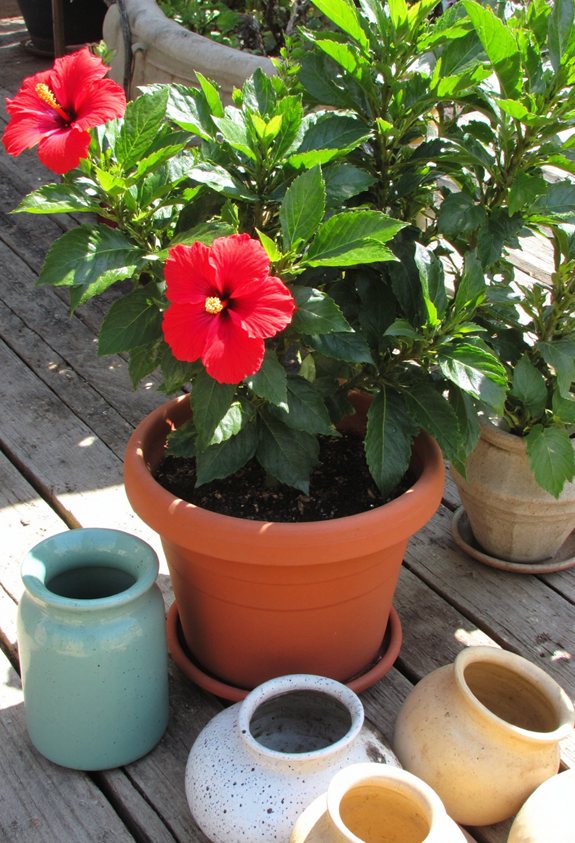
When you match a decorative pot to your hibiscus, think of it like picking an outfit that makes both you and your friend look great together.
Choose colors that echo the leaf’s deep green, textures that add contrast, and shapes that let the plant stand tall without crowding the foliage.
- Earthy terracotta with a matte finish
- Bright teal glazed ceramic for a pop of color
- Natural woven basket for a relaxed, boho vibe
Arrange Hibiscus in Mixed Borders for Color Contrast

If you blend hibiscus with other garden plants, you’ll get a border that pops like a rainbow after a rainstorm.
Pair fiery hibiscus blooms with cool‑green hostas or lavender for contrast, and sprinkle in dwarf ornamental grasses for texture.
Choose plants with staggered heights so each flower gets its moment.
The result? A lively, eye‑catching display that feels like a garden party.
Create a Hibiscus Hedge for Privacy and Visual Impact

After admiring the colorful splash of hibiscus mixed with hostas and lavender, you might notice a gap where privacy could use a boost. Plant hibiscus close together, trim regularly, and let the foliage thicken into a living screen that blocks eyes and adds drama.
- Space plants 18‑24 inches apart for a dense wall
- Prune after each bloom to keep shape tight
- Water deeply, especially in summer, for lush growth
Pair Hibiscus With Tropical Companions Like Bird of Paradise
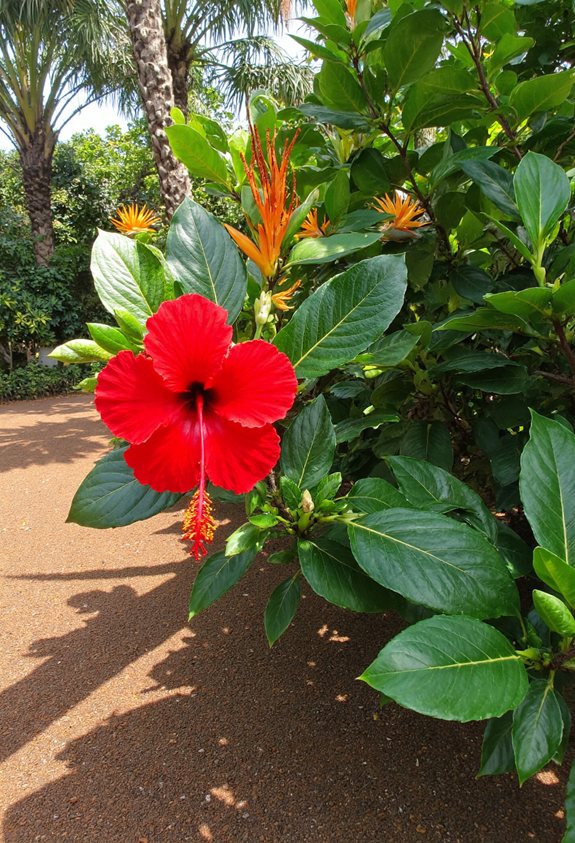
Even though hibiscus already steals the show with its bold blooms, pairing it with a tropical companion like Bird of Paradise takes your garden drama up a notch.
Plant the Bird of Paradise a few feet away, let its fan‑shaped leaves frame the hibiscus’s bright petals.
Both love sun and well‑drained soil, so water consistently.
The contrast of colors and textures makes every stroll feel like a mini‑vacation.
Design a Hanging Basket Garden Using Trailing Hibiscus Varieties
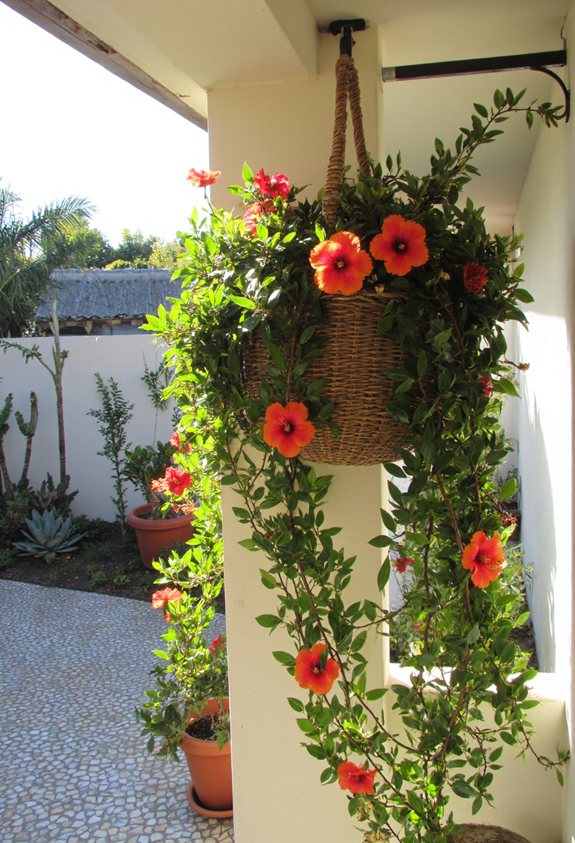
When you hang a basket filled with trailing hibiscus, you’re basically giving your patio a splash‑of‑color fireworks show that sways with the breeze.
Choose a sturdy hanging basket, use lightweight potting mix, and trim vines regularly so they cascade like bright ribbons.
- Bright blossoms sway, dazzling neighbors.
- Fragrant air lifts moods instantly.
- Easy to move, you can chase sunshine.
Incorporate Hibiscus Into Raised Beds for Easier Maintenance
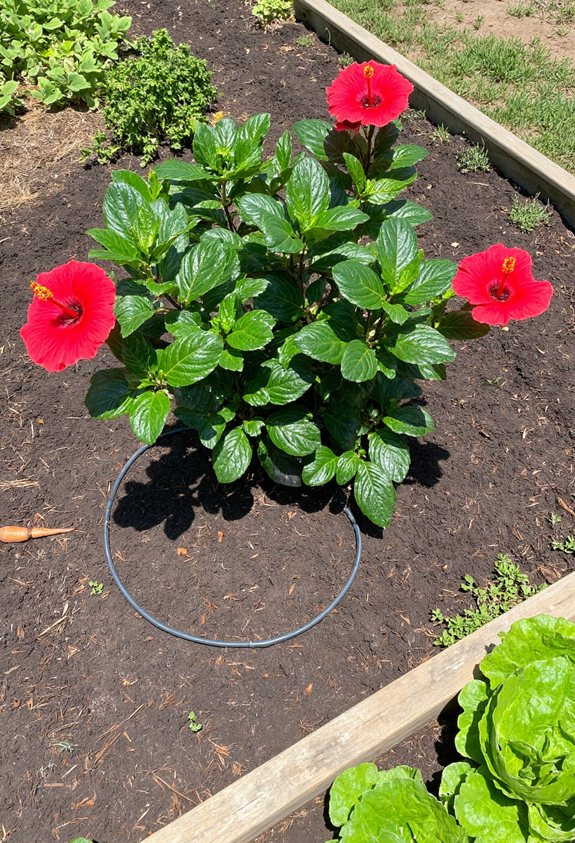
One of the easiest ways to keep hibiscus thriving is to plant them in a raised bed, because the soil stays warm, drains well, and you can reach the plants without bending over like a pretzel.
Fill the bed with a mix of compost and sand, then space each plant two feet apart.
This setup cuts back on weeds, lets you water easily, and keeps the roots cozy, making summer care a breeze.
Use Drip Irrigation to Conserve Water and Reduce Leaf Wetness
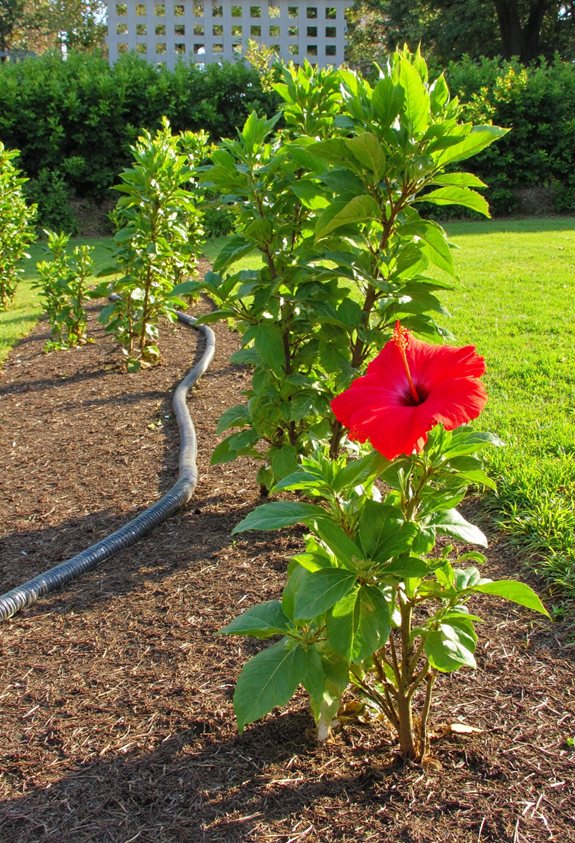
If you set up a drip‑irrigation system for your hibiscus, you’ll keep the soil moist while the leaves stay dry, which means fewer fungal problems and a lot less water waste.
It delivers water straight to roots, saves time, and lets you watch your garden thrive without soggy foliage.
- Feel the satisfaction of watching droplets hug the soil, not the leaves.
- Enjoy lower water bills and a greener planet.
- Relish the peace of mind knowing your plants stay healthy and vibrant.
Schedule Seasonal Feeding to Match Growth Cycles
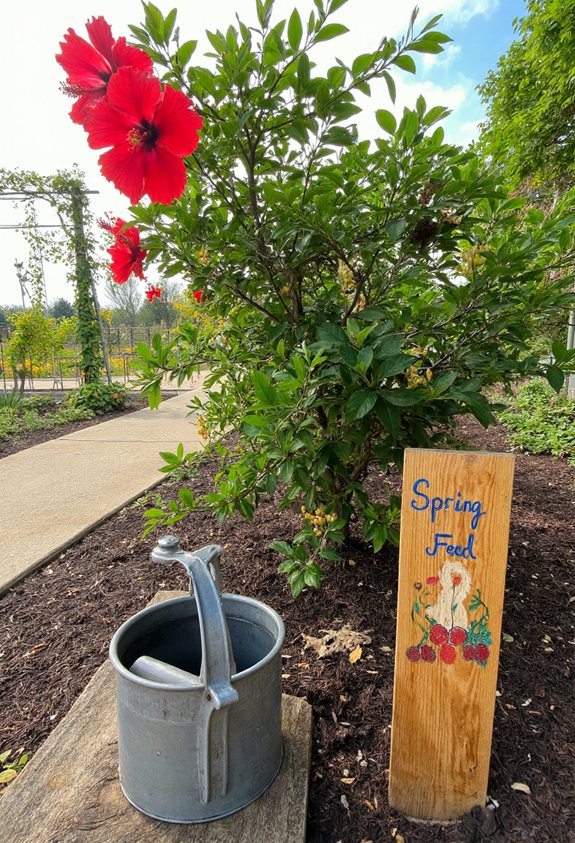
Your drip system already keeps the roots happy and the leaves dry, so the next step is feeding your hibiscus at the right times.
In early spring, mix a balanced, water‑soluble fertilizer every two weeks until buds appear.
Switch to a high‑potassium blend in summer for vibrant blooms.
Cut back to half‑strength in fall, then stop feeding as the plant enters dormancy.
Trim Back Hibiscus After the First Frost to Protect Buds
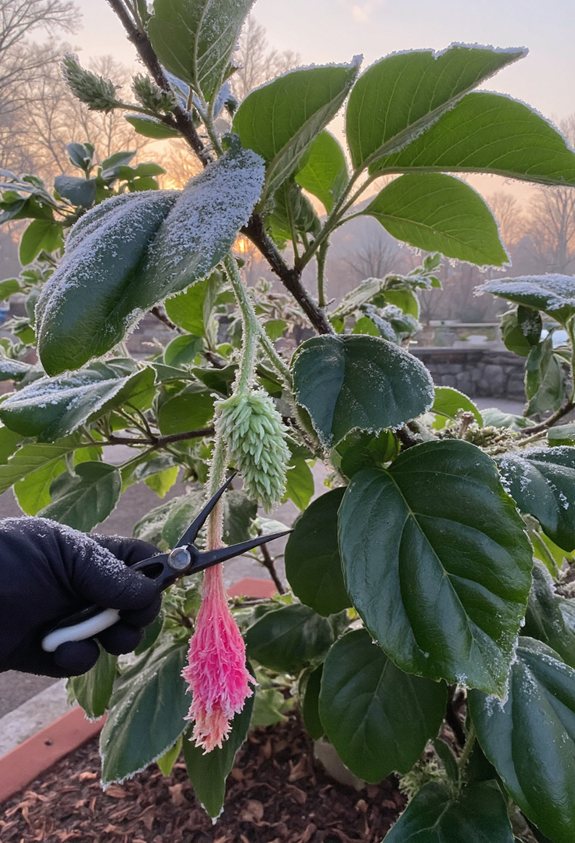
When the first frost bites the garden, you’ll notice the hibiscus leaves turning a dull brown, and that’s the perfect cue to give the plant a quick trim.
Cut back dead stems to a healthy node, shape the bush for winter, and remove any lingering buds that could freeze.
- Snip with sharp shears, feeling the crisp air.
- Watch the plant breathe easier, like a sigh of relief.
- Picture a tidy, cozy hibiscus ready for spring’s return.
Overwinter Hibiscus in a Sunny Window With Reduced Watering
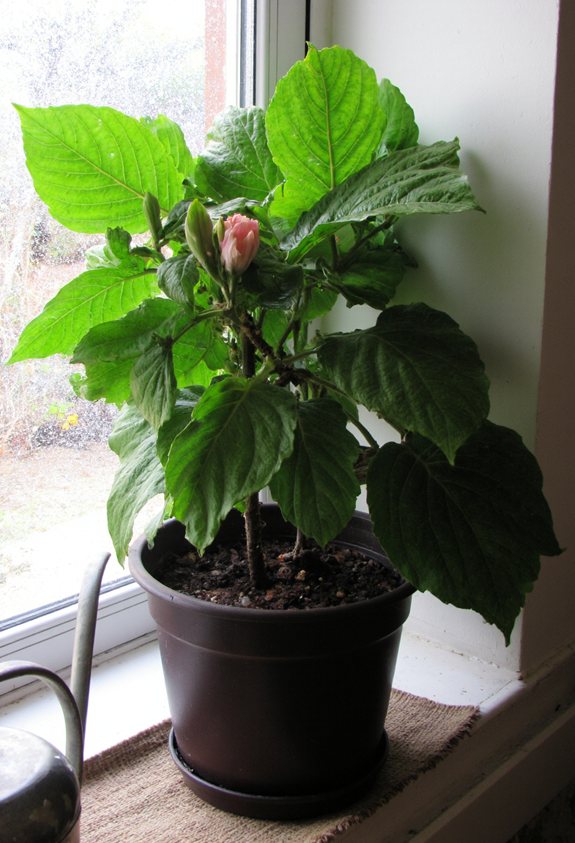
Even though the garden is asleep, your hibiscus can still thrive on a sunny windowsill, just needs a little extra love.
Place it where morning light floods the leaf, then cut watering to a sip once a week.
Check the soil; it should feel dry to the touch.
Keep the room warm, avoid drafts, and enjoy watching its bright buds survive winter.
Repot Container Hibiscus Annually to Refresh Soil Nutrients
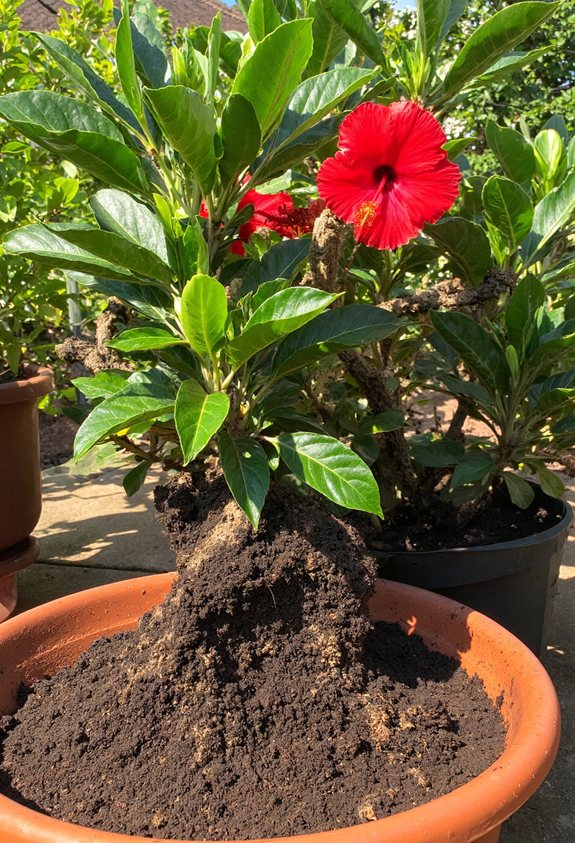
Because a hibiscus loves fresh, nutrient‑rich soil, repotting it once a year is like giving it a spa day.
You’ll notice brighter blooms, stronger stems, and happier growth when you replace the old mix with a light, well‑draining blend.
It’s a simple ritual that refreshes roots and shows your plant some love.
- Swap the soil for a nutrient‑boosted mix
- Trim dead roots gently for a fresh start
- Choose a pot a bit larger for room to expand
Propagate Hibiscus by Stem Cuttings for Free New Plants
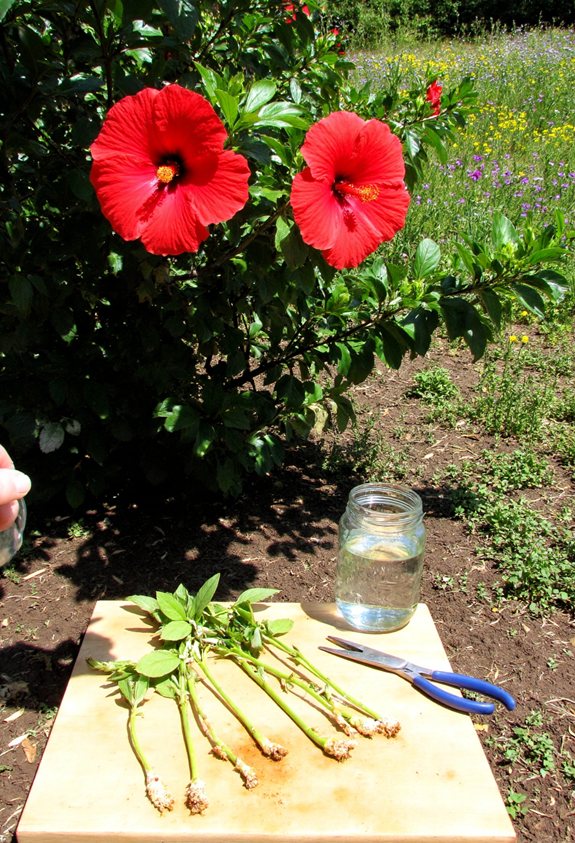
After freshening the soil, you can keep the hibiscus momentum going by snapping a few stem cuttings and turning them into brand‑new plants.
Choose healthy shoots, cut just below a node, strip lower leaves, and dip the base in rooting hormone.
Plant in moist potting mix, cover with a plastic bag, and place in bright, indirect light.
Roots should appear in a couple weeks, giving you free, thriving hibiscus babies.
Root Cuttings in Water Versus Soil for Faster Establishment
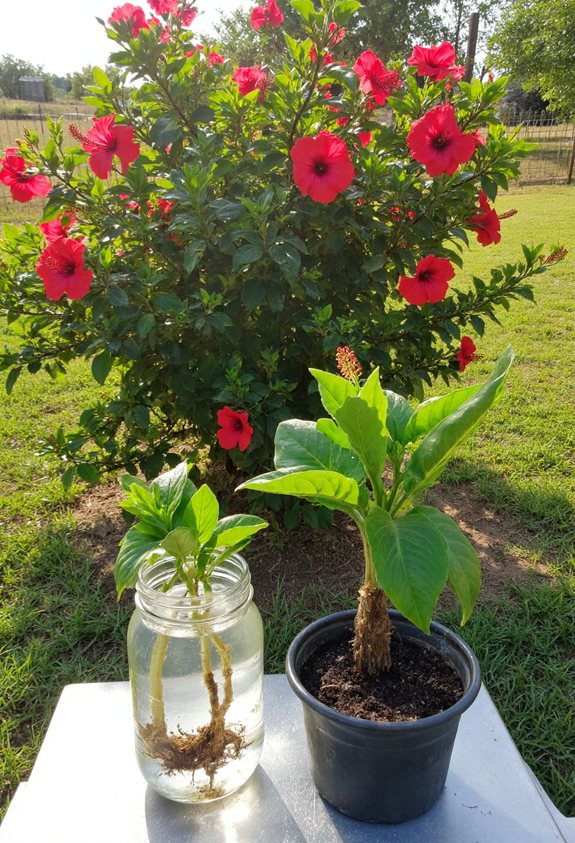
Ever wondered which method makes hibiscus root cuttings take off faster—water or soil? You’ll see roots sprout quicker in water, but soil gives sturdier seedlings once they’re established. Try both and compare the green rush you love.
- Water shows roots dancing, bright and visible.
- Soil feels earthy, promising strength.
- The excitement of watching growth spikes instantly.
Transplant Rooted Cuttings Into the Garden With Minimal Shock
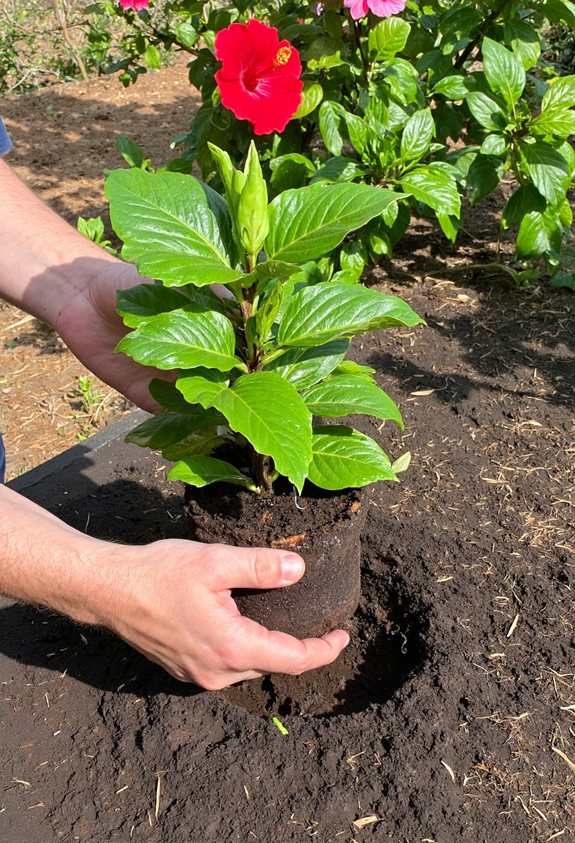
When you’re ready to move your rooted hibiscus cuttings into the garden, start by watering the soil a day before the transplant so it’s moist but not soggy—this gives the roots a soft landing pad and cuts down on transplant shock.
Dig a hole twice as wide as the root ball, gently place the cutting, backfill, and pat lightly.
Keep the area shaded for a couple of days, then water sparingly as the plant settles.
Monitor Growth and Adjust Fertilization as Plants Mature
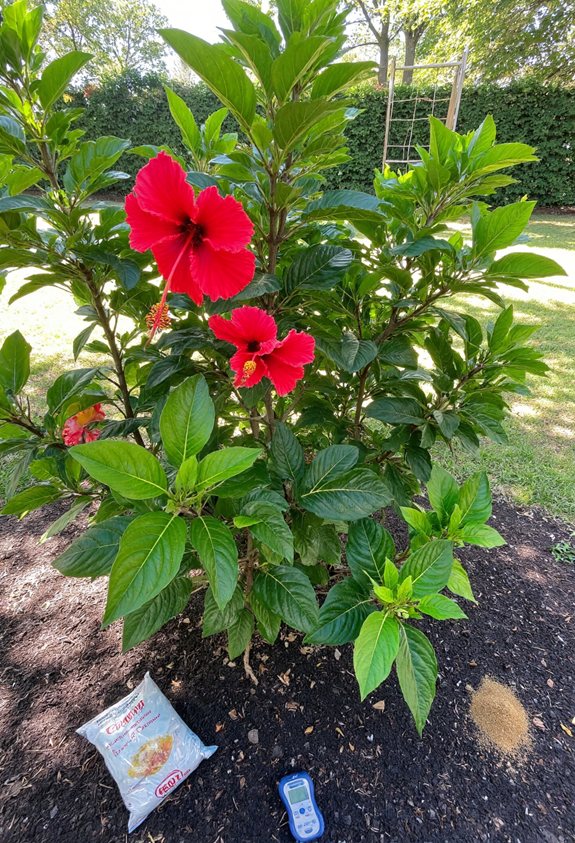
If you keep an eye on your hibiscus as it stretches toward the sky, you’ll notice when it’s craving extra nutrients and when it’s just fine with what’s already in the soil.
Watch leaf color, growth speed, and bloom size; each signals a feeding cue.
Adjust fertilizer type and frequency accordingly, but don’t overdo it—balance keeps plants happy.
- Bright, glossy leaves signal thriving health.
- Slow, pale growth hints it more food.
- Lush, abundant buds mean you’re on the right track.
Harvest Hibiscus Flowers for Tea or Ornamental Arrangements
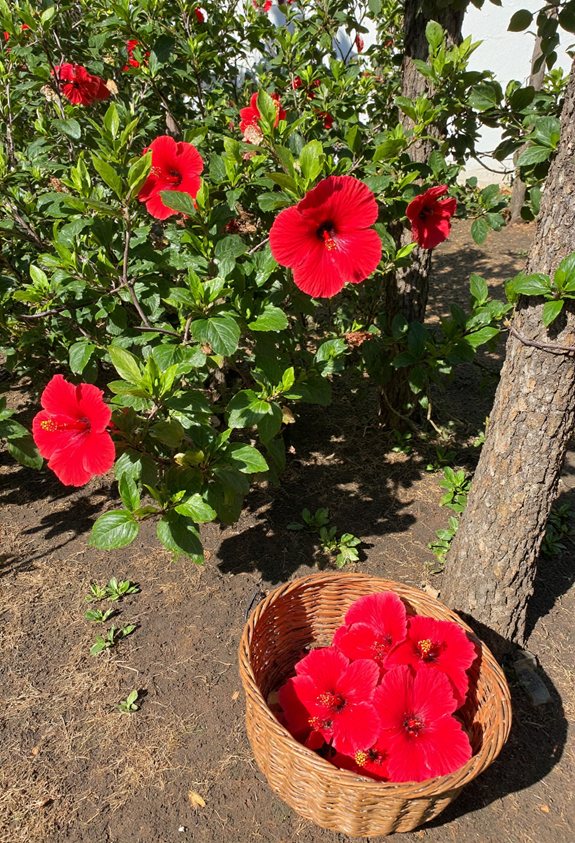
How do you turn those bright, fragrant hibiscus blossoms into a soothing cup of tea or a stunning bouquet?
Snip flowers early in the morning when they’re fully open but still firm. Rinse gently, pat dry, and steep a handful in hot water for a tart, ruby‑red tea.
For bouquets, trim stems at an angle, strip lower leaves, and arrange in a vase with fresh water. Enjoy the vivid color and aroma!
Preserve Cut Hibiscus Blooms for Long‑Lasting Color Displays
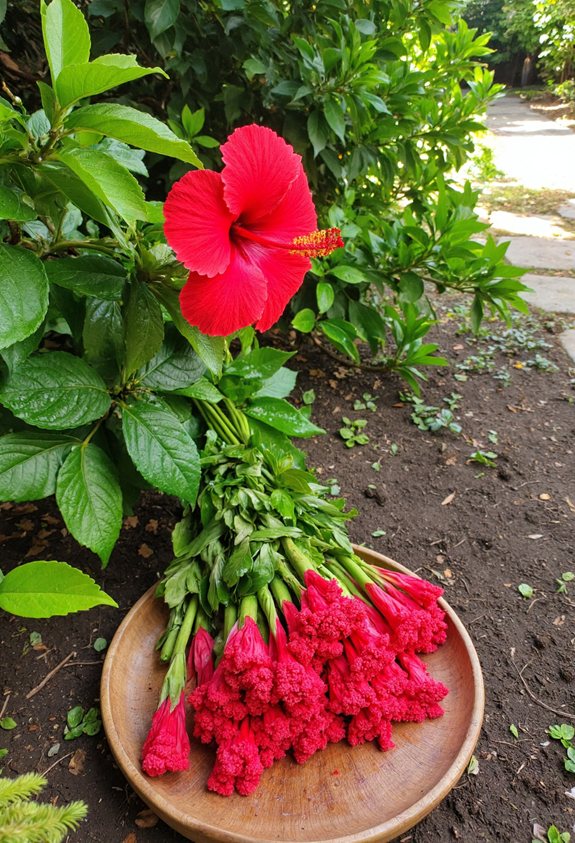
Even though hibiscus flowers wilt fast, you can lock in their bright hue and sweet scent with a few simple tricks.
First, snip stems early in the morning, then place them in ice‑cold water mixed with a splash of lemon juice. Keep them away from direct sun and change the water daily for lasting brilliance.
- Chill the vase with ice cubes
- Add a pinch of sugar for extra vigor
- Mist the petals lightly for a fresh sparkle
Troubleshoot Common Problems: Yellow Leaves, Leggy Stems, and Poor Bloom
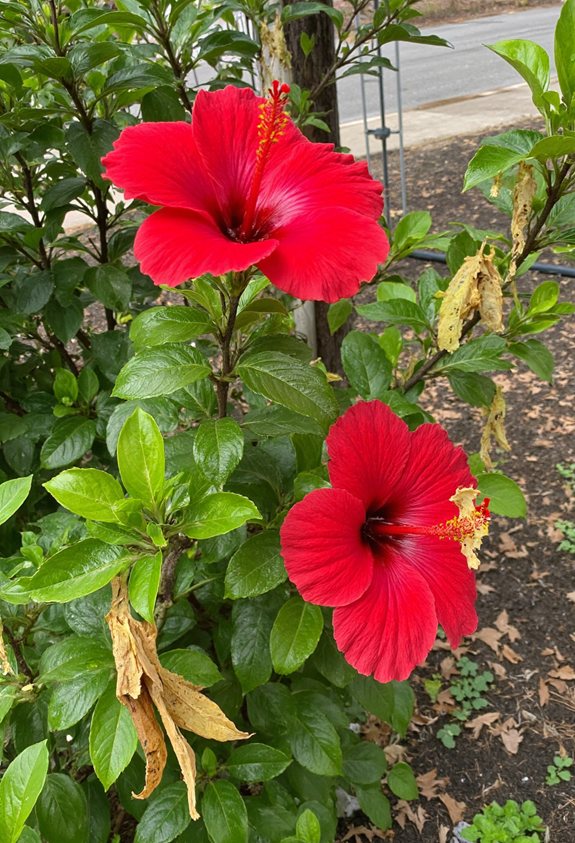
When your hibiscus starts showing yellow leaves, spindly stems, or barely any blooms, it’s usually a sign that something’s off with its environment.
Check soil moisture—over‑watering makes roots soggy, under‑watering dries them out.
Give it more sunlight; shade makes stems leggy.
Feed with balanced fertilizer every six weeks, and prune weak branches to boost airflow and blooming energy.
Plan a Year‑Round Hibiscus Care Calendar for Thriving Outdoor Growth
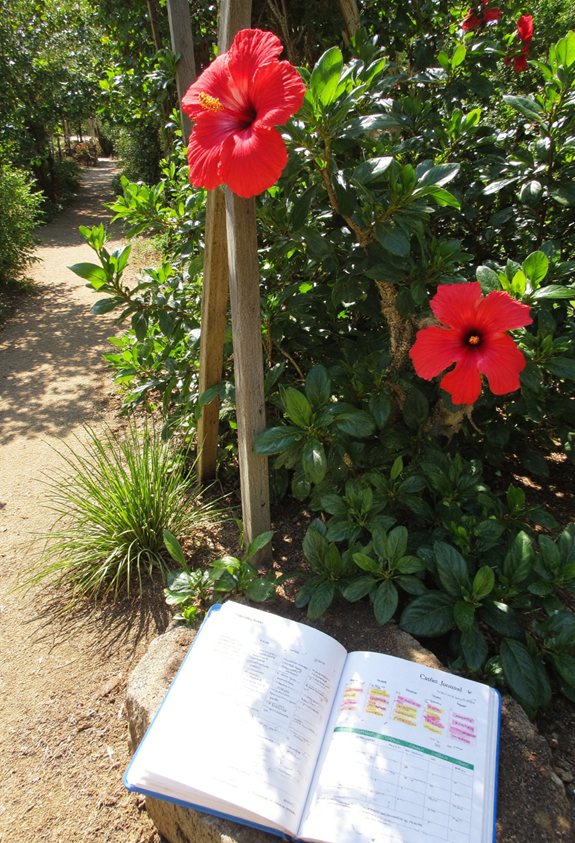
After dealing with yellow leaves and leggy stems, it’s time to map out a year‑round schedule that keeps your hibiscus happy and blooming all season. You’ll water more in summer, prune in early spring, and protect from frost in winter, all while enjoying fragrant bursts.
- Spring: Light fertilizing, gentle pruning, and repotting if needed.
- Summer: Daily watering, feeding every two weeks, and dead‑heading for continuous blooms.
- Fall/Winter: Reduce water, move to shelter, and mulch to guard roots against cold.