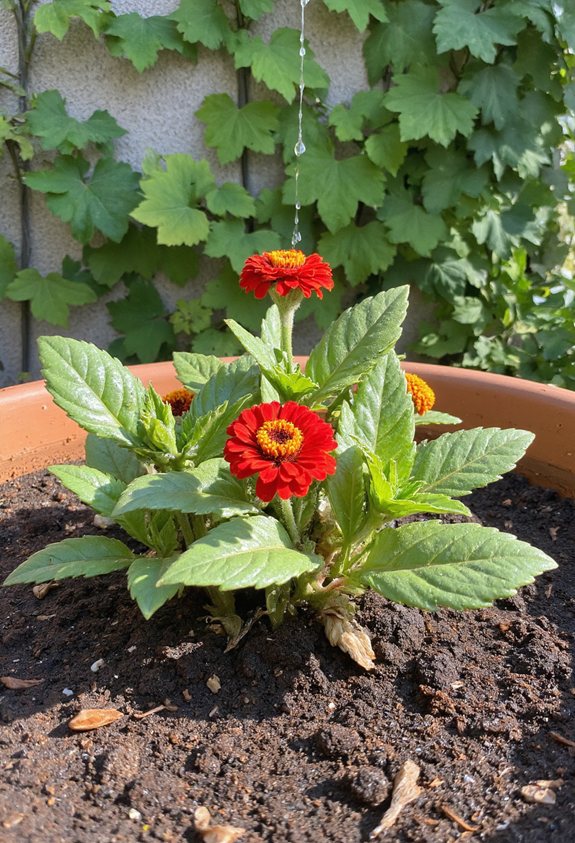
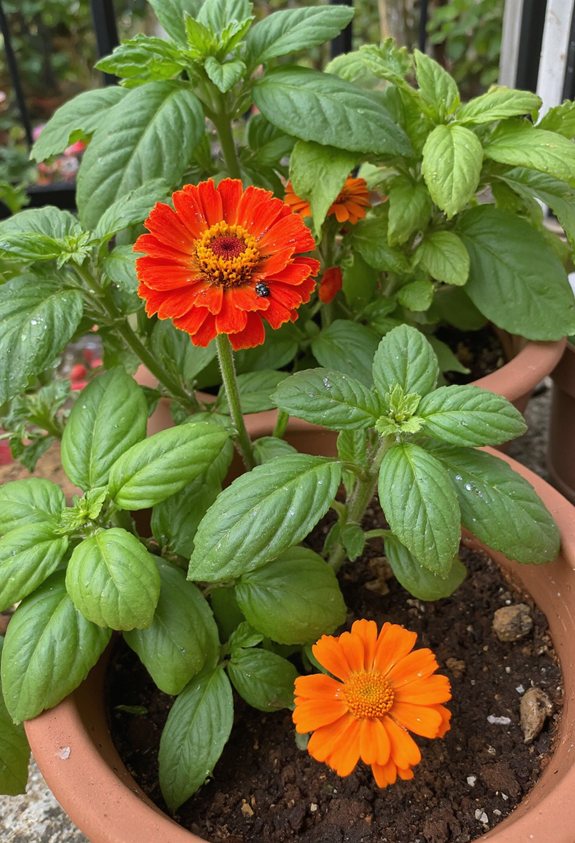
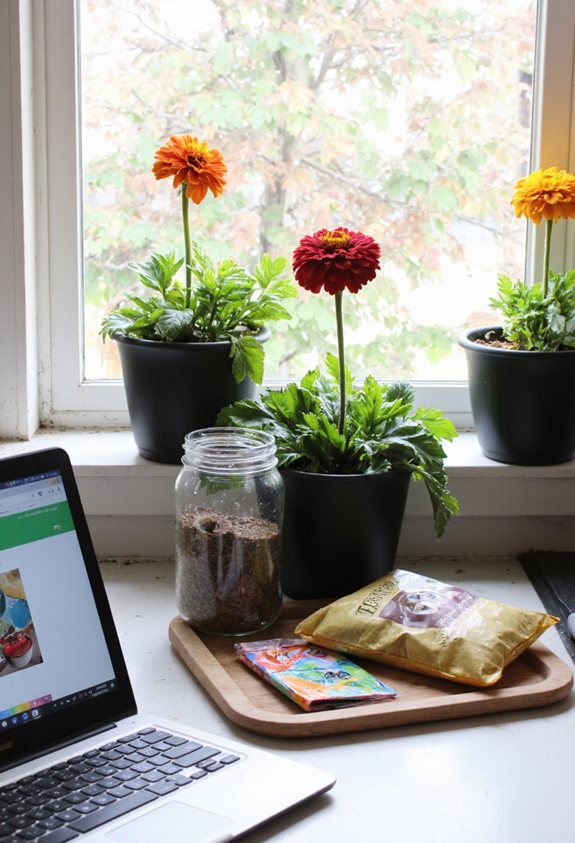
Pick a pot at least 12 in wide and 10 in deep, use a light, gritty mix of compost, sand and perlite, and make sure it drains well with a pebble layer at the bottom. Plant seeds 4–6 in apart, keep the soil moist but not soggy, and give them 6–8 hours of bright sun daily.
Water early, watch for yellow leaves or leggy stems, and prune back spent blooms to keep the plant bushy. If you keep going, you’ll discover even more tips for thriving container zinnias.
Why Zinnias Thrive in Containers

Because they love a good, cozy spot, zinnias actually thrive in containers.
You’ll notice they stretch roots just enough for quick water, and they love the warm, confined soil that keeps them from wandering.
The limited space forces them to focus energy on bright, bold blooms, so you get vivid colors faster.
Plus, moving pots lets you chase sunshine, making gardening feel like a fun adventure. Additionally, the use of vibrant colors in gardening can significantly enhance the overall aesthetic of your outdoor space.
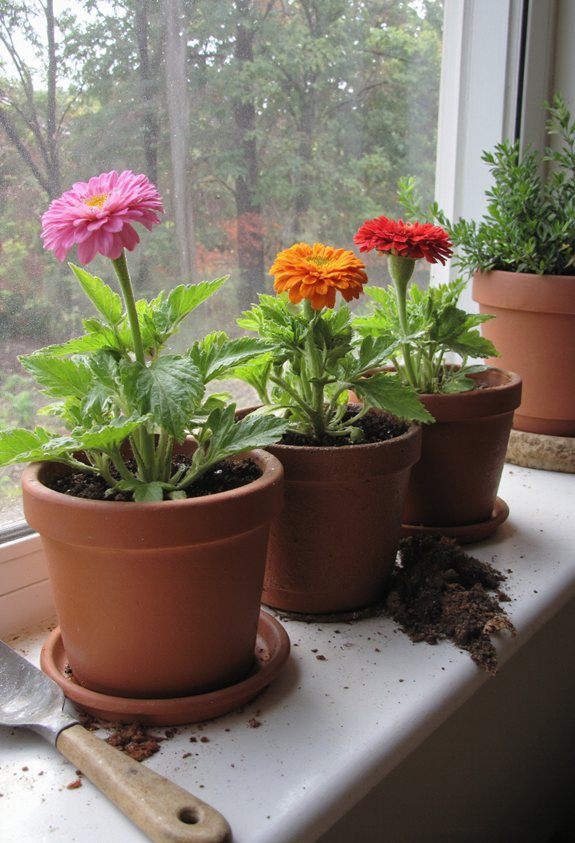
Choosing the Perfect Pot Size for Zinnias
After seeing how zinnias love the snug, warm soil of a container, the next step is picking the right pot size.
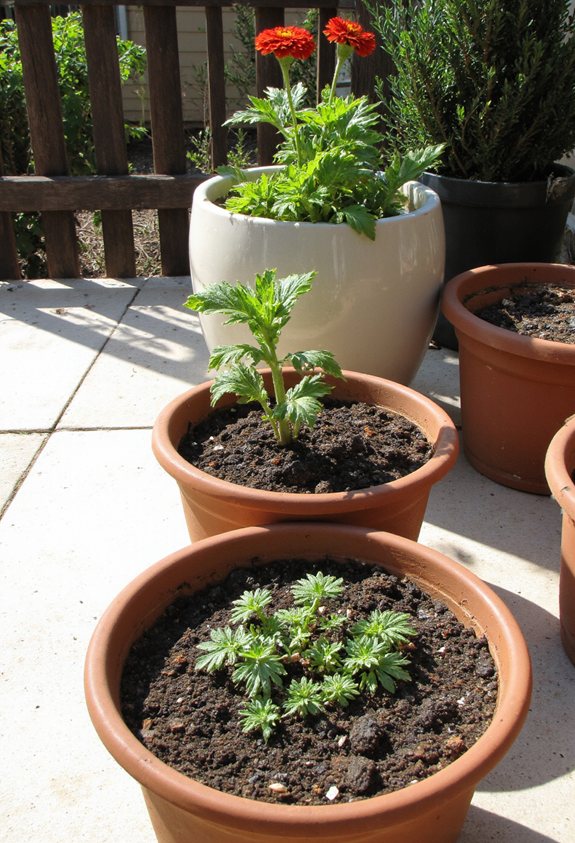
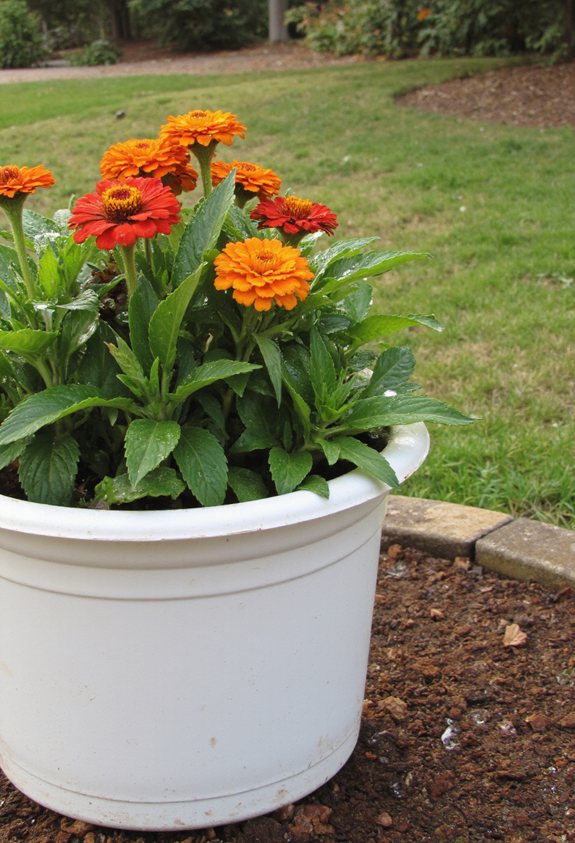
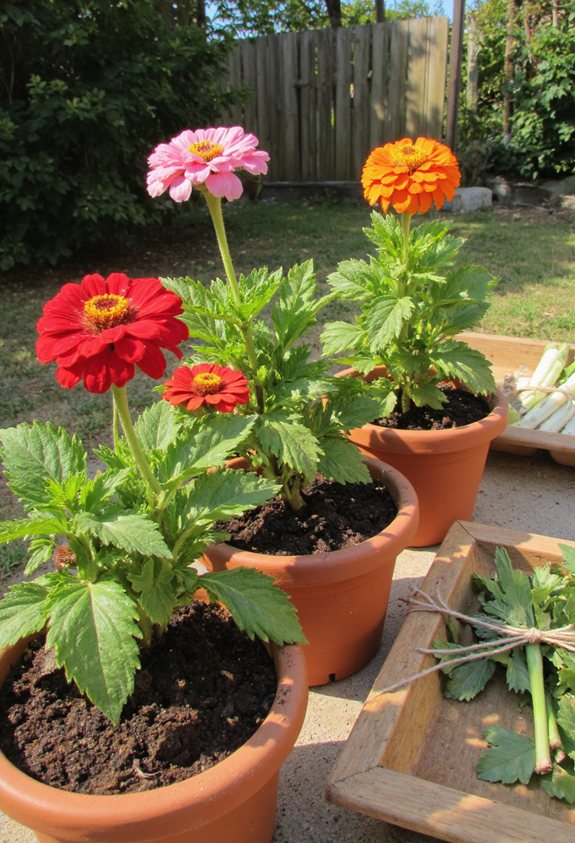
Aim for a pot at least 12 inches wide and 10 inches deep for a handful of seedlings; larger groups need 14‑16 inches.
Bigger pots give roots room to spread, preventing wilting.
Remember, too‑small pots choke growth, while oversized ones waste space.
Choose wisely, and your zinnias will flourish. Additionally, selecting containers that allow for proper drainage is crucial to maintain healthy soil moisture levels.
Selecting the Right Pot Material for Drainage and Insulation
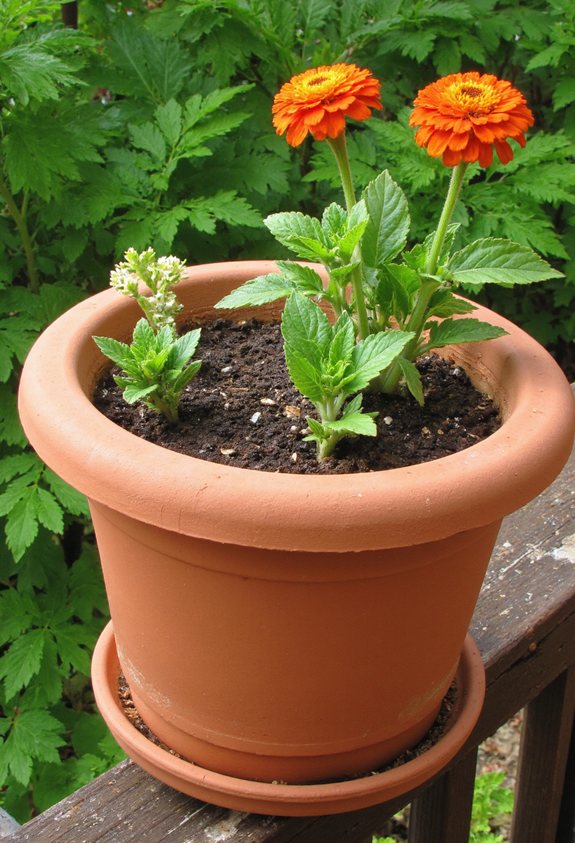
If you want your zinnias to stay happy and healthy, the material you pick for their pot matters just as much as the size.
Terracotta lets soil breathe and dries quickly, but it can crack in winter.
Plastic retains moisture, keeping roots cool, yet it can overheat in sun.
Ceramic offers style and moderate insulation, but watch for sealed bases.
Choose wisely. Additionally, consider using a high-quality potting mix to enhance soil drainage and nutrient delivery for your zinnias.
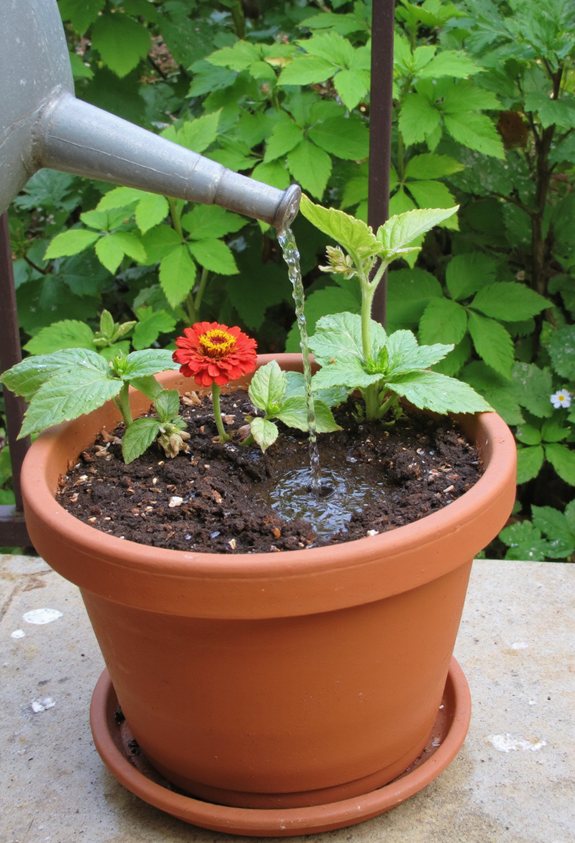
How to Prepare the Pot Before Planting
Even before you drop a zinnia seed into the pot, give the container a quick makeover so the plant has a solid start.
Clean out old soil, rinse the pot, and scrub away any grime.
Check for cracks, then line the bottom with a thin layer of pebbles or broken pottery. This creates a tidy, safe home for your seedlings. Additionally, using native plant relationships can ensure your zinnias thrive by optimizing their growth conditions.
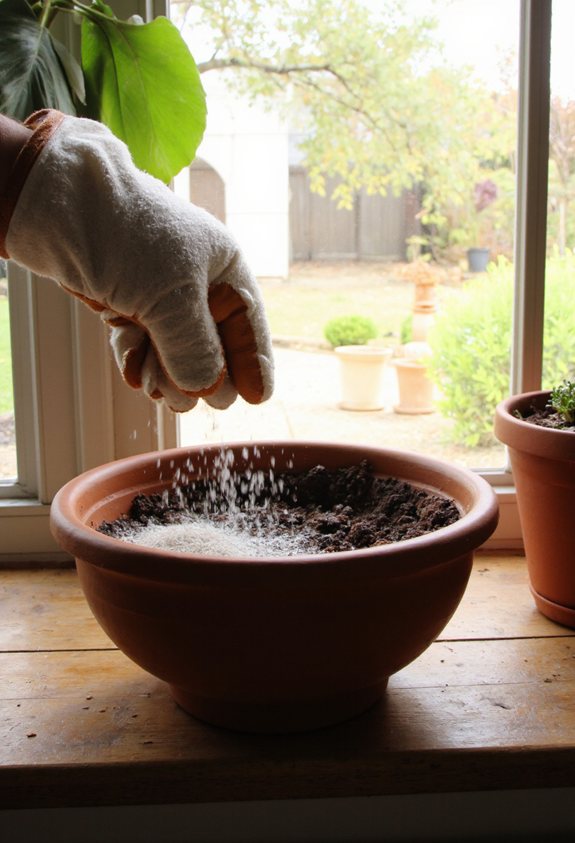
Crafting a Well‑Draining Soil Mix for Potted Zinnias
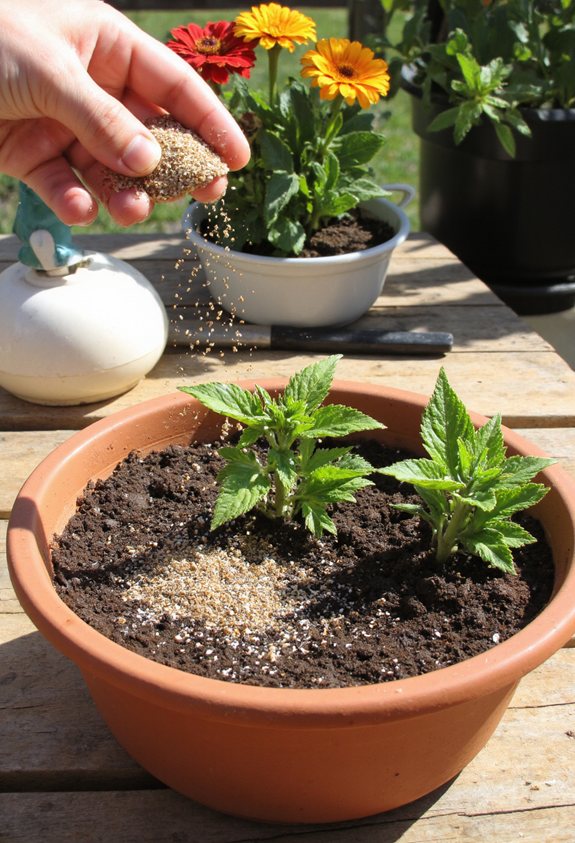
So, what makes a pot‑soil mix perfect for zinnias? You need gritty texture, so blend equal parts potting compost, coarse sand, and perlite.
The sand creates channels for water to escape, while perlite adds airy pockets.
This combo stops roots from drowning, keeps the mix light, and lets your zinnias breathe.
Think of it as a mini‑spa for their roots. Additionally, ensuring that your soil is well-drained and nutrient-rich will help zinnias thrive beautifully in containers.
Adding Organic Matter to Boost Moisture Retention

Your gritty, well‑draining mix does a great job of keeping water from pooling, but zinnias still love a little extra moisture when the sun gets hot.
Toss in compost, shredded leaves, or peat moss—about a quarter of the pot’s volume. These organics act like tiny sponges, holding water longer while still letting excess drain away, keeping roots happy and blooms vibrant. Additionally, incorporating banana peel fertilizer can provide essential potassium for vibrant and healthy blooms.
The Ideal Soil pH Range for Zinnia Success
If you’ve ever wondered why some zinnia pots look droopy while others burst with color, the secret often lies in the soil’s pH.
Zinnias thrive when the pH sits between 6.0 and 7.0, slightly acidic to neutral.
Test the mix with a simple kit, then adjust using lime to raise pH or peat moss to lower it.
Keep the balance, and watch vibrant blooms flourish. Consider incorporating temporary wall solutions to create an inviting outdoor space for your potted zinnias.
Choosing Zinnia Varieties Suited for Small Spaces
Getting the right zinnia variety for a tiny balcony or windowsill starts with visualizing the space you have—think of it as picking a pet that fits in your apartment, not a zoo. Choose compact, dwarf, or mini types that stay tidy and bloom brightly without crowding.
- ‘Zinderella’ dwarf mix
- ‘Baby Boomer’ mini
- ‘Mammoth’ dwarf (compact)
- ‘Petite’ single‑stem
- ‘Lilliput’ low‑growth
In addition to zinnias, consider incorporating climbing vegetables like pole beans or cucumbers to maximize your growing space.
Understanding Height and Spread Differences Among Varieties
When you look at a zinnia’s label, you’ll notice two numbers that matter most: the height it will reach and the spread it will claim.
Compact dwarfs stay under twelve inches, perfect for balcony railings, while tall varieties can soar twenty‑four inches, filling vertical space.
Choose a spread that fits your pot’s diameter, and picture a tidy, blooming carpet instead of a wild jungle.
When to Start Zinnia Seeds Indoors for Pot Planting

Because zinnia seeds need a head start before they hit the sunny outdoors, you’ll want to sow them indoors about six to eight weeks before your last frost date.
This timing lets seedlings grow strong, avoid shock, and be ready for pot planting when warmth arrives.
- Choose a bright windowsill or grow light
- Use a seed‑starting mix, not garden soil
- Keep soil moist, but not soggy
- Provide 12‑14 hours of light daily
- Transplant when seedlings have two true leaves to ensure they are strong enough for outdoor conditions.
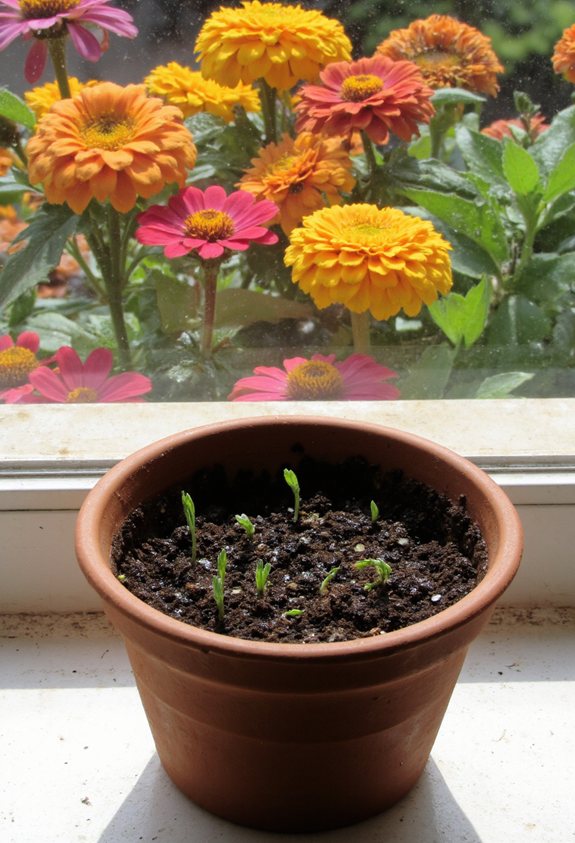
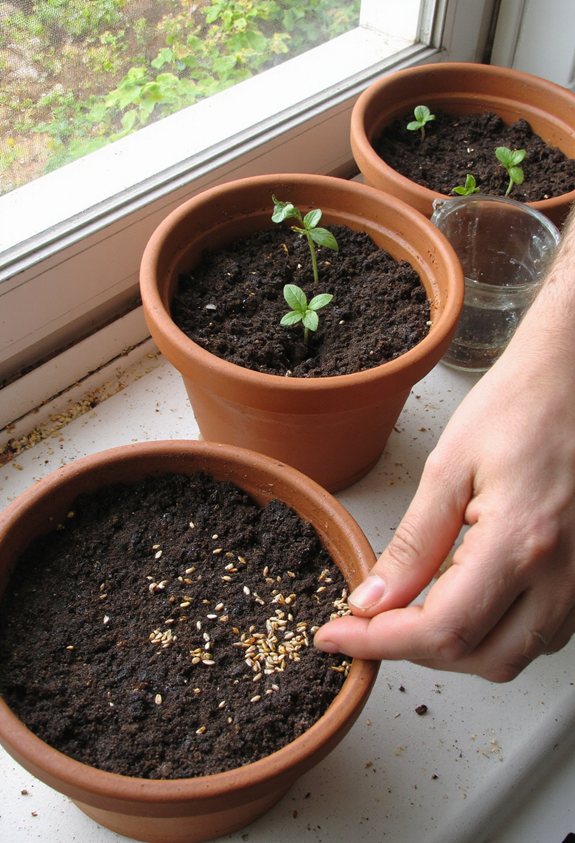
Direct‑Sowing Zinnias in Pots: Step‑by‑Step Guide
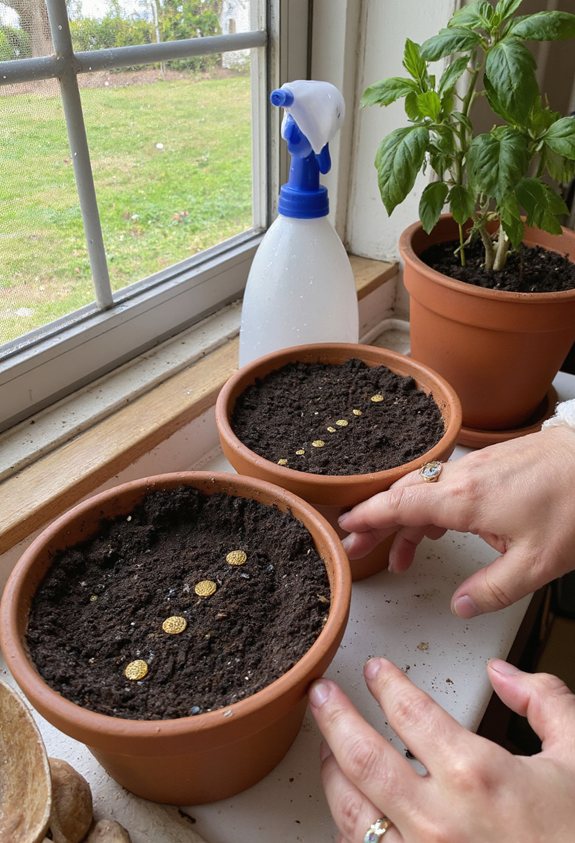
If you’ve ever tried to grow zinnias from seed and watched them wilt before they even see the sun, you’ll love the simplicity of direct‑sowing in pots.
Fill a pot with light potting mix, water it till damp, then sprinkle seeds evenly, spacing them about an inch apart.
Lightly press the soil, cover with a thin layer of mulch, keep moisture steady, and watch tiny shoots burst through. To ensure healthy growth, it’s important to choose a potting soil that is well-draining, similar to the way garlic thrives in well-draining soil.
How Deep to Plant Zinnia Seeds for Strong Roots
Even though it feels like you could just toss the seeds on the surface, planting zinnia seeds a little deeper actually gives them a stronger start. Aim for ¼‑½ inch depth, gently press soil, and water lightly.
- Use a small trowel or fingertip
- Keep soil moist, not soggy
- Cover with a thin mulch layer
- Avoid compacting soil too hard
- Label pot with planting date
Spacing Seeds for Optimal Airflow and Light Exposure

When you’re arranging zinnia seeds in a pot, think of it like setting up a tiny garden party—each plant needs enough space to breathe, catch the sun, and show off its colors.
Aim for 4‑6 inches between seeds, letting air circulate and light reach every leaf.
Too close, and you’ll get crowded, wilted guests; give them room, and watch the show bloom.
Using Seedling Trays vs. Direct Pot Sowing – Pros and Cons
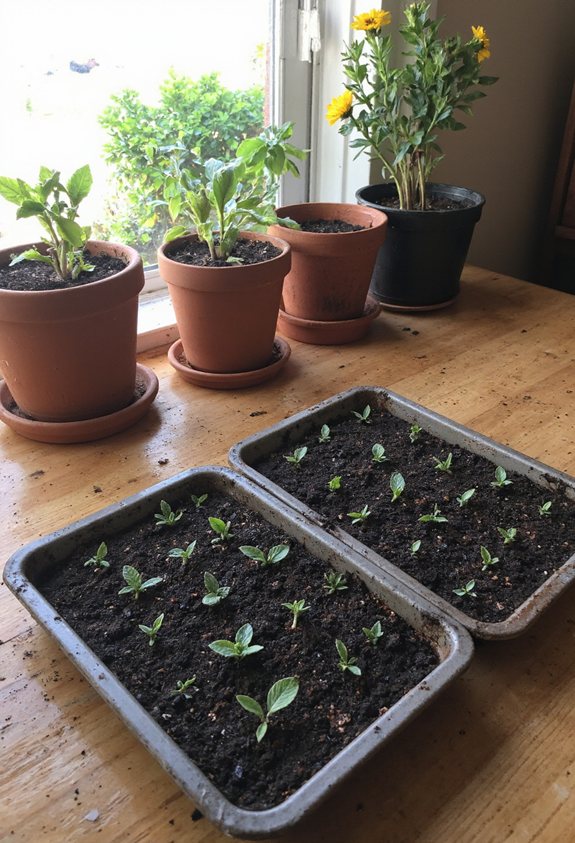
Choosing between seedling trays and direct pot sowing is like deciding whether to bake a cake from scratch or use a ready‑made mix—both work, but each has its own quirks. You’ll feel the difference in timing, space, and effort, and you’ll quickly learn which method fits your schedule and garden vibe.
- Trays give you a head start, so seedlings are stronger when you transplant.
- Direct sowing saves trays and reduces transplant shock.
- Trays let you control spacing before moving to pots.
- Direct sowing cuts down on watering and handling.
- Trays can be messy if you forget to thin seedlings.
Germination Temperature and Light Requirements
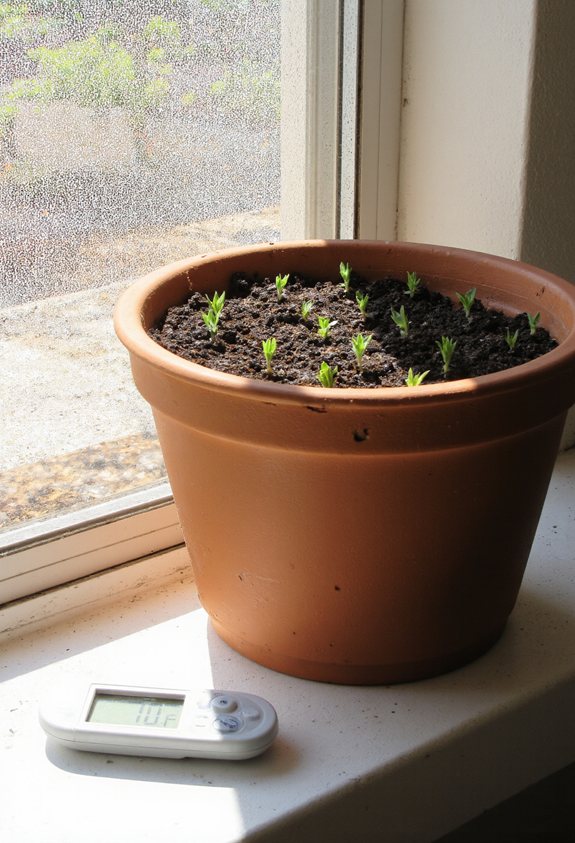
What temperature should you keep your zinnia seeds at, and does light matter while they’re waking up? Aim for 70‑75°F (21‑24°C) and give them a bright, indirect glow. Warmth jumpstarts growth; light signals “daytime,” helping seedlings stretch.
Too cold stalls germination, while darkness makes them weak. A sunny windowsill or grow‑light works wonders, and a cozy, warm spot feels like a tiny tropical vacation for your future flowers.
Transplanting Seedlings Into Larger Pots Without Shock
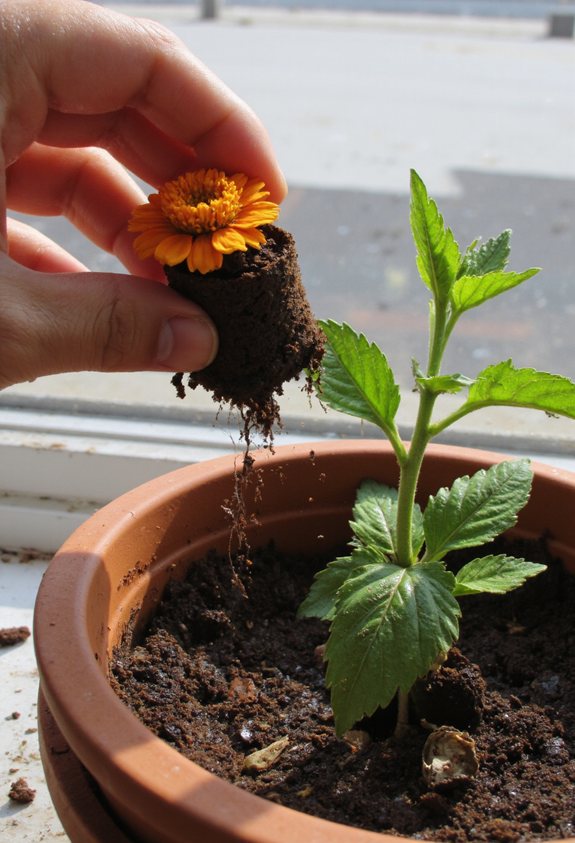
You’ll want to ease your tiny zinnia seedlings into a bigger pot without giving them a panic attack. Gently loosen soil, keep roots moist, and place them in fresh, well‑draining mix. Maintain consistent temperature and light, and avoid sudden changes that could stress them.
- Choose a pot only a few inches larger
- Water lightly before transplanting
- Support roots with soft peat or compost
- Press soil gently around the seedling
- Keep the plant in a shaded spot for 24‑48 hours
Watering Frequency: Balancing Moisture and Drainage
When you water your potted zinnias, think of it like giving a thirsty friend a steady sip instead of a gulp.
Check the soil daily; if the top inch feels dry, water enough to moisten the whole root zone, then let excess drain.
Aim for a consistent schedule—usually every two to three days—adjusting for heat, wind, and pot size.
This balance keeps roots happy without drowning them.
How to Water Zinnias in Pots Without Over‑Saturating

Even after you’ve nailed the right watering schedule, the real trick is keeping the soil moist but not soggy. You’ll feel confident when you can tell the difference between a thirsty pot and a swampy one, and your zinnias will thank you with vibrant blooms.
- Check soil two inches deep before watering.
- Use a saucer to catch excess water.
- Water early morning to let excess evaporate.
- Choose a pot with drainage holes.
- Adjust frequency based on weather and sunlight.
Setting Up a Self‑Watering System for Busy Gardeners
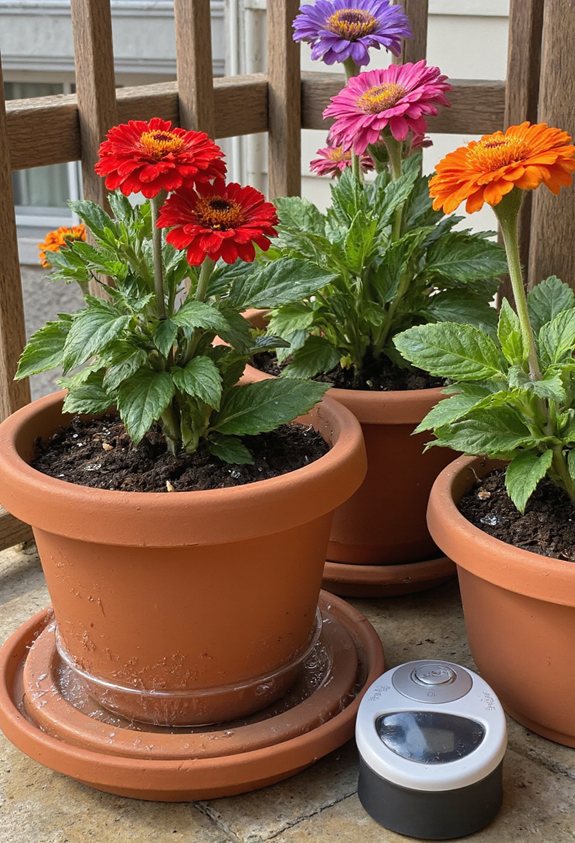
One simple trick that saves time is setting up a self‑watering system with a wicking mat and a water reservoir.
Place the mat inside the pot, let the reservoir sit a few inches lower, and let capillary action pull moisture up as roots dry.
Fill the reservoir once a week, check that the mat stays moist, and watch your zinnias thrive without daily trips to the sink.
Fertilizing Schedule: Feeding Zinnias for Continuous Blooms
Your self‑watering mat keeps the roots happy, but without the right nutrients the blooms will fade fast. Feed your zinnias every two weeks with a liquid fertilizer, switching to a slower‑release formula as they mature. Keep an eye on leaf color; yellowing signals a nutrient gap.
- Start feeding after the first true leaves appear
- Use a balanced 10‑10‑10 liquid every 14 days
- Switch to a slow‑release granule when plants are half‑grown
- Reduce feeding in the hottest week to avoid burn
- Stop fertilizing two weeks before the first frost
Choosing a Balanced Fertilizer for Container Zinnia Growth
When you’re potting zinnias, picking the right balanced fertilizer is like choosing the perfect playlist for a road trip—it keeps everything moving smoothly and makes the journey enjoyable.
Use a 10‑10‑10 or 14‑14‑14 mix, applying half the label amount every two weeks.
It fuels roots, leaves, and blooms equally, preventing leggy plants and promoting vibrant colors without over‑doing it.
Organic Fertilizer Options for Eco‑Friendly Pot Gardens
Switching from a synthetic blend to something you can stir into your garden compost opens up a whole new world of green‑thumb pride.
You’ll feed your zinnias with natural nutrients, boost soil life, and keep the planet smiling.
- Compost tea brewed from kitchen scraps
- Worm castings rich in micronutrients
- Blood meal for quick nitrogen
- Fish emulsion for balanced growth
- Seaweed extract for trace minerals
How to Spot and Correct Nutrient Deficiencies Early
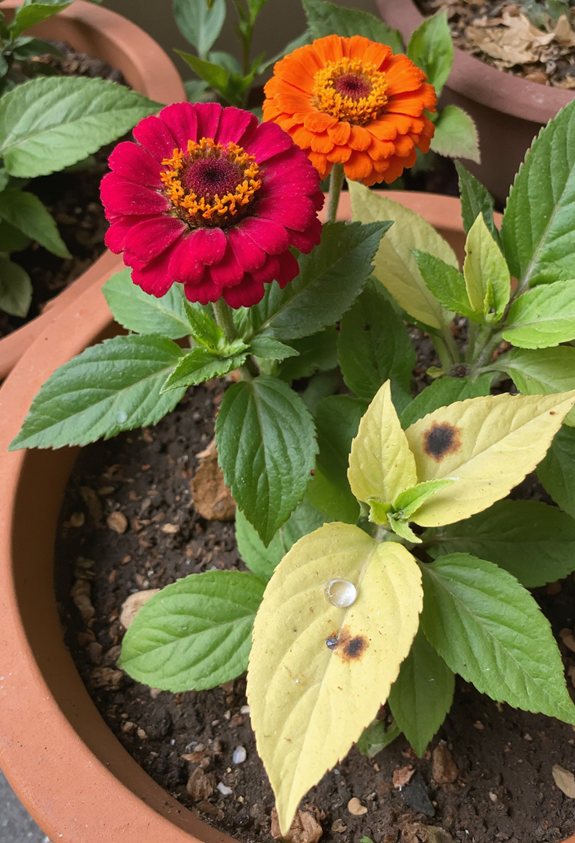
If you notice the leaves turning yellow or the edges curling, it’s a clear sign your zinnias are crying out for nutrients.
Check soil moisture, then sprinkle a balanced liquid fertilizer every two weeks.
Look for pale veins—those hint at nitrogen shortage.
Add a pinch of compost for iron.
Quick spot checks keep your plants thriving and your balcony bright.
Managing Heat Stress on Sunny Balconies
Ever felt like your balcony’s turning into a mini‑oven for your zinnias? You can protect them by cooling the soil and keeping moisture steady.
- Water early morning, letting soil soak fully
- Add a layer of mulch to trap coolness
- Mist leaves lightly during hottest hours
- Use light‑colored pots that reflect heat
- Group plants with a small, portable fan nearby
Shade Solutions for Hot Summer Days
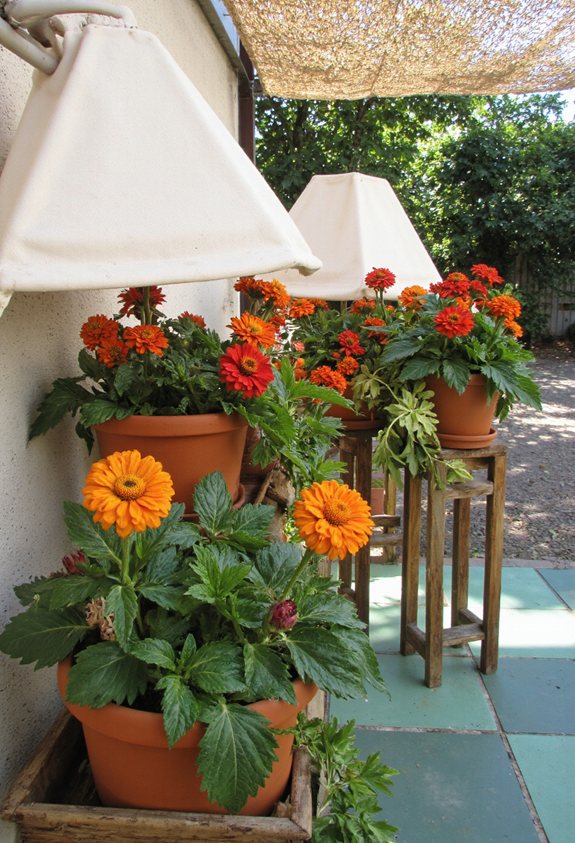
When the sun blazes down on your balcony, a simple shade sail or a lightweight fabric umbrella can turn a scorching stage into a cool backstage for your zinnias.
Position the sail at a 45‑degree angle to block peak rays, but let some light filter through so the plants stay happy.
A portable umbrella lets you move shade as the day shifts, keeping temperatures gentle without sacrificing the bright, cheerful vibe of summer blooms.
Pruning and Deadheading to Extend Flowering Period
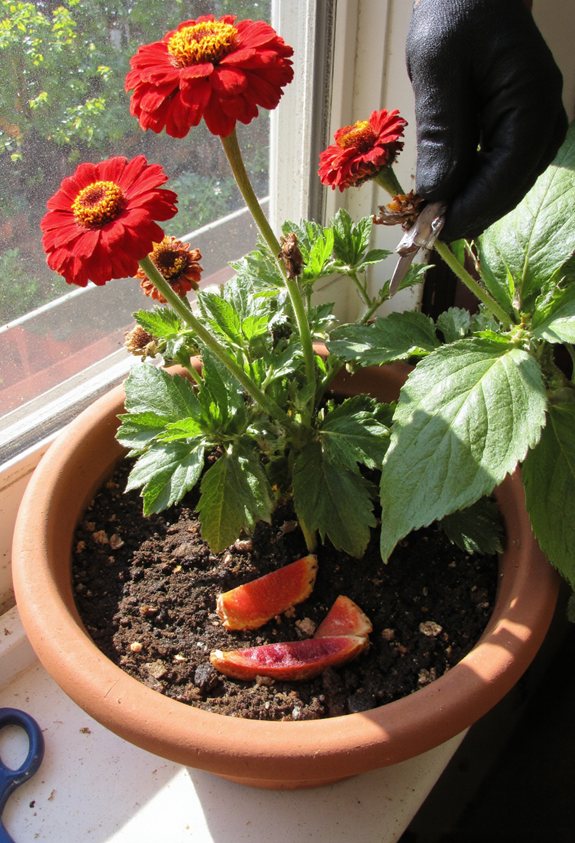
Even on a breezy balcony, a few snipped stems can keep your zinnias buzzing with color all season.
Trim spent blooms, cut back leggy growth, and pinch off weak shoots to coax new flowers.
Regular pruning lets the plant breathe and redirects energy to fresh buds, so you’ll enjoy a longer, brighter display.
- Remove wilted petals daily
- Cut stems just above a leaf node
- Trim back any sagging branches
- Use clean, sharp scissors to avoid damage
- Keep the pot’s soil moist after pruning
Pinching Seedlings for Bushier Zinnia Plants
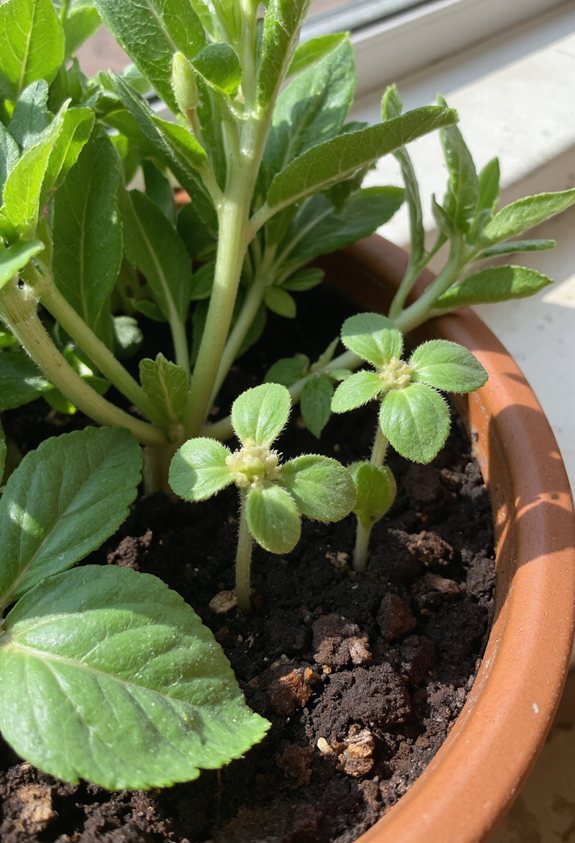
If you want your zinnias to spread out like a fluffy cloud instead of a single tall stalk, start pinching the seedlings when they’ve grown a couple of true leaves.
Gently snip the tip with clean scissors, removing the growing point. This forces the plant to branch, creating a bushier shape.
Keep pinching every few weeks, and watch a vibrant, dense canopy fill your pot.
Controlling Pests: Aphids, Spider Mites, and Whiteflies
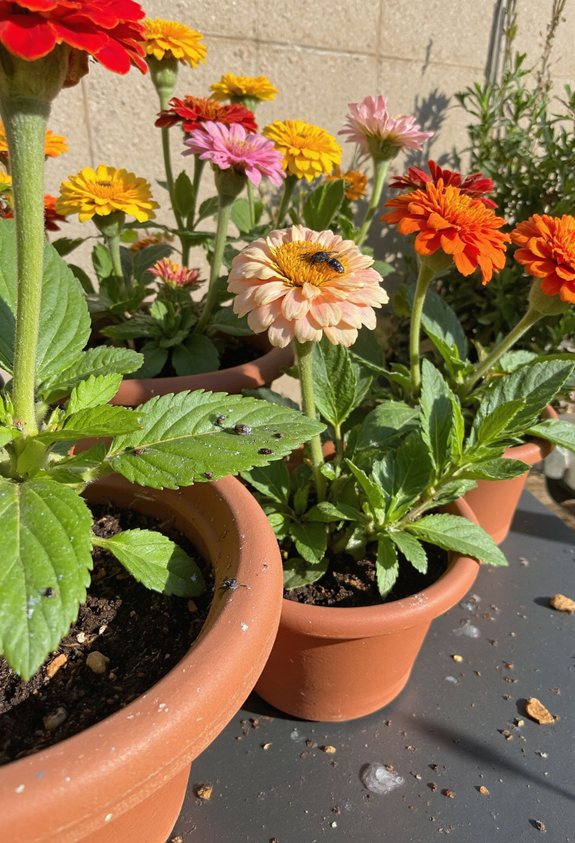
Even though tiny pests can turn your vibrant zinnia pots into a battlefield, you can keep aphids, spider mites, and whiteflies under control with a few easy tricks.
- Spray a strong jet of water to dislodge them
- Prune heavily infested leaves promptly
- Introduce ladybugs or predatory mites
- Keep foliage dry and well‑ventilated
- Use sticky traps near the soil surface
Natural Pest‑Repellent Sprays Safe for Edible Gardens
When you’re growing zinnias in pots that also double as a kitchen garden, you want pest‑repellent sprays that won’t ruin your salad greens.
Try a garlic‑pepper spray: blend minced garlic, hot pepper flakes, water, and a splash of dish soap, then strain and spritz.
A neem‑oil mixture works too, diluting a teaspoon per quart of water.
Both keep bugs away while staying safe for edible leaves.
Using Companion Plants to Deter Zinnia Pests
Because zinnias love company, planting the right neighbors can turn your pot into a pest‑proof party. You’ll notice fewer aphids and snails when you mix in these allies, and your flowers will thrive with less worry.
- Marigolds – repels nematodes and aphids
- Basil – deters whiteflies and beetles
- Nasturtium – traps aphids on its leaves
- Mint – keeps spider mites away
- Lavender – masks scent that attracts pests
Preventing Fungal Diseases in Moist Pot Environments
Ever wondered why your zinnia pots sometimes turn into a soggy swamp?
You’re probably over‑watering or using soil that doesn’t drain.
Switch to a gritty mix, add a saucer, and water only when the top inch feels dry.
Space plants for airflow, and sprinkle cinnamon or copper spray as a natural fungicide.
Keep the pot’s base dry, and your blooms will stay healthy.
How to Identify and Treat Powdery Mildew on Zinnias
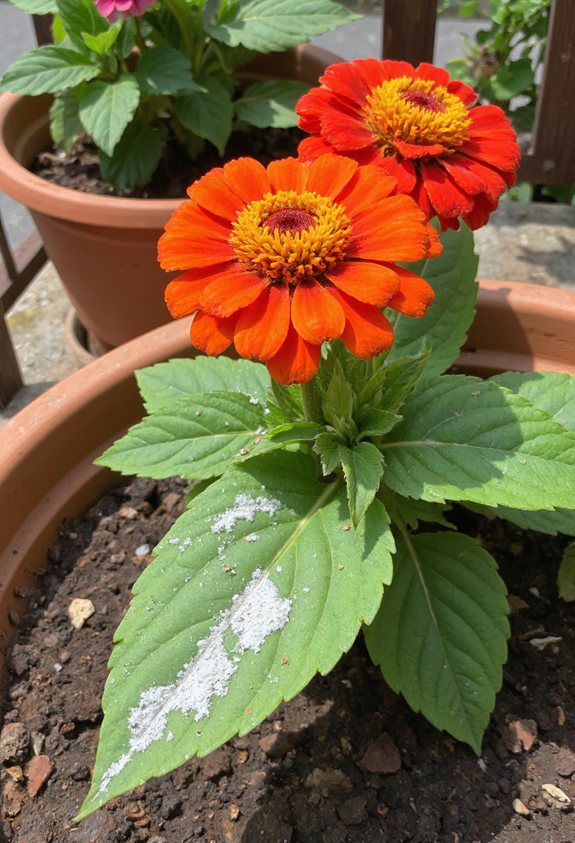
If you spot a dusty, white coating on your zinnia leaves, you’re probably looking at powdery mildew, a sneaky fungus that loves warm, humid air. It spreads quickly, so act fast.
- Prune affected stems early in the evening.
- Increase airflow by spacing pots wider.
- Apply a homemade milk spray (1:9 milk‑to‑water).
- Use sulfur‑based fungicide if needed.
- Keep watering at the base, avoiding wet foliage.
Seasonal Care: Transitioning Zinnias From Summer to Fall

When summer’s heat starts to fade, you’ll notice your zinnia’s colors softening and the days getting shorter, and that’s the perfect cue to ease them into fall.
Cut back dead stems, trim foliage to improve airflow, and move pots to a sunnier spot.
Reduce watering gradually, letting soil dry between drinks, and feed with a light, balanced fertilizer to keep blooms bright through the cooler months.
Overwintering Potted Zinnias in Cold Climates
After you’ve trimmed back the wilted stems and moved the pots to a brighter spot, the next challenge is keeping those bright‑colored zinnias alive through a frosty winter.
Wrap the pots in burlap, place them in a sunny window, and water sparingly. Use a heat‑mat, mulch the base, and check for frost daily.
- Cover pots with burlap
- Position near a sunny window
- Water only when soil feels dry
- Add a low‑heat mat beneath pots
- Sprinkle mulch around the base
Reviving Dormant Zinnias in Spring for a Fresh Start
Shake off the winter chill and give your sleepy zinnias a gentle wake‑up call. Water lightly, then loosen the soil with your fingers, coaxing roots to breathe.
Place pots in a bright, sheltered spot and increase watering gradually. Feed with a balanced fertilizer once shoots appear.
Trim any blackened stems, and watch new green shoots burst, promising a vibrant spring garden.
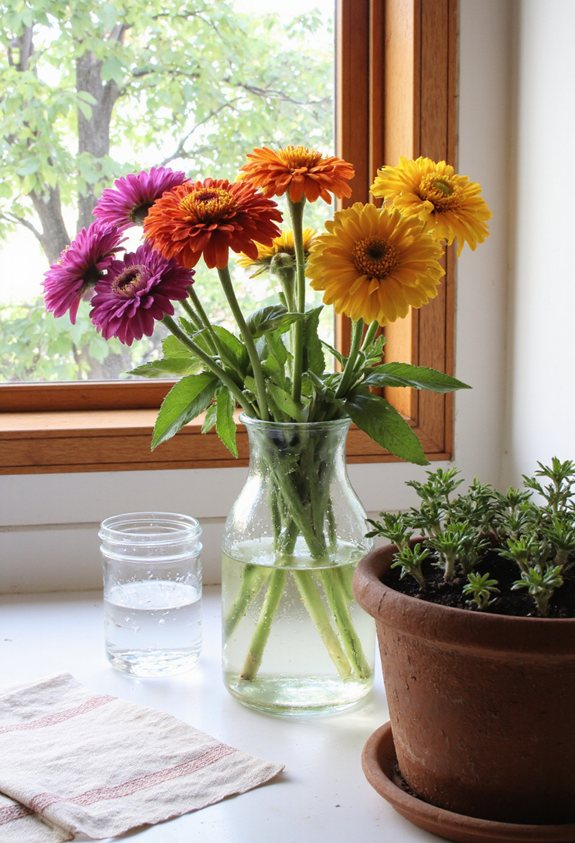
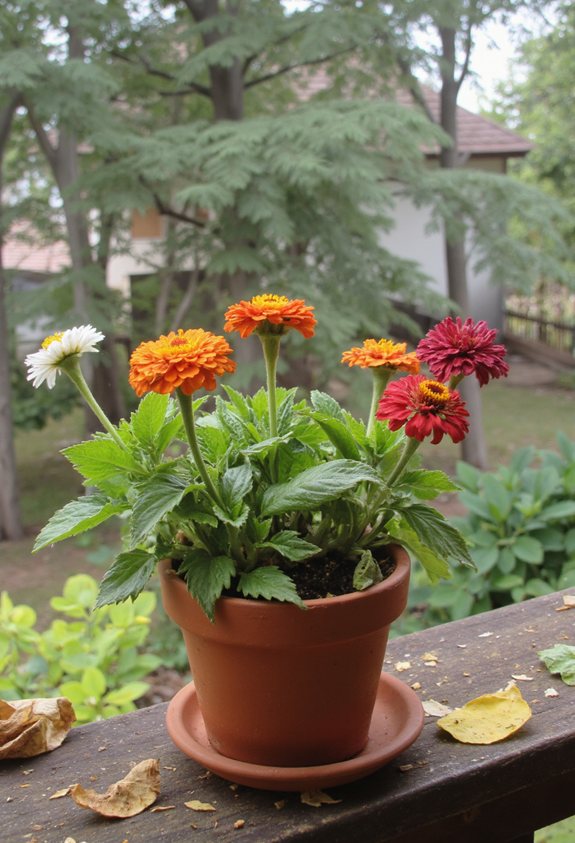
Harvesting Zinnia Flowers for Cut Arrangements
Ever wondered why zinnia stems snap like fresh celery when you pull them? You’ll notice the crisp pop when you cut early morning buds, and the colors stay vibrant longer if you snip just above a leaf node.
Keep a pair of sharp shears handy and work quickly to preserve freshness.
- Cut when buds are half‑open
- Use clean, sharp scissors
- Cut at a 45° angle
- Place stems in water immediately
- Trim lower leaves before arranging
Storing Cut Zinnia Stems to Maximize Vase Life
When you bring fresh zinnia stems home, the first thing you should do is give them a cool, dark “nap” before they hit the vase.
Then trim the ends at a 45‑degree angle, strip any leaves below the water line, and place them in a bucket of cold water with a pinch of sugar.
Keep the bucket in a refrigerator drawer for up to 24 hours, and your blossoms will stay vibrant and long‑lasting.
Propagating Zinnias From Cuttings in Pot Gardens

If you’ve ever wondered how to turn a stray zinnia cutting into a thriving pot garden, the trick is simpler than you think. Trim the stem, dip in rooting hormone, plant in moist potting mix, keep warm, and mist daily. Soon you’ll see tiny roots and bright buds.
- Use a clean, sharp scissors
- Choose a 4‑inch cutting with at least two nodes
- Dip tip in rooting hormone powder
- Plant in a small pot with well‑draining soil
- Cover with a plastic dome to retain humidity
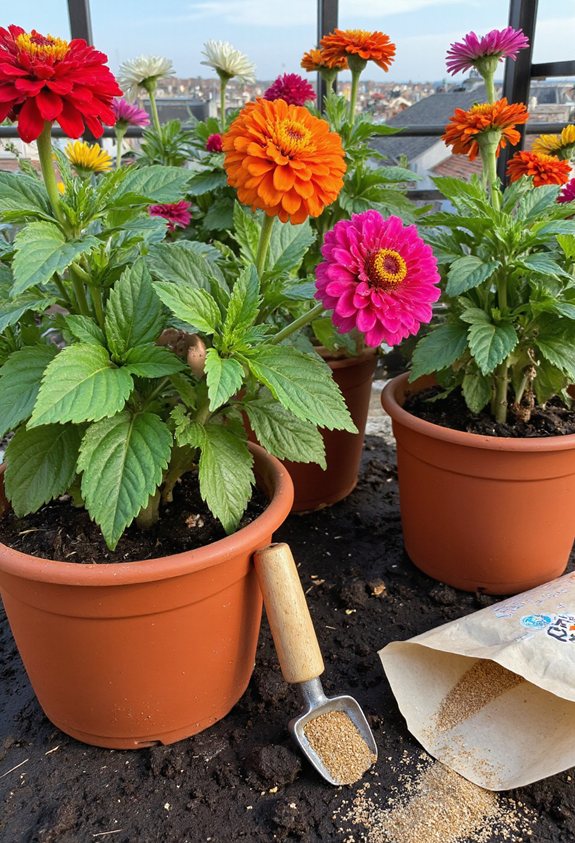
Using Zinnia Seeds for Continuous Re‑Sowing Throughout the Season
Because zinnias love a fresh start, you can keep planting new seeds every few weeks to make sure the garden never runs out of color.
Sprinkle a tablespoon of seeds on moist soil, press gently, then water lightly.
As seedlings emerge, thin them to give each plant space.
Repeat this cycle every two weeks, and watch vibrant blossoms pop up continuously throughout the season.
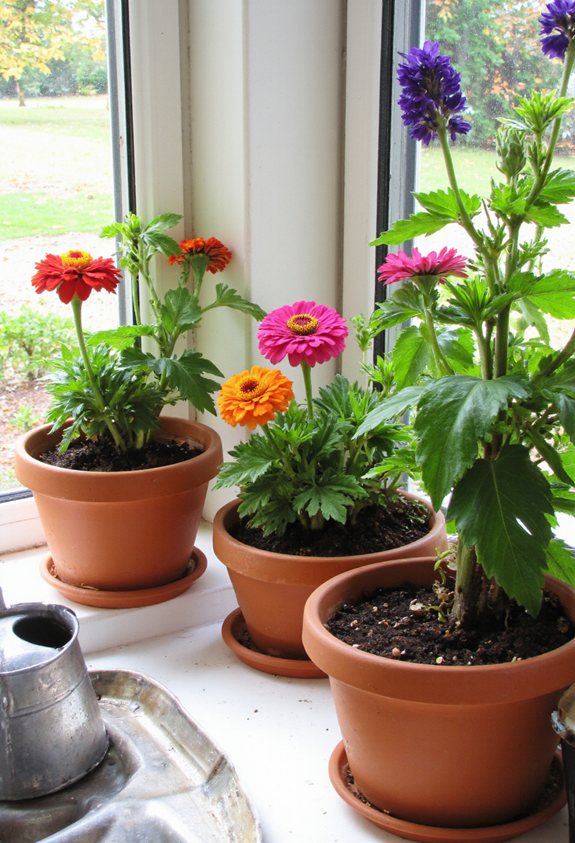
How to Rotate Pot Positions for Even Sunlight Exposure

Ever wondered why some of your zinnias turn toward the sun while others droop in the shade? You can fix that by rotating pots regularly, giving each side equal light and preventing one‑sided growth.
- Turn the pot 90° each week
- Move it to a brighter spot midday
- Flip it front‑to‑back every two weeks
- Shift it a few inches north‑south monthly
- Use a timer to remind you of rotations
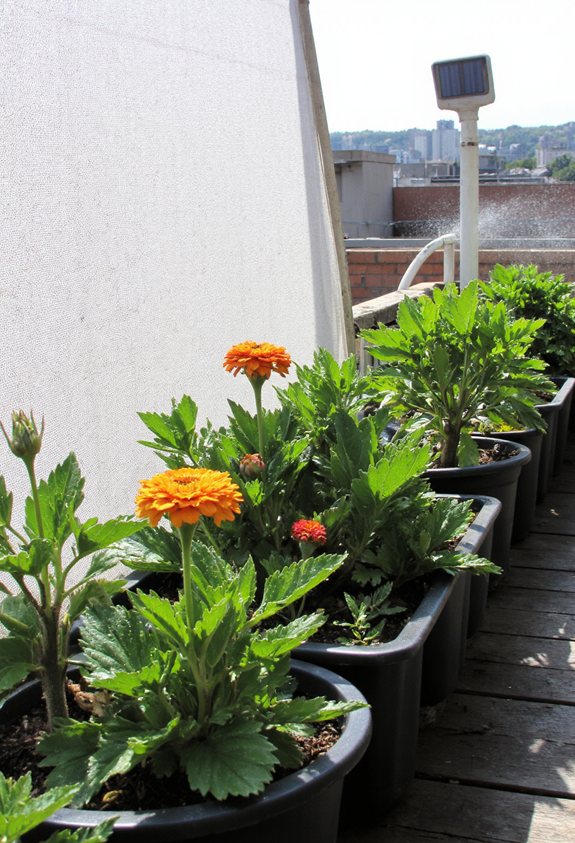
Managing Pot Weight and Stability on Balconies
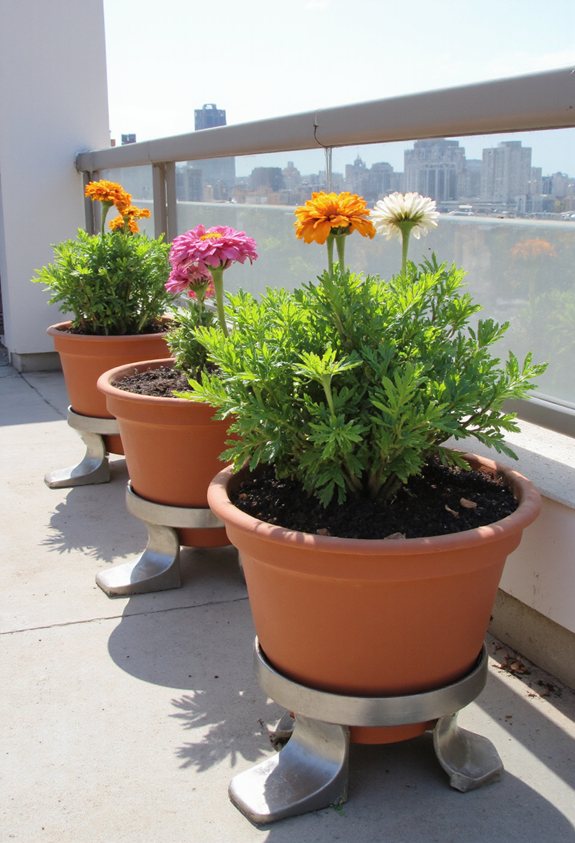
Balcony gardening can feel like a tight‑rope act, especially when your zinnia pots get heavy enough to wobble or even tip over.
Anchor each pot with a sturdy tray or brick, and spread the soil evenly to lower the center of gravity.
Use lightweight potting mix and consider a tiered shelf that distributes weight.
Check the railing daily; a quick wobble test saves you a disaster.
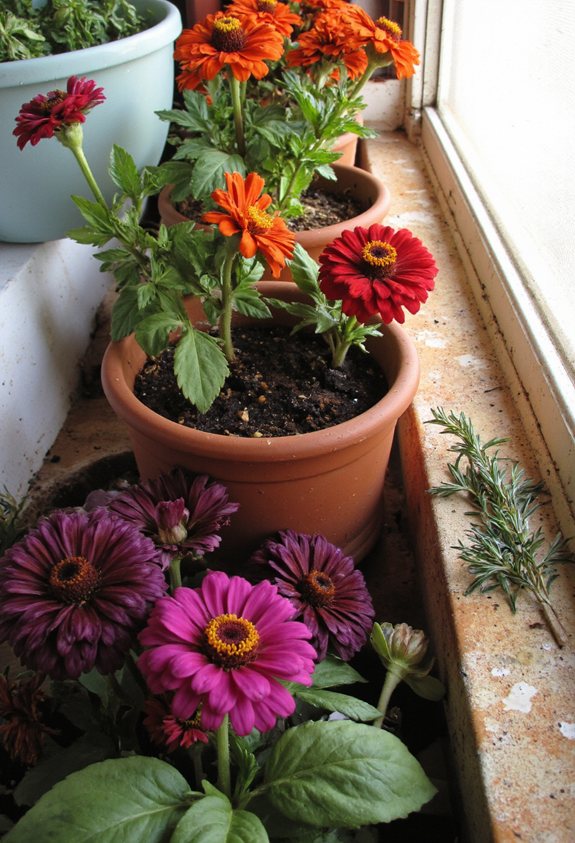
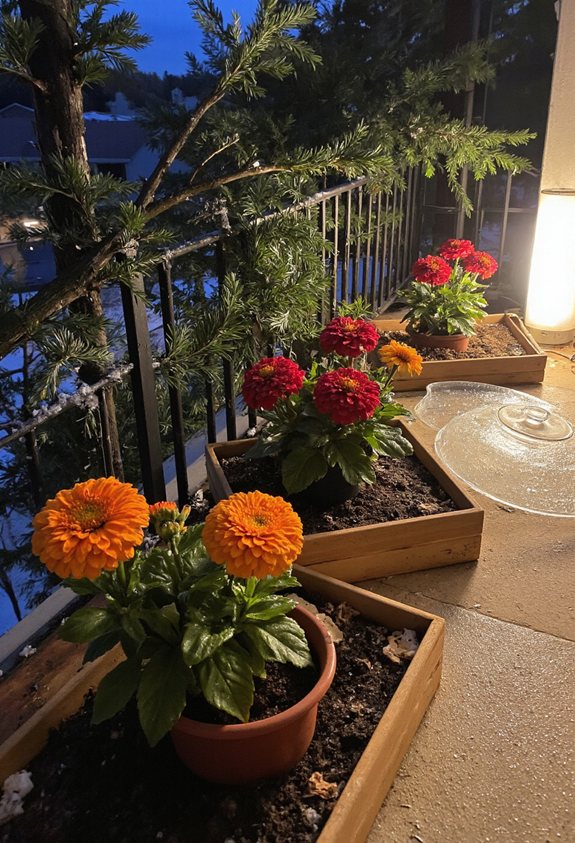
Creative Pot Decorating Ideas to Showcase Zinnia Blooms
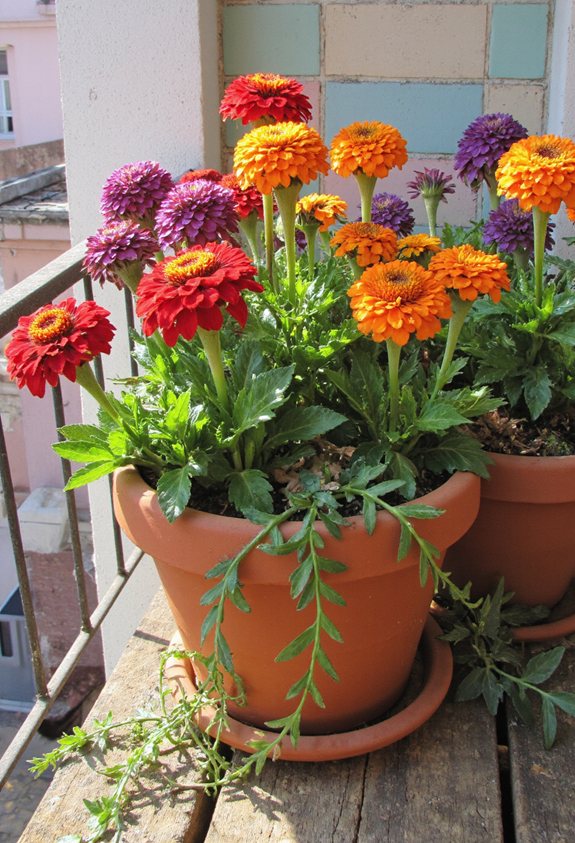
When you want your zinnia blossoms to steal the show, a fun, eye‑catching pot can make all the difference. Choose colors, textures, and shapes that echo the flowers’ vibrancy, and let your container become part of the garden’s story.
- Paint the pot with bold, splashy patterns
- Wrap it in reclaimed wood or rope for rustic charm
- Attach a mosaic tile border for sparkle
- Use a hanging macramé cradle for a boho vibe
- Add a whimsical garden gnome or wind chime for personality
Troubleshooting Common Problems: Yellow Leaves, Leggy Growth, and Poor Blooming
After you’ve dressed up your pot with bold paint or a rustic rope wrap, you might notice the zinnia leaves turning yellow, the stems stretching out like they’re reaching for the sky, or the flowers barely opening.
Check watering: too much or too little causes yellowing.
Give them enough light, and pinch back leggy growth.
Feed with balanced fertilizer for richer blooms.
Frequently Asked Questions About Potted Zinnias Answered

If you’ve ever wondered why your potted zinnias sometimes act up, you’re not alone—gardeners everywhere ask the same questions. You’ll get quick answers that keep your garden thriving and your confidence high.
- How often should I water them?
- Which soil mix works best?
- When’s the right time to fertilize?
- How do I prevent pests?
- Can I prune for bigger blooms?
Quick Reference Checklist for Successful Zinnia Container Gardening
Even though zinnia pots can look a bit chaotic, a simple checklist keeps everything on track.
Choose a sunny spot, use well‑draining potting mix, and pick a 12‑inch container.
Water consistently, but avoid soggy roots.
Feed with a balanced fertilizer every two weeks.
Pinch back buds for bushier growth, and deadhead spent flowers.
Rotate pots for even sunlight, and enjoy vibrant blooms.
Where to Find Quality Zinnia Seeds and Potting Supplies Online
When you start hunting for zinnia seeds and the right potting mix, the internet makes it feel like a treasure hunt you can do from your couch.
You’ll find reliable sellers, fast shipping, and helpful reviews that guide you to the best varieties and soil blends for thriving pots.
- Burpee’s seed catalog online
- Johnny’s Selected Seeds website
- Amazon’s gardening aisle with Prime
- Etsy shops offering heirloom seed packets
- Gardener’s Supply Company for premium potting mixes