
Pick a sunny, south‑facing spot, test the soil pH and add lime or sulfur until it’s around 6.5, then work in a few inches of compost. Dig holes six to eight inches deep, space bulbs three to four inches apart, and stagger rows for a wave‑like look; add a splash of lavender or marigold for pest control and color contrast. Water lightly after planting, mulch three inches deep, and switch to early‑morning watering as it warms. Finish with fairy lights or a solar spotlight for evening sparkle, and you’ll discover even more tricks ahead.
Choose the Best Sunny Spot for Tulips
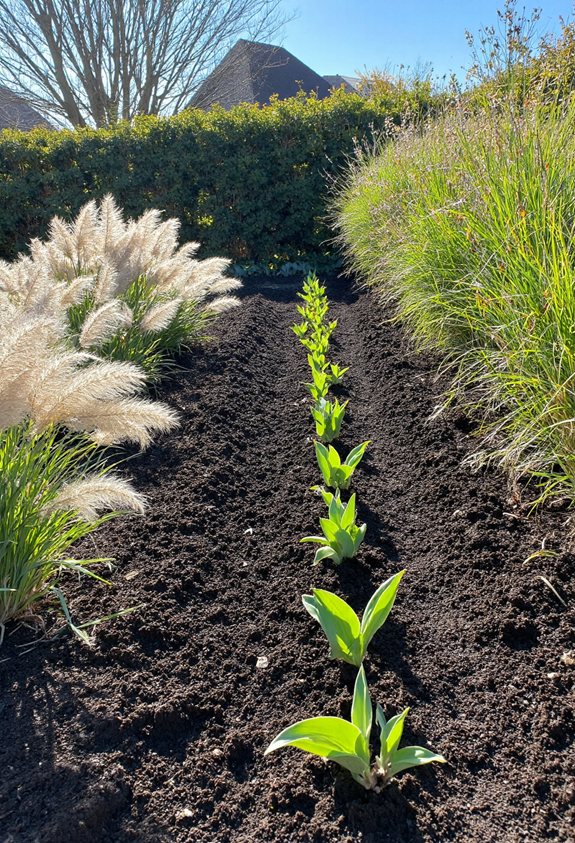
Even if you think you’ve got a perfect garden, finding the right sunny spot for tulips can make all the difference.
You’ll want at least six hours of direct light, preferably a south‑facing lawn that’s free from tall shrubs.
Check the soil’s warmth in the morning; a warm patch means faster sprouting.
If a shady area looks tempting, remember tulips crave sunshine, not a nap spot.
Choose wisely, and watch them burst into vibrant colors. Incorporating container gardening can also enhance your floral displays.
Test and Amend Soil pH for Optimal Growth
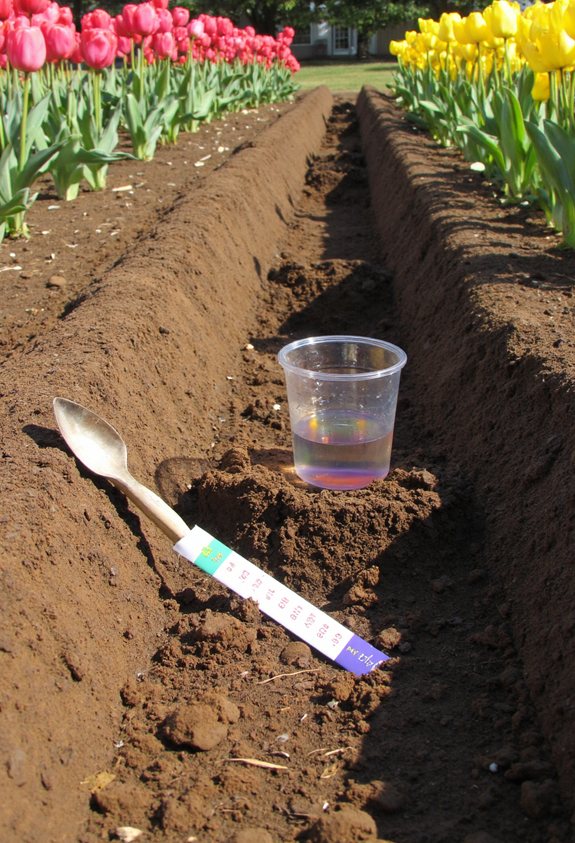
When you’re ready to get your tulips thriving, start by checking the soil’s pH—because even a tiny mis‑balance can turn a promising plot into a sleepy mess.
Use a simple kit or meter, then add lime to raise pH or sulfur to lower it.
Mix thoroughly, re‑test after a week, and watch the roots smile as the ground becomes just right. Additionally, consider enriching the soil with natural homemade fertilizers to boost overall plant health and growth.
Pick the Right Tulip Variety for Your Climate
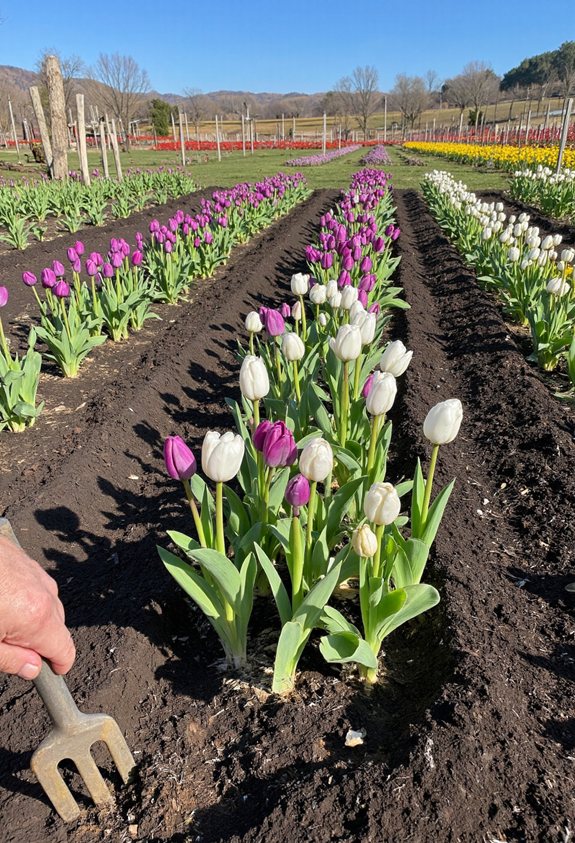
Now that your soil’s pH is spot‑on, the next step is matching the right tulip variety to your local climate.
Choose hardy species like Darwin hybrids if winters freeze hard, or opt for early‑blooming species if you live in milder zones.
Look at bloom time, color, and height—pick ones that thrive where you live, and you’ll enjoy vibrant, resilient displays year after year. Additionally, consider incorporating companion planting techniques to enhance your tulip garden’s biodiversity and overall health.
Decide Between Pre‑Chilled Bulbs and Fresh Stock
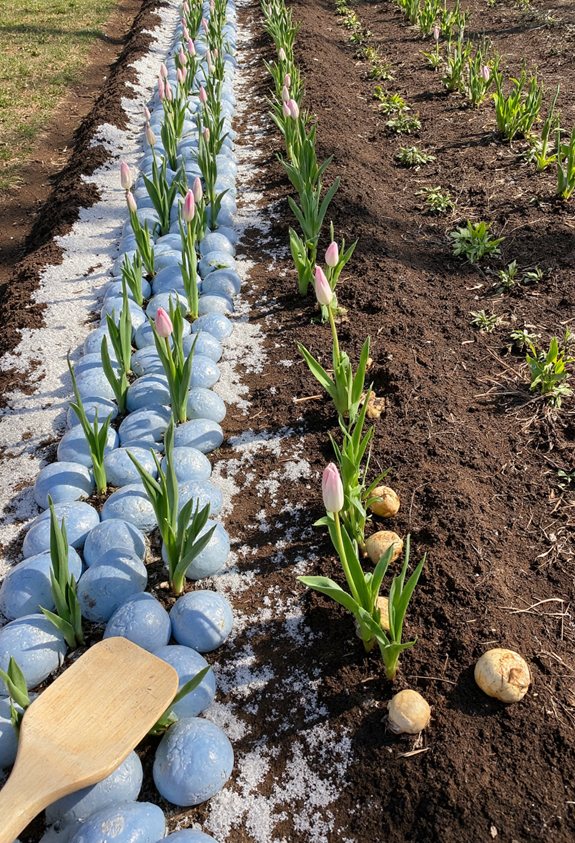
Ever wondered whether to grab pre‑chilled bulbs or stick with fresh stock?
You’ll find pre‑chilled bulbs save you a cold snap, so they sprout reliably even if you plant late.
Fresh stock feels like a garden treasure hunt—more variety, but you must chill them yourself.
If you love low‑maintenance, choose pre‑chilled; if you enjoy hands‑on timing, go fresh and chill them in your fridge. Additionally, consider incorporating seasonal blooms to enhance your garden’s spring aesthetic.
Calculate Planting Depth and Spacing for a Balanced Bed
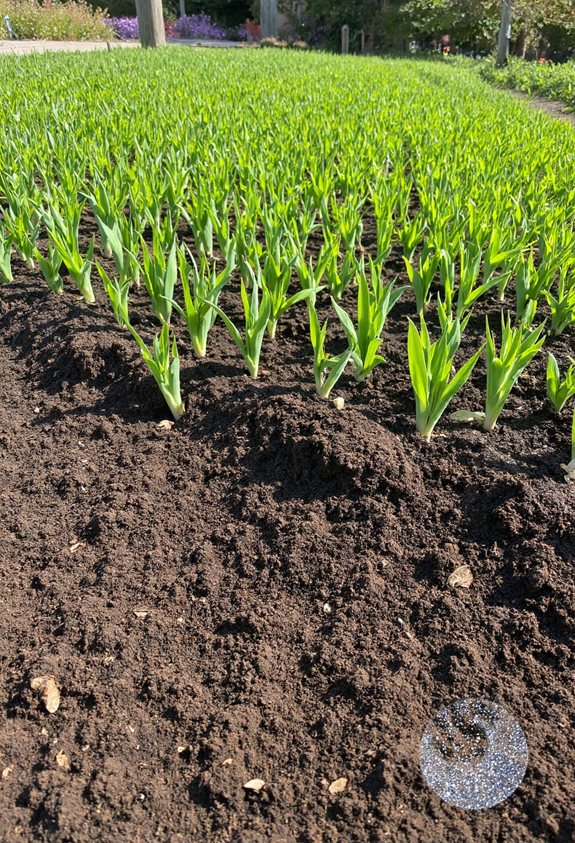
If you want your tulips to stand tall and look tidy, start by digging a hole about six to eight inches deep—roughly the length of a ruler plus a little extra.
Space each bulb three to four inches apart, and keep rows about twelve inches apart for a balanced bed.
- Measure depth with a ruler.
- Count inches between bulbs.
- Keep rows evenly spaced.
It’s important to consider plant spacing to ensure proper air circulation and growth.
Dig a Trench and Arrange Bulbs for a Natural Look
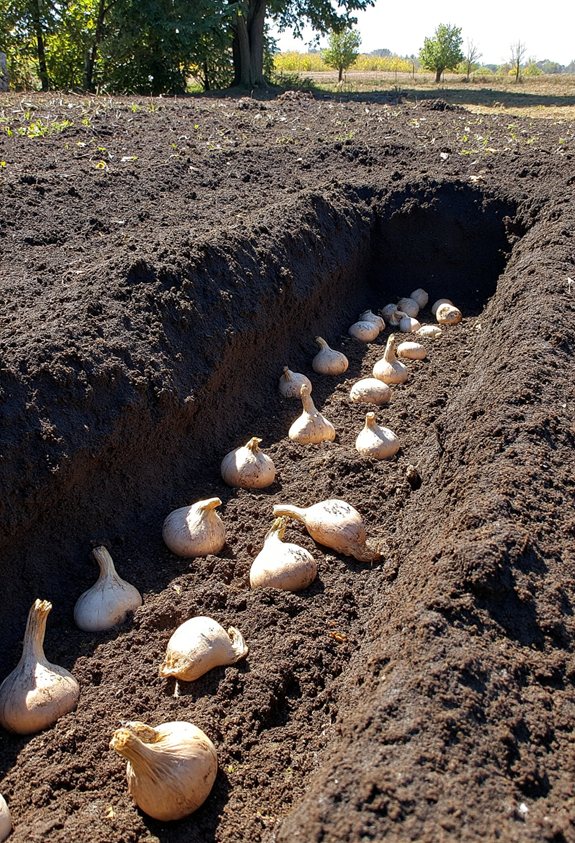
How do you make a tulip bed look like it grew wild without the mess?
Dig a shallow trench, about six inches deep, then toss bulbs in loosely. Let them fall naturally, creating clusters and gaps that mimic forest floor randomness. Space a few inches apart, but don’t over‑order—just enough to suggest spontaneity. Cover gently, pat down soil, and step back to admire your “accidental” garden masterpiece. Consider complementing your tulips with fresh flower centerpieces that enhance the overall garden aesthetic.
Water After Planting Without Over‑Saturating the Soil
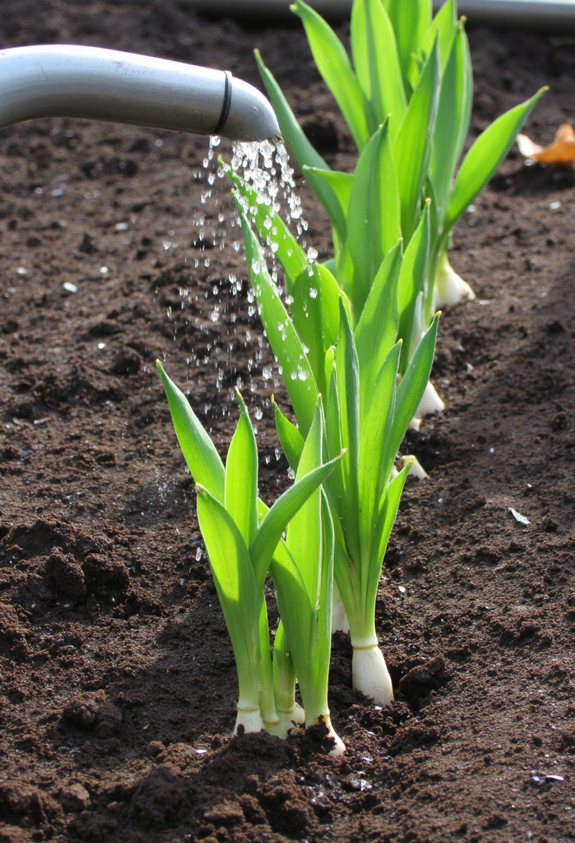
Even after you’ve tucked the bulbs into their trench, the next step is giving them just enough water to settle the soil without turning the bed into a swamp. Lightly drizzle until the soil feels damp, not soggy, and pause to let excess drain away.
- Use a watering can with a fine rose.
- Water early morning to reduce evaporation.
- Check soil moisture with your finger before each watering. Additionally, understanding soil drainage requirements is crucial for the health of your plants.
Mulch to Retain Moisture and Protect Bulbs From Frost
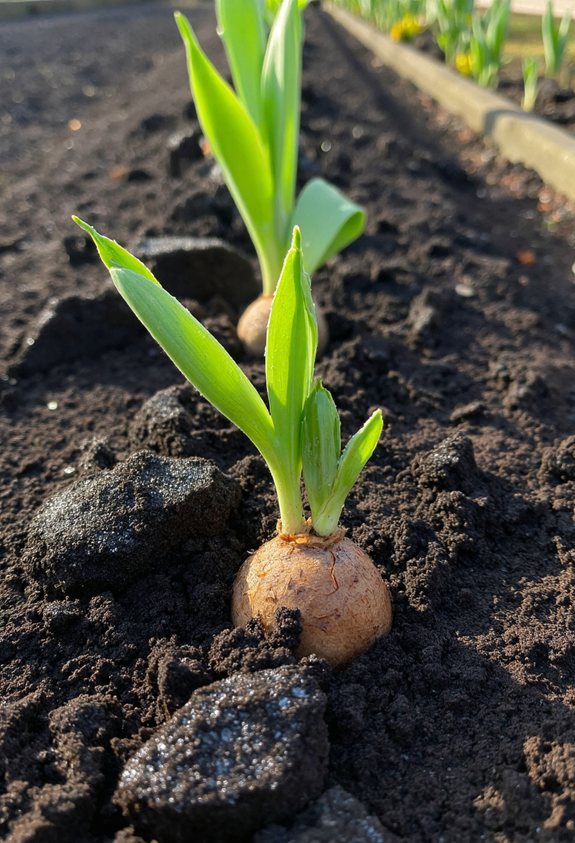
When the first frost whispers through your garden, a generous layer of mulch can be your tulips’ cozy blanket, keeping the soil moist and the bulbs safe from icy bites.
Spread shredded bark, straw, or pine needles about three inches deep.
Mulch acts like a warm hug, slowing evaporation and buffering temperature swings. Proper garden design is essential for ensuring that your tulips thrive.
Check it each spring, fluffing if it settles, and enjoy resilient, happy tulips.
Add Slow‑Release Fertilizer for Long‑Term Vigor
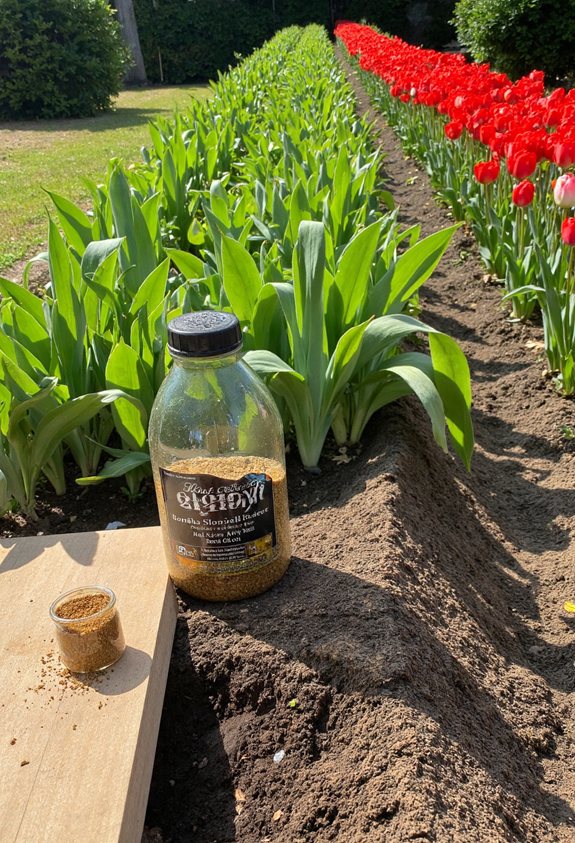
After you’ve tucked the mulch in to keep the frost at bay, it’s time to give your tulips a steady food supply.
A slow‑release fertilizer feeds roots gradually, keeping plants vibrant all season.
- Choose a balanced, granular formula with N‑P‑K ratios around 10‑10‑10.
- Sprinkle it lightly over the soil, then work it in a few inches deep.
- Water well to activate the nutrients and avoid burn.
Additionally, consider incorporating eco-friendly materials to promote sustainability in your gardening practices.
Create a Mixed‑Color Border That Pops in Spring

Vibrant color bursts start with a smart layout, and a mixed‑color tulip border can turn any garden into a spring showcase.
Choose three to five hues, spacing them in repeating patterns so each row feels like a rainbow ribbon.
Plant bulbs a few inches deep, stagger rows for depth, and water gently.
Watch as the garden erupts in cheerful, eye‑catching waves each April. Additionally, consider interplanting climbing vegetables alongside your tulips to maximize vertical space and create a lush garden display.
Design a Tiered Container Garden for Balconies
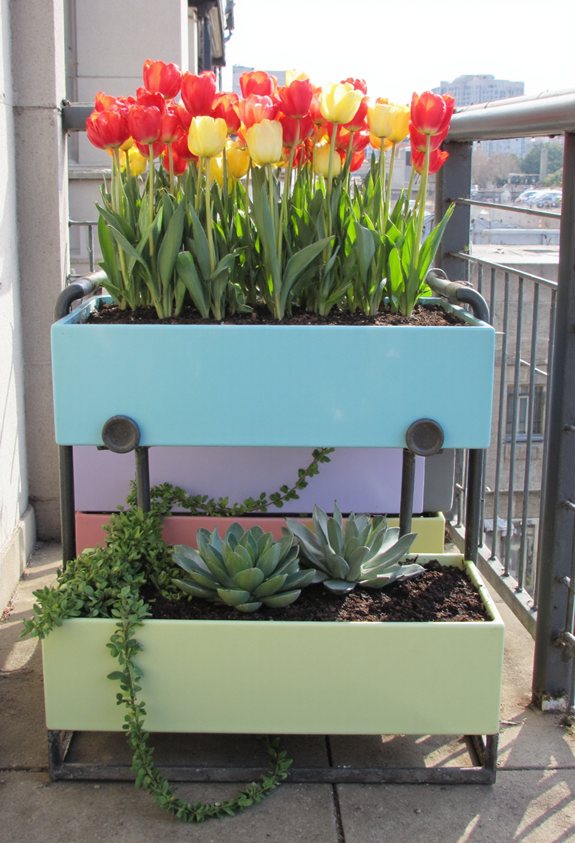
Set up a tiered container garden on your balcony and you’ll instantly feel like you’ve got a miniature park in the sky.
Choose lightweight pots, fill them with well‑draining soil, and arrange them from low to high for a cascading effect.
Add tulips, herbs, and trailing vines for color and scent.
- Pick three pot sizes
- Use a balanced soil mix
- Water consistently, but don’t over‑moisten
Pair Tulips With Early‑Blooming Pansies for Continuous Color
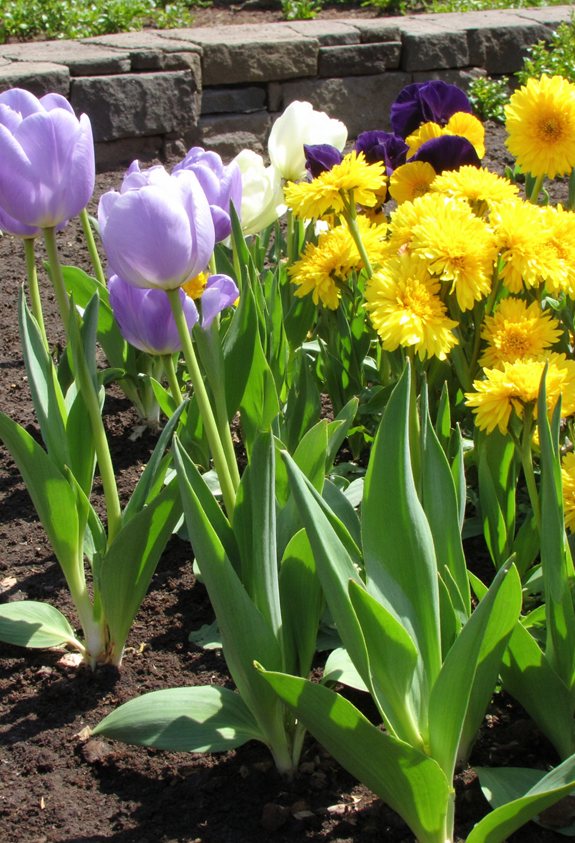
When you plant tulips alongside early‑blooming pansies, you’ll get a nonstop splash of color that stretches from the first spring thaw right through the early summer weeks.
Space them a few inches apart, then water gently after planting.
The tulips will rise tall, while pansies hug the ground, filling gaps.
Their contrasting hues keep your garden lively, even when one species fades.
Use Dwarf Tulip Varieties for Edging and Borders
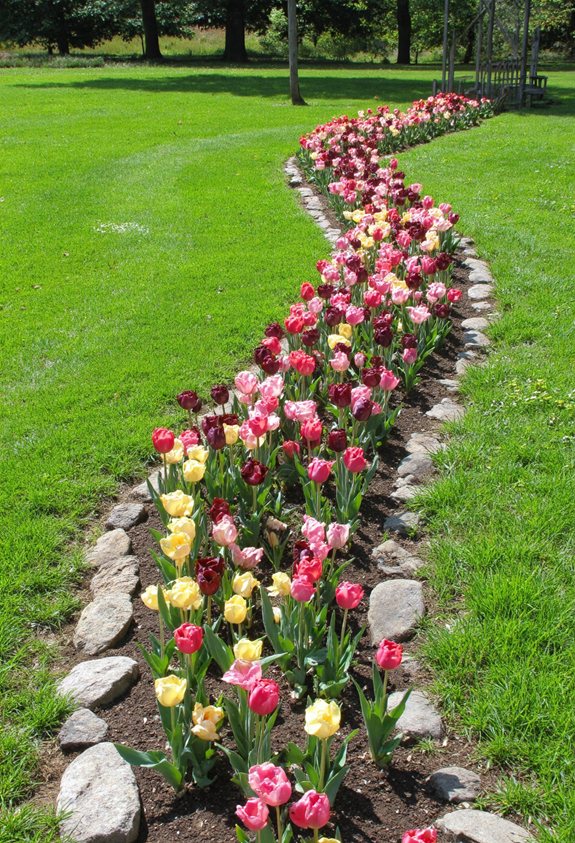
If you want a tidy, eye‑catching border without spending hours pruning, dwarf tulip varieties are your secret weapon. Their compact growth fills gaps, and their colors pop against pathways.
- Plant in staggered rows for a wave‑like effect.
- Choose mixed hues—red, yellow, white—to keep eyes busy.
- Water just enough; they love a little drought drama.
Incorporate Ornamental Grasses for Texture Contrast
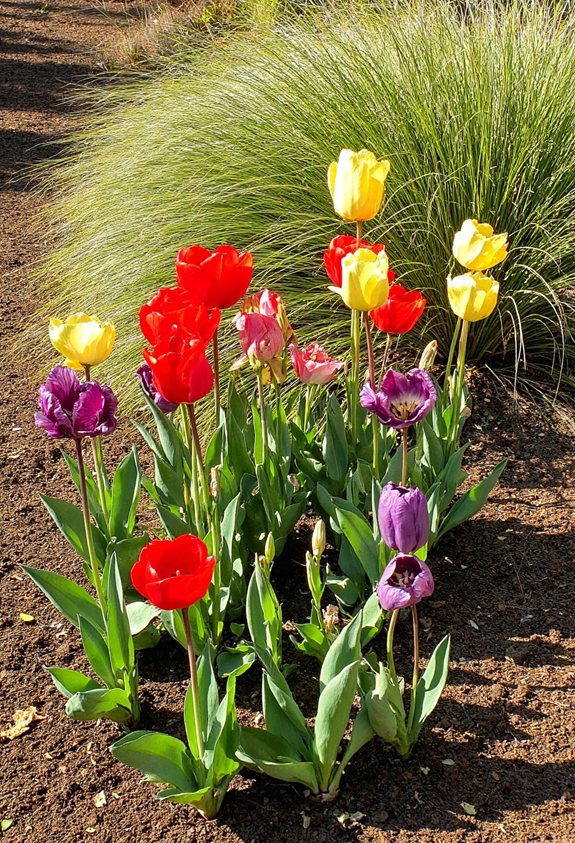
Even though tulips steal the spotlight, adding ornamental grasses nearby gives your garden a cool, breezy texture that makes the whole scene feel alive.
Choose grasses with fine, feathery plumes or bold, arching blades, then plant them in drifts or clusters opposite the tulip beds. Their gentle sway catches wind, creating contrast that highlights each tulip’s color while keeping the space lively and balanced.
Plant Companion Perennials That Deter Pests Naturally
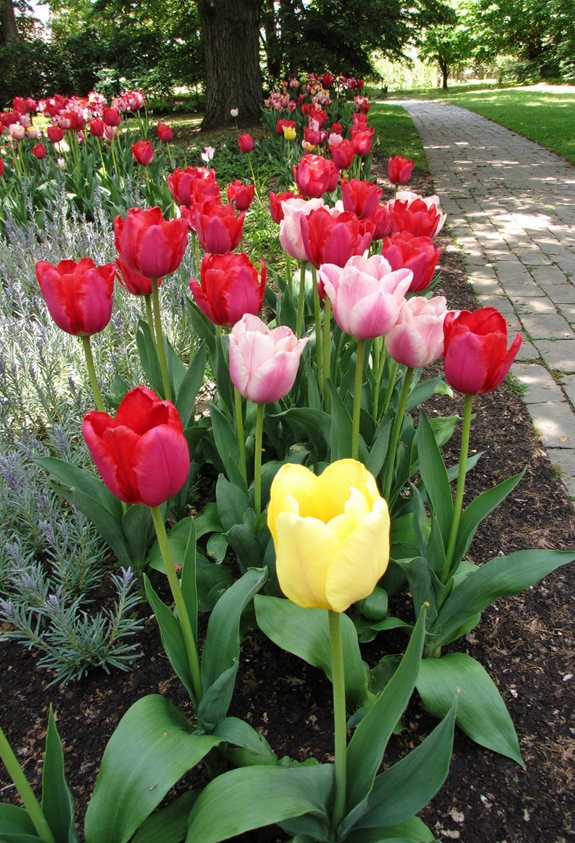
Why not invite nature’s own pest‑control squad to your tulip garden? You’ll love how these perennials keep bugs at bay while adding color and texture.
- Lavender – its scent confuses aphids and attracts helpful bees.
- Marigold – bright petals release compounds that repel nematodes.
- Allium – onion‑like aroma deters carrot flies and slugs.
Mix them in, and watch your tulips thrive.
Arrange Tulips in a Spiral Pattern for Visual Intrigue
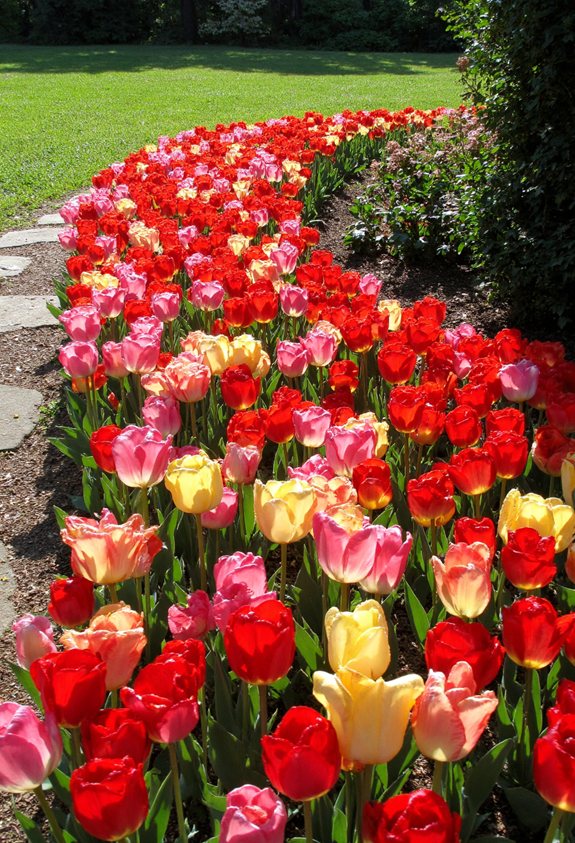
When you plant tulips in a gentle spiral, the garden instantly feels like a living whirlpool of color, drawing eyes inward and making each bloom seem part of a larger story.
Start at the center with a few sturdy bulbs, then space each ring a little farther out. Keep the curve smooth, water consistently, and watch the pattern swirl beautifully, impressing neighbors and sparking your pride.
Combine Tulips With Fragrant Herbs for Scent and Utility
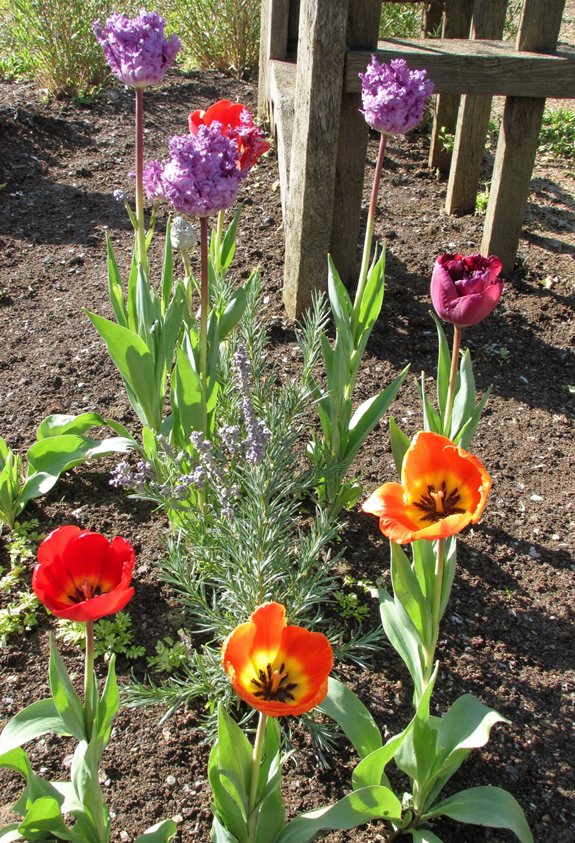
A sprig of rosemary, its needle‑like leaves releasing a fresh pine scent, can sit right beside a bold red tulip and turn a simple flower bed into a fragrant playground.
Plant herbs low, let tulips rise, and enjoy the mix of color and aroma.
- Pair lavender with purple tulips for calming evenings.
- Mix thyme beside yellow tulips for culinary harvests.
- Place sage next to white tulips for a peppery boost.
Choose the Right Pot Size for Container Tulip Success
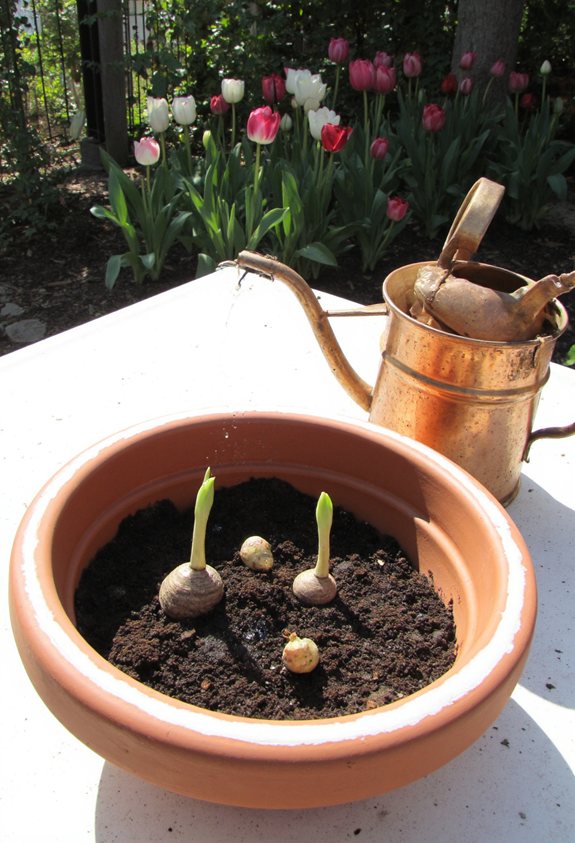
After enjoying the scent of rosemary and lavender beside your tulips, you’ll notice that the right pot can make or break a container garden.
Choose a pot at least 12 inches wide and 8 inches deep, giving roots room to spread.
Guarantee drainage holes prevent soggy soil, and use a saucer to catch excess water.
A well‑sized pot lets bulbs breathe, boosting vibrant blooms.
Adjust Watering Schedule as Temperatures Rise
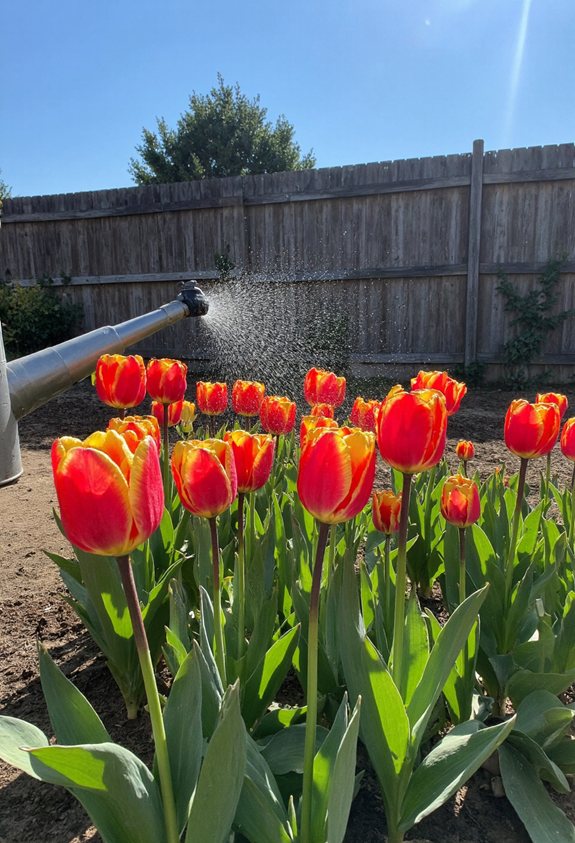
Even as the sun climbs higher, your tulips start to sweat a little more, so you’ll need to tweak your watering routine.
- Water early morning, letting soil dry by evening,
- Reduce volume by 20 % each week as heat climbs,
- Check moisture with a finger; if it feels dry two inches down, give a light soak.
These steps keep roots happy without drowning them.
Spot and Treat Common Tulip Diseases Early
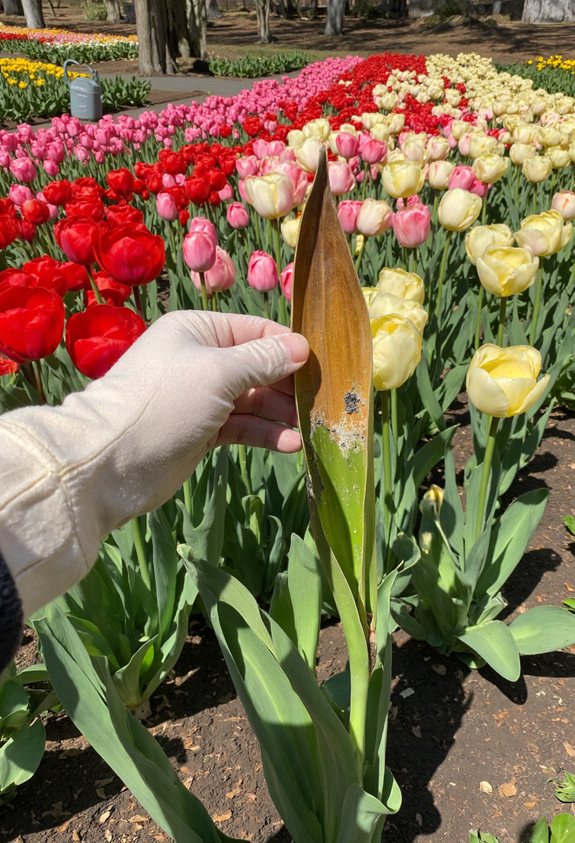
When you first notice strange spots or wilting on your tulips, it’s a sign that a disease might be creeping in, and catching it early can save the whole garden.
Scan leaves for brown blotches, yellow halos, or mushy stems.
Remove affected parts, sterilize tools, and apply a copper‑based spray.
Keep soil well‑drained, avoid overhead watering, and give each bulb plenty of air.
This quick action stops spread and keeps blossoms thriving.
Identify and Manage Aphids and Other Soft‑Bodied Pests
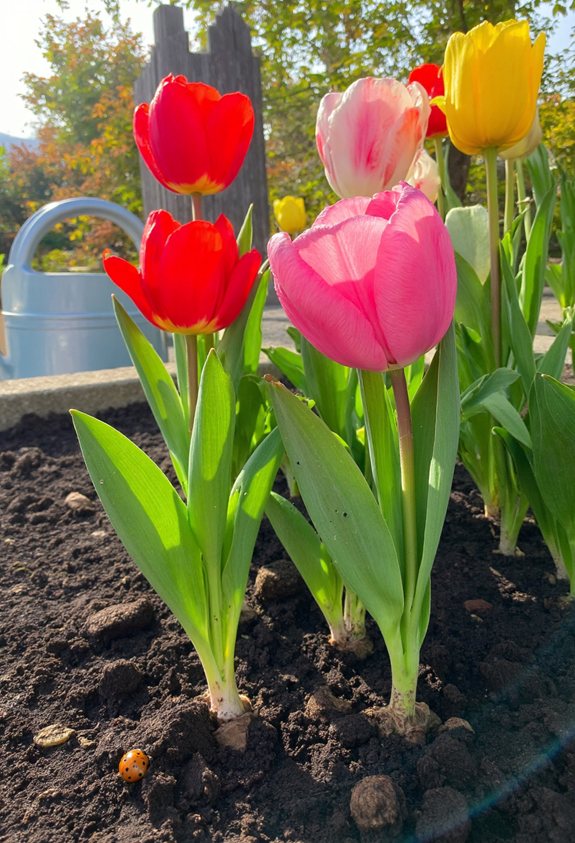
If you spot tiny, green insects clustering on the undersides of tulip leaves, you’re probably dealing with aphids or other soft‑bodied pests, and they can turn a proud garden into a soggy mess fast.
- Spray a gentle soap‑water mix, covering both leaf sides.
- Introduce ladybugs or lacewings; they love feasting on aphids.
- Prune heavily infested stems, then mulch to deter future invasions.
Prune Faded Blooms to Encourage Repeat Flowering
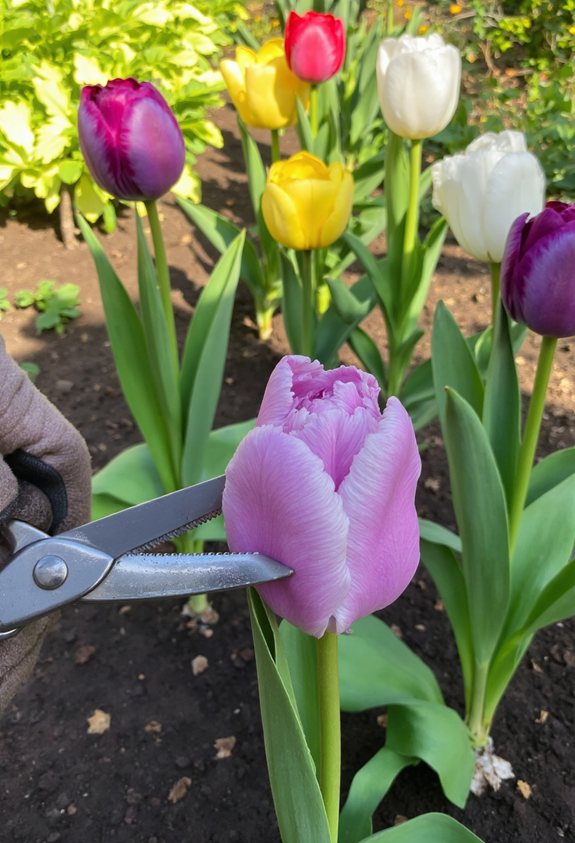
Snipping away the wilted petals is like giving your tulips a fresh start, and it’s a simple trick that boosts their chance to bloom again.
Grab clean scissors, cut just above the flower head, and watch new buds form. This prevents energy waste, keeps the plant tidy, and often surprises you with extra splashes of color later in the season.
Lift and Store Bulbs After Foliage Dies for Next Season
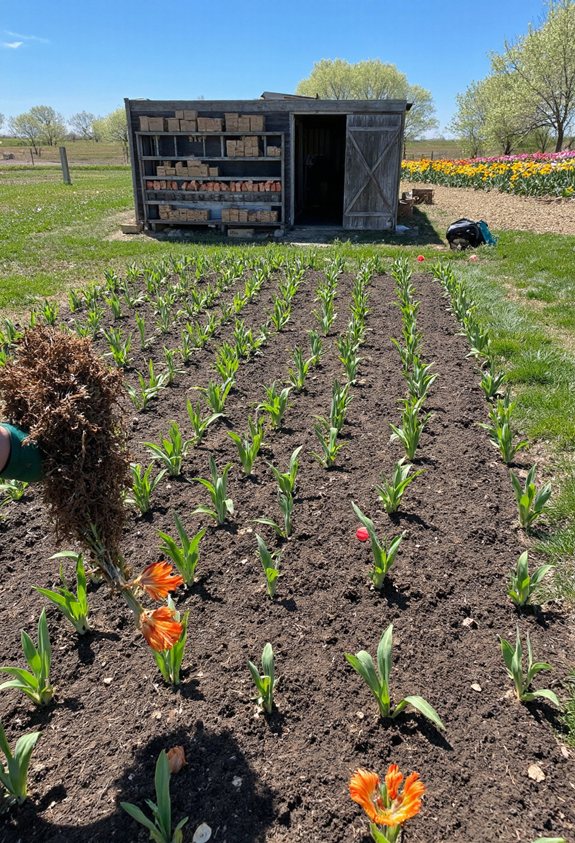
Even after the leaves turn brown and curl, the bulb is still busy gathering energy for next year, so you’ll want to lift it out before the frost hits.
Gently dig around each plant, shake off excess soil, and place the bulbs on a tray. Then store them in a cool, dry spot.
- Choose a breathable container.
- Keep temperature steady around 40‑50°F.
- Avoid direct sunlight and moisture.
Clean and Dry Bulbs Before Winter Storage to Prevent Rot
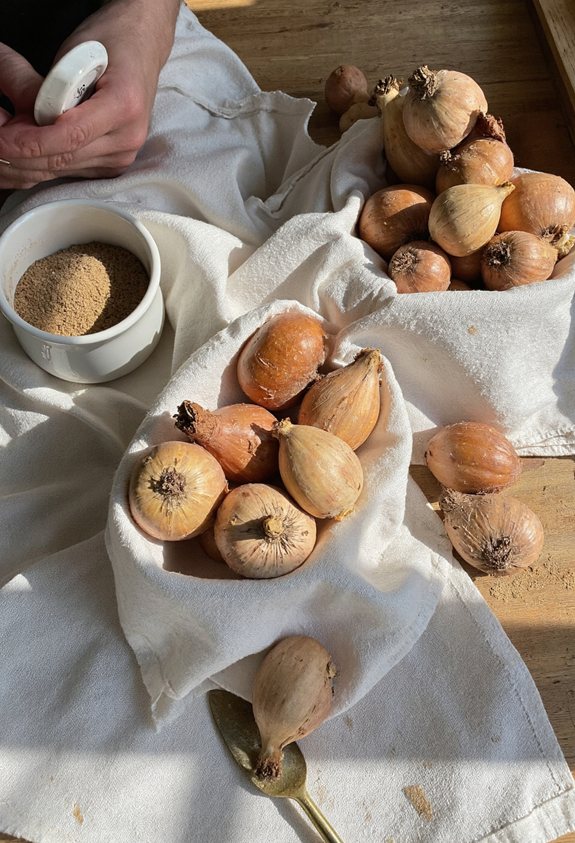
After the foliage has faded, you’ll want to give those tulip bulbs a quick clean before they go into storage, because any leftover soil or moisture can turn them into a mushy mess by spring.
Gently brush off dirt with a soft brush, then spread bulbs on a newspaper in a warm, dry spot.
Let them air‑dry for a day or two, ensuring no dampness remains before you pack them away.
Re‑Chill Stored Bulbs for Proper Dormancy
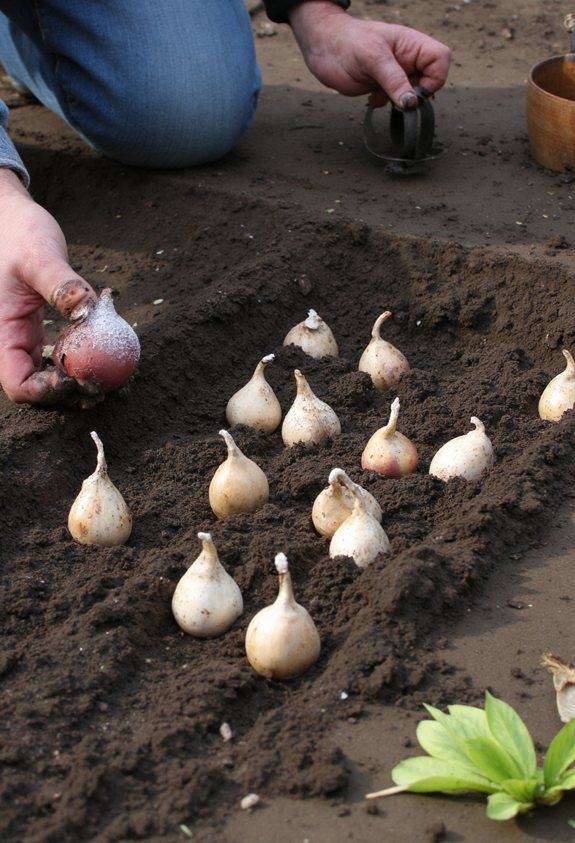
When you’re ready to give your stored tulip bulbs a proper chill, think of it as sending them on a short, icy vacation before spring. You’ll need a cool, dark spot that mimics winter’s bite, and a steady temperature of 35‑45°F for 12‑14 weeks. This “re‑chill” jump‑starts dormancy, so buds burst energetically when warmth returns.
- Choose a refrigerator drawer or unheated garage.
- Place bulbs in a breathable bag, not sealed plastic.
- Check weekly for mold, discarding any that look soggy.
Plan a Rotating Planting Schedule for Year‑Round Color
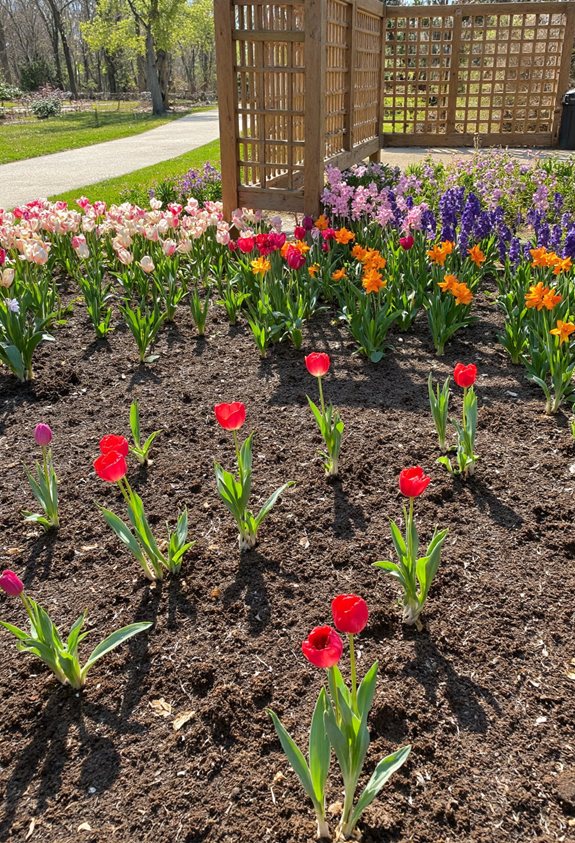
Your chilled bulbs are ready, so let’s keep the color show going all year long by planning a rotating planting schedule.
Choose three groups: early spring, late spring, and early fall.
Plant each group in a different bed, then swap beds every few weeks.
This way, when one batch fades, another bursts into bloom, giving you nonstop tulip fireworks without extra effort.
Use a Drip‑Irrigation System for Efficient Watering
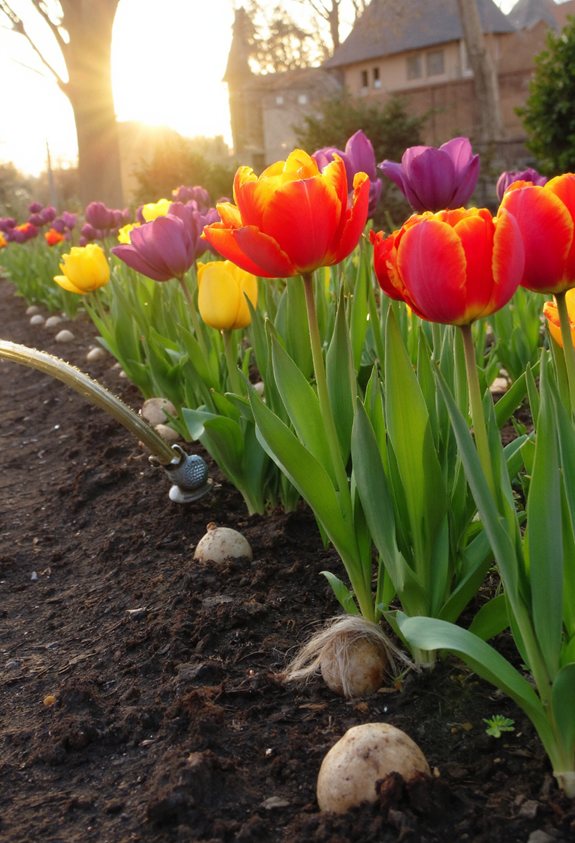
Even if you’ve never set up a garden tech gadget before, a drip‑irrigation system can feel like giving your tulips a gentle, steady sip of water instead of a splashy hose shower.
You’ll save time, cut waste, and keep roots happy.
- Lay tubing along rows, securing with stakes.
- Attach emitters near each bulb, spacing evenly.
- Set a timer for early morning, 10‑minute bursts.
Add Decorative Mulch Colors for a Polished Garden Look

If you want your tulip beds to look as polished as a gallery display, swapping plain brown mulch for a splash of color does the trick.
Choose teal, burgundy, or soft gray mulch to frame the blossoms and mute weeds.
Lay a thin, even layer, then water gently.
The bright border makes each tulip pop, and you’ll feel like a garden curator.
Create a “Rainbow” Tulip Bed Using Color Theory Basics

When you arrange tulips by the color wheel, you can turn a plain garden into a living rainbow that feels as exciting as a box of crayons.
Pick complementary shades, space them evenly, and watch the colors pop.
- Choose primary, secondary, and tertiary hues.
- Plant in a gradient from cool to warm tones.
- Use a consistent spacing pattern for visual harmony.
Incorporate Reflective Garden Ornaments to Enhance Bloom Brightness
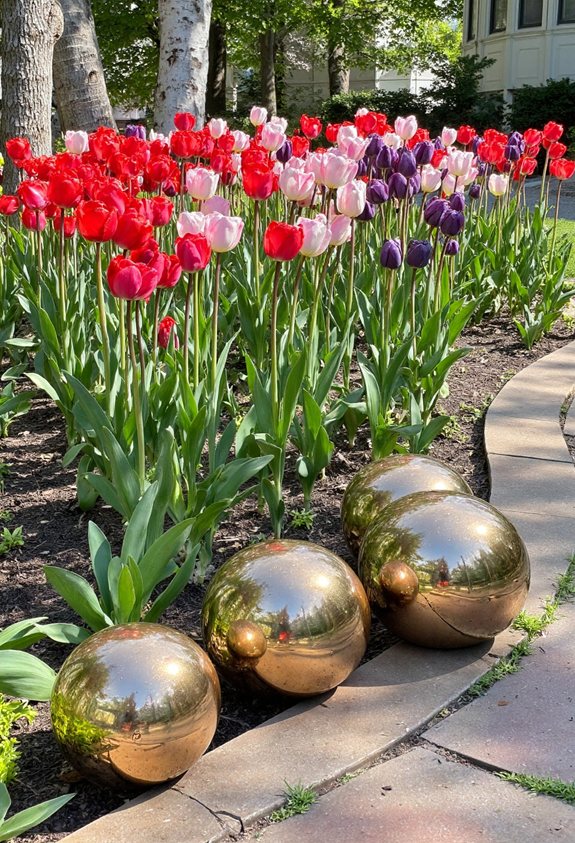
Because sunlight bounces off shiny surfaces, adding reflective garden ornaments can make your tulip beds look even brighter and more lively.
Place a mirrored metal ball or a glass wind chime near the rows, and watch the light bounce across petals.
Even a simple polished stone catches glints, turning ordinary tulips into dazzling fireworks that delight neighbors and lift your mood.
Choose Low‑Maintenance Groundcovers That Complement Tulips
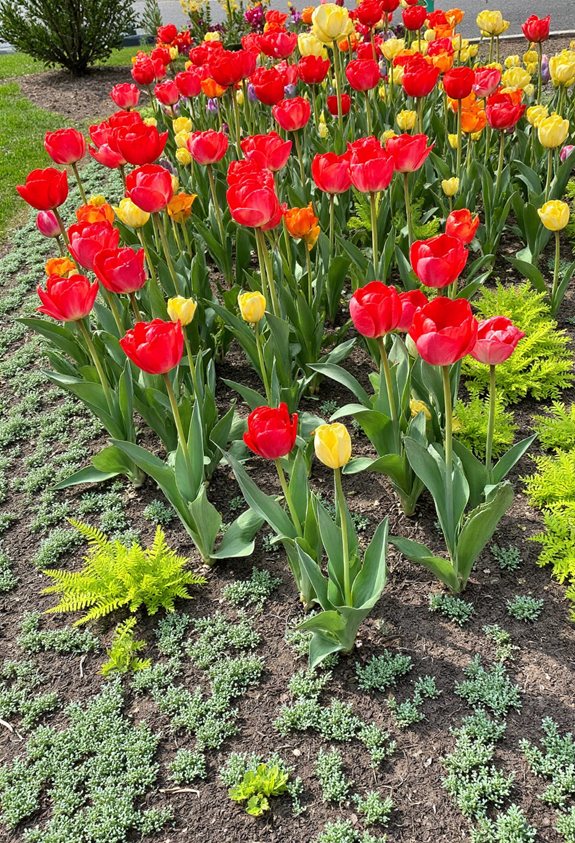
Even if you’ve never tended a garden before, picking the right low‑maintenance groundcover can make your tulip beds look polished and effortless. Choose plants that thrive in similar soil and sun, keeping the color palette harmonious and the upkeep minimal.
- Creeping thyme – fragrant, drought‑tolerant, and blooms tiny purple flowers.
- Sedum ‘Angelina’ – succulent, bright chartreuse foliage, spreads fast.
- Ajuga (bugleweed) – glossy leaves, tiny blue spikes, thrives in shade.
Use a Garden Journal to Track Planting Dates and Performance
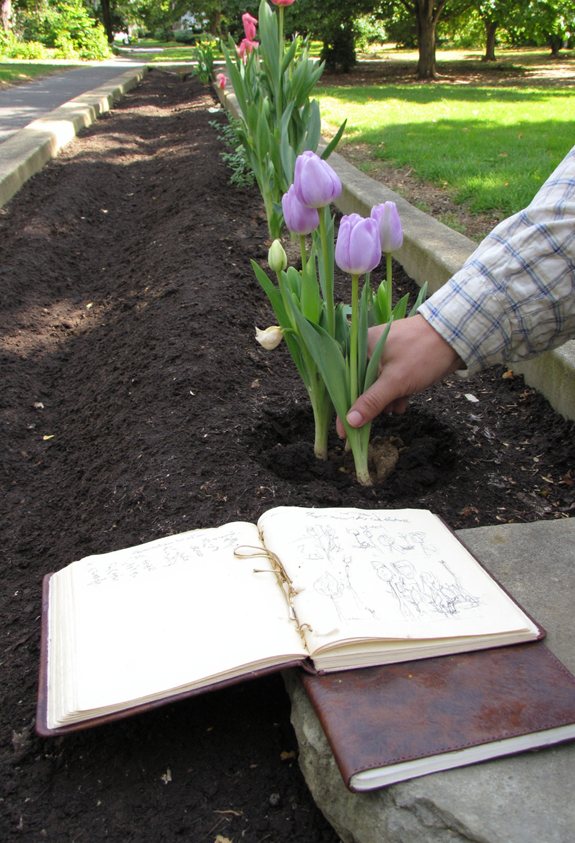
Choosing the right groundcover sets the stage, but keeping track of how those tulips and companions behave is where the real magic happens.
Grab a notebook or app, jot down planting dates, soil conditions, and bloom times.
Note any pests or weather quirks, and rate each bed’s color splash.
Reviewing these entries later helps you tweak timing, improve vigor, and brag about your garden’s progress.
Apply Organic Compost Annually to Improve Soil Structure
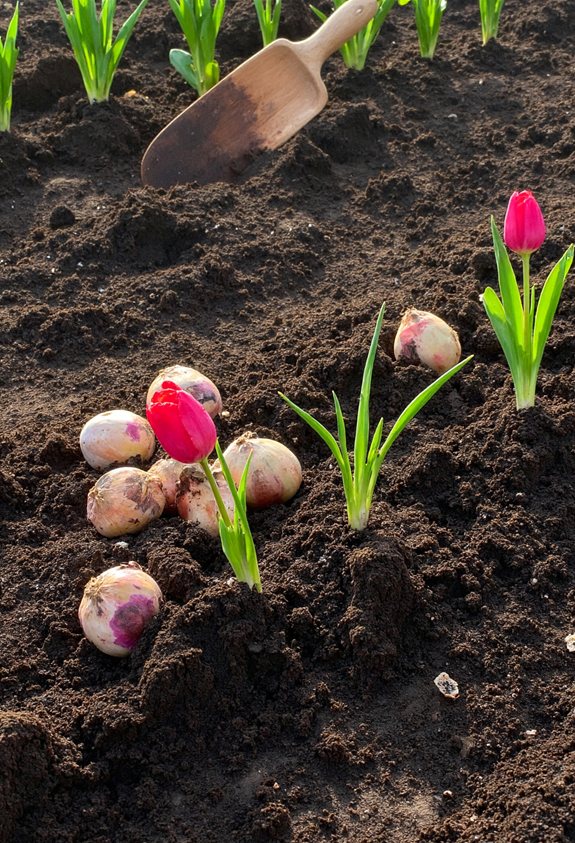
When you spread a layer of organic compost over your tulip beds each fall, the soil gets a boost of nutrients and a fluffy, crumbly texture that lets roots breathe. It improves drainage, holds moisture, and feeds microbes that keep plants healthy.
- Toss 2‑3 inches of compost and lightly rake it in.
- Water gently to settle the material.
- Mulch with straw for extra protection.
Install a Simple Raised Bed for Better Drainage and Soil Control
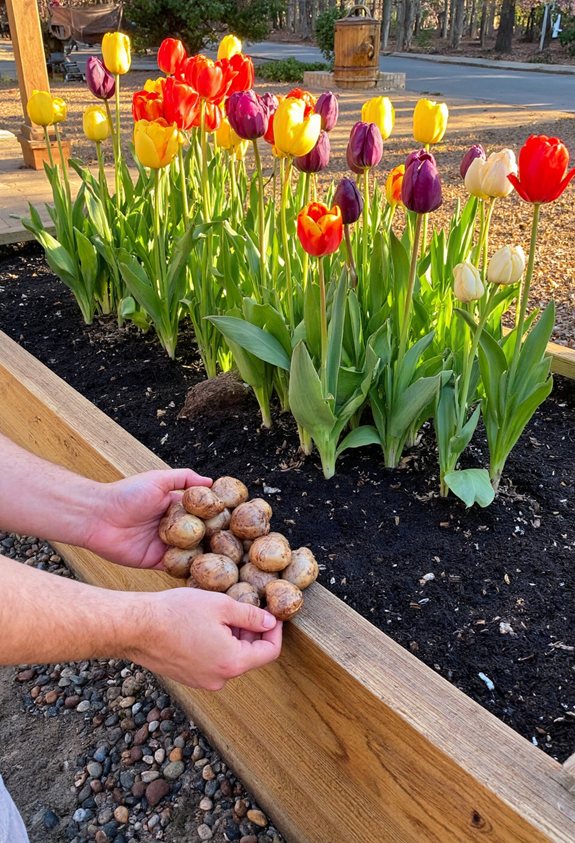
Why settle for soggy soil when you can build a simple raised bed that gives your tulips the perfect home?
Grab lumber, nails, and a garden fork, then stack the frame two feet high.
Fill it with coarse sand, compost, and a touch of peat for drainage.
Weed, water, and watch your tulips thrive—no soggy roots, just happy blossoms.
Combine Tulips With Trailing Vines for a Layered Effect
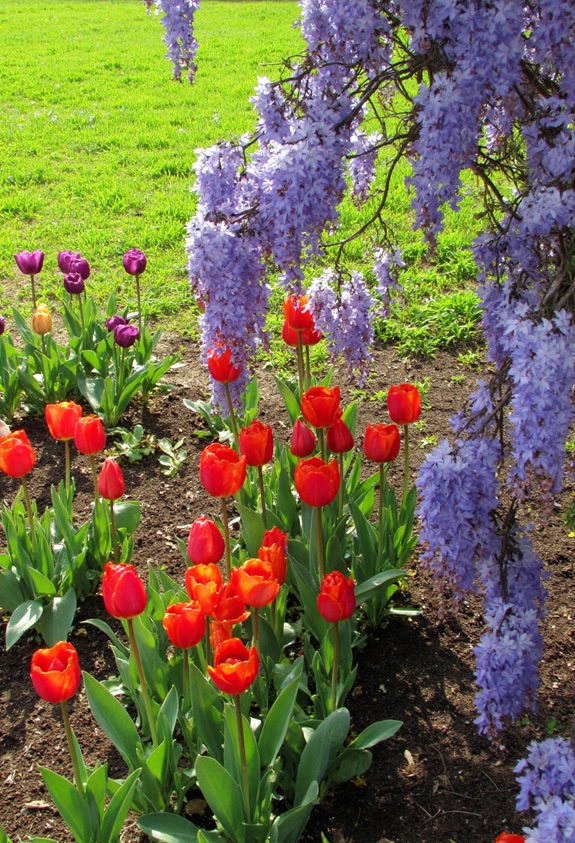
After you’ve nailed down a sturdy raised bed, think of adding some trailing vines to create a layered garden tapestry. The vines spill over the edges, softening the sharp tulip spikes and giving depth. Choose varieties that bloom at different times for continuous color.
- Plant sweet peas along the front edge.
- Add creeping thyme as a low‑grow filler.
- Use morning glory vines to drape over the top.
Use Seasonal Lighting to Highlight Tulip Beds at Dusk
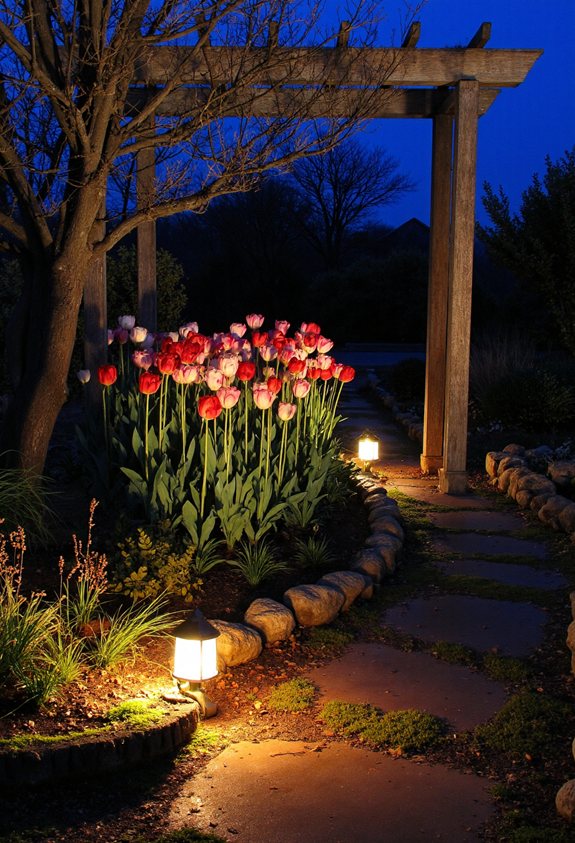
If you want your tulip garden to look magical at dusk, start by thinking of lighting as a gentle spotlight rather than a floodlamp.
String warm LED fairy lights along the bed’s edge, and place a few low‑watt solar spotlights behind the tallest stems.
The soft glow will hug the colors, making each bloom pop like tiny lanterns, while fireflies add natural sparkle.
Plan a Spring Garden Tour Route That Showcases Tulip Displays

A well‑planned garden tour can turn a simple stroll into a tulip adventure, guiding visitors from one burst of color to the next without missing a single blossom.
Map a winding path that links contrasting hues, add gentle signage for direction, and sprinkle benches for pause‑points.
- Start at the early‑blooming yellow patch.
- Curve toward the deep‑purple ridge.
- Finish at the mixed‑color meadow for a grand finale.
Harvest and Press Tulip Petals for DIY Crafts and Décor
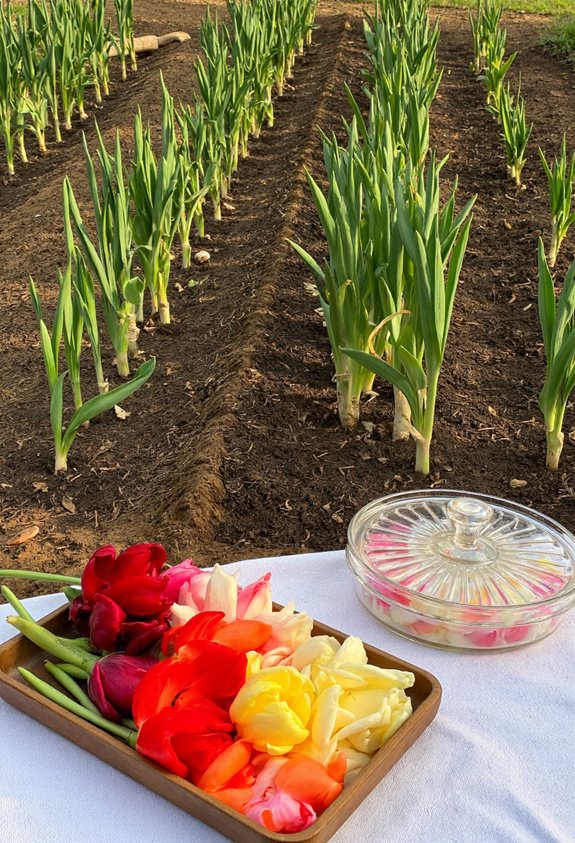
Ever wondered how to turn those fresh tulip petals into lasting art?
Snip the blooms early, spread petals on parchment, and press them between heavy books for a week.
Add a sprinkle of silica gel for extra crispness, then seal with clear glue.
Use the dried petals in bookmarks, framed collages, or homemade potpourri—your room instantly feels spring‑bright and personal.